the McIntosh dails are already given by default
/medium/blue-2-bgr.png
/large/blue-2-bgr.png
/small/blue-2-bgr.png
/wide/blue-bgr.png
3 Likes
Try:
1480x320.zip (524.7 KB)
And WIKI!
1 Like
Can i use this plugin on Raspberry Pi 2 Model B?
Corrected txt
Correct.zip (3.0 KB)
Edit:
Corrected txt for Advence (meters) - again
add to meter.txt.zip (641 Bytes)
If Volumio works, it probably does.
Most have RPi3 and RPi4.
1 Like
Probably both projects using ALSA drivers and that’s why they do.
Peppy is not released/approved for V3 and causes DSP to fail.
If you need DSP, uninstall Peppy. Until the author of Peppy finds time to update the plugin.
1 Like
I’ve been reading back and forth trough this project, amazing what effort is put in by the designers of the images and plugin.
I searched the forum for a topic on what displays are the best and where to buy them. So I appologize if this is not the correct topic for this question.
What are the best touch diplays?
What about resolution?
I like this one:
https://www.waveshare.com/11.9inch-hdmi-lcd.htm
But is it easy to built in? I see that m4sta2k has it standing on a desk naked.
Or is a 10" 1920x1080 a better option?
Not a discussion for what is better, It’s what you prefer. But sticking with standard resolutions, will give you more benefits using already designed images.
If you take a different resolution, you either need to be nice to Gelo5, as he seems the only one willing to do this without having a similar screen. Or get crafty with Photoshop or paint.net and draw them yourself. And share them offcoarse. 
But is it easy to built in?
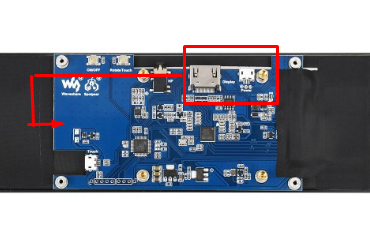
- No, The “landscape” screens have a very small rim, so you need proper equipment if you want to carve an opening in your cabinet about 0.8mm margin to cut or saw… I ended with glue it on my cabinet.
- 2nd they keep on making the same design error. They’ve located the connections on the outer skirt, so you always need a cabinet that stick out for 3 cm above the screen. They expect that the rPi can deliver enough power for the screen, which is a dreamfull state.
The most right one is the power connector, which you can’t bypass with the delivered connector. As the rPi can’t deliver the power. You’ll need a 2nd supply.
1 Like
Great it’s working on RPI2 , thanks 
@Wheaten, thanks
I already noticed that Gelo5 was doing all the heavy lifting for the graphics. He is amazing. And the results are beautiful.
That’s why I want to stick to what’s already available.
I suppose most of the used displays are waveshare? That is what I found when I ask my friend Google  .
.
2 Likes
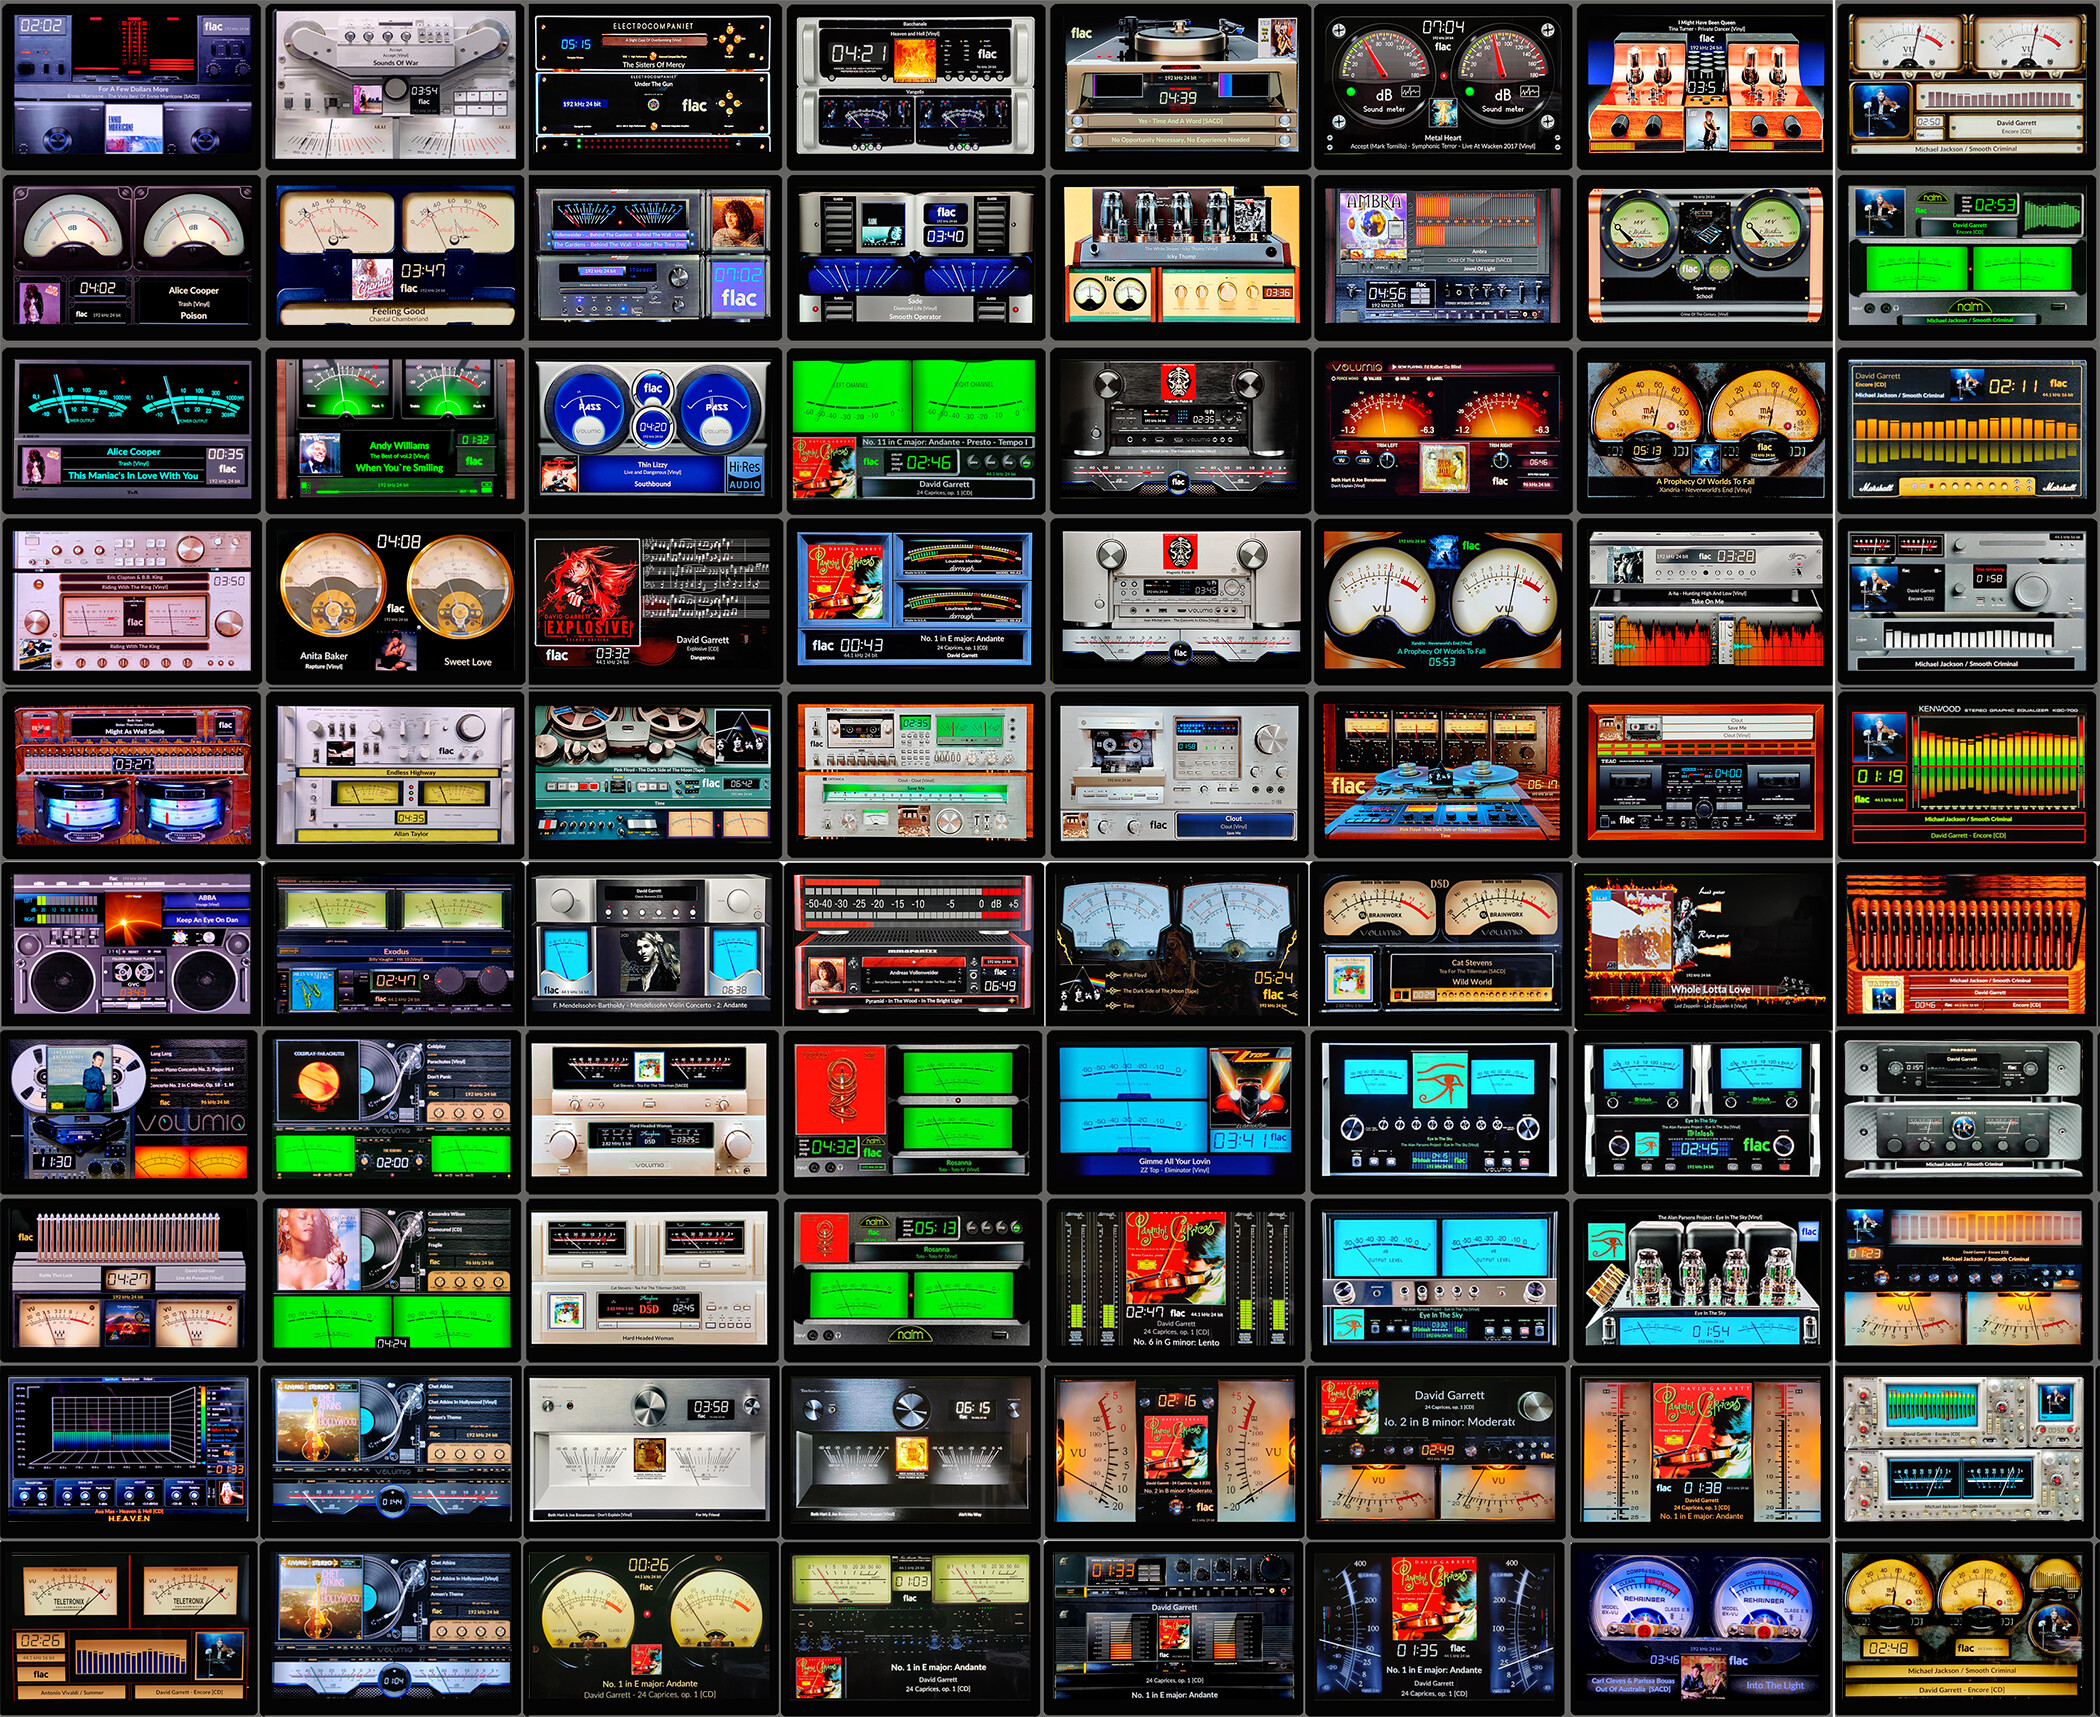
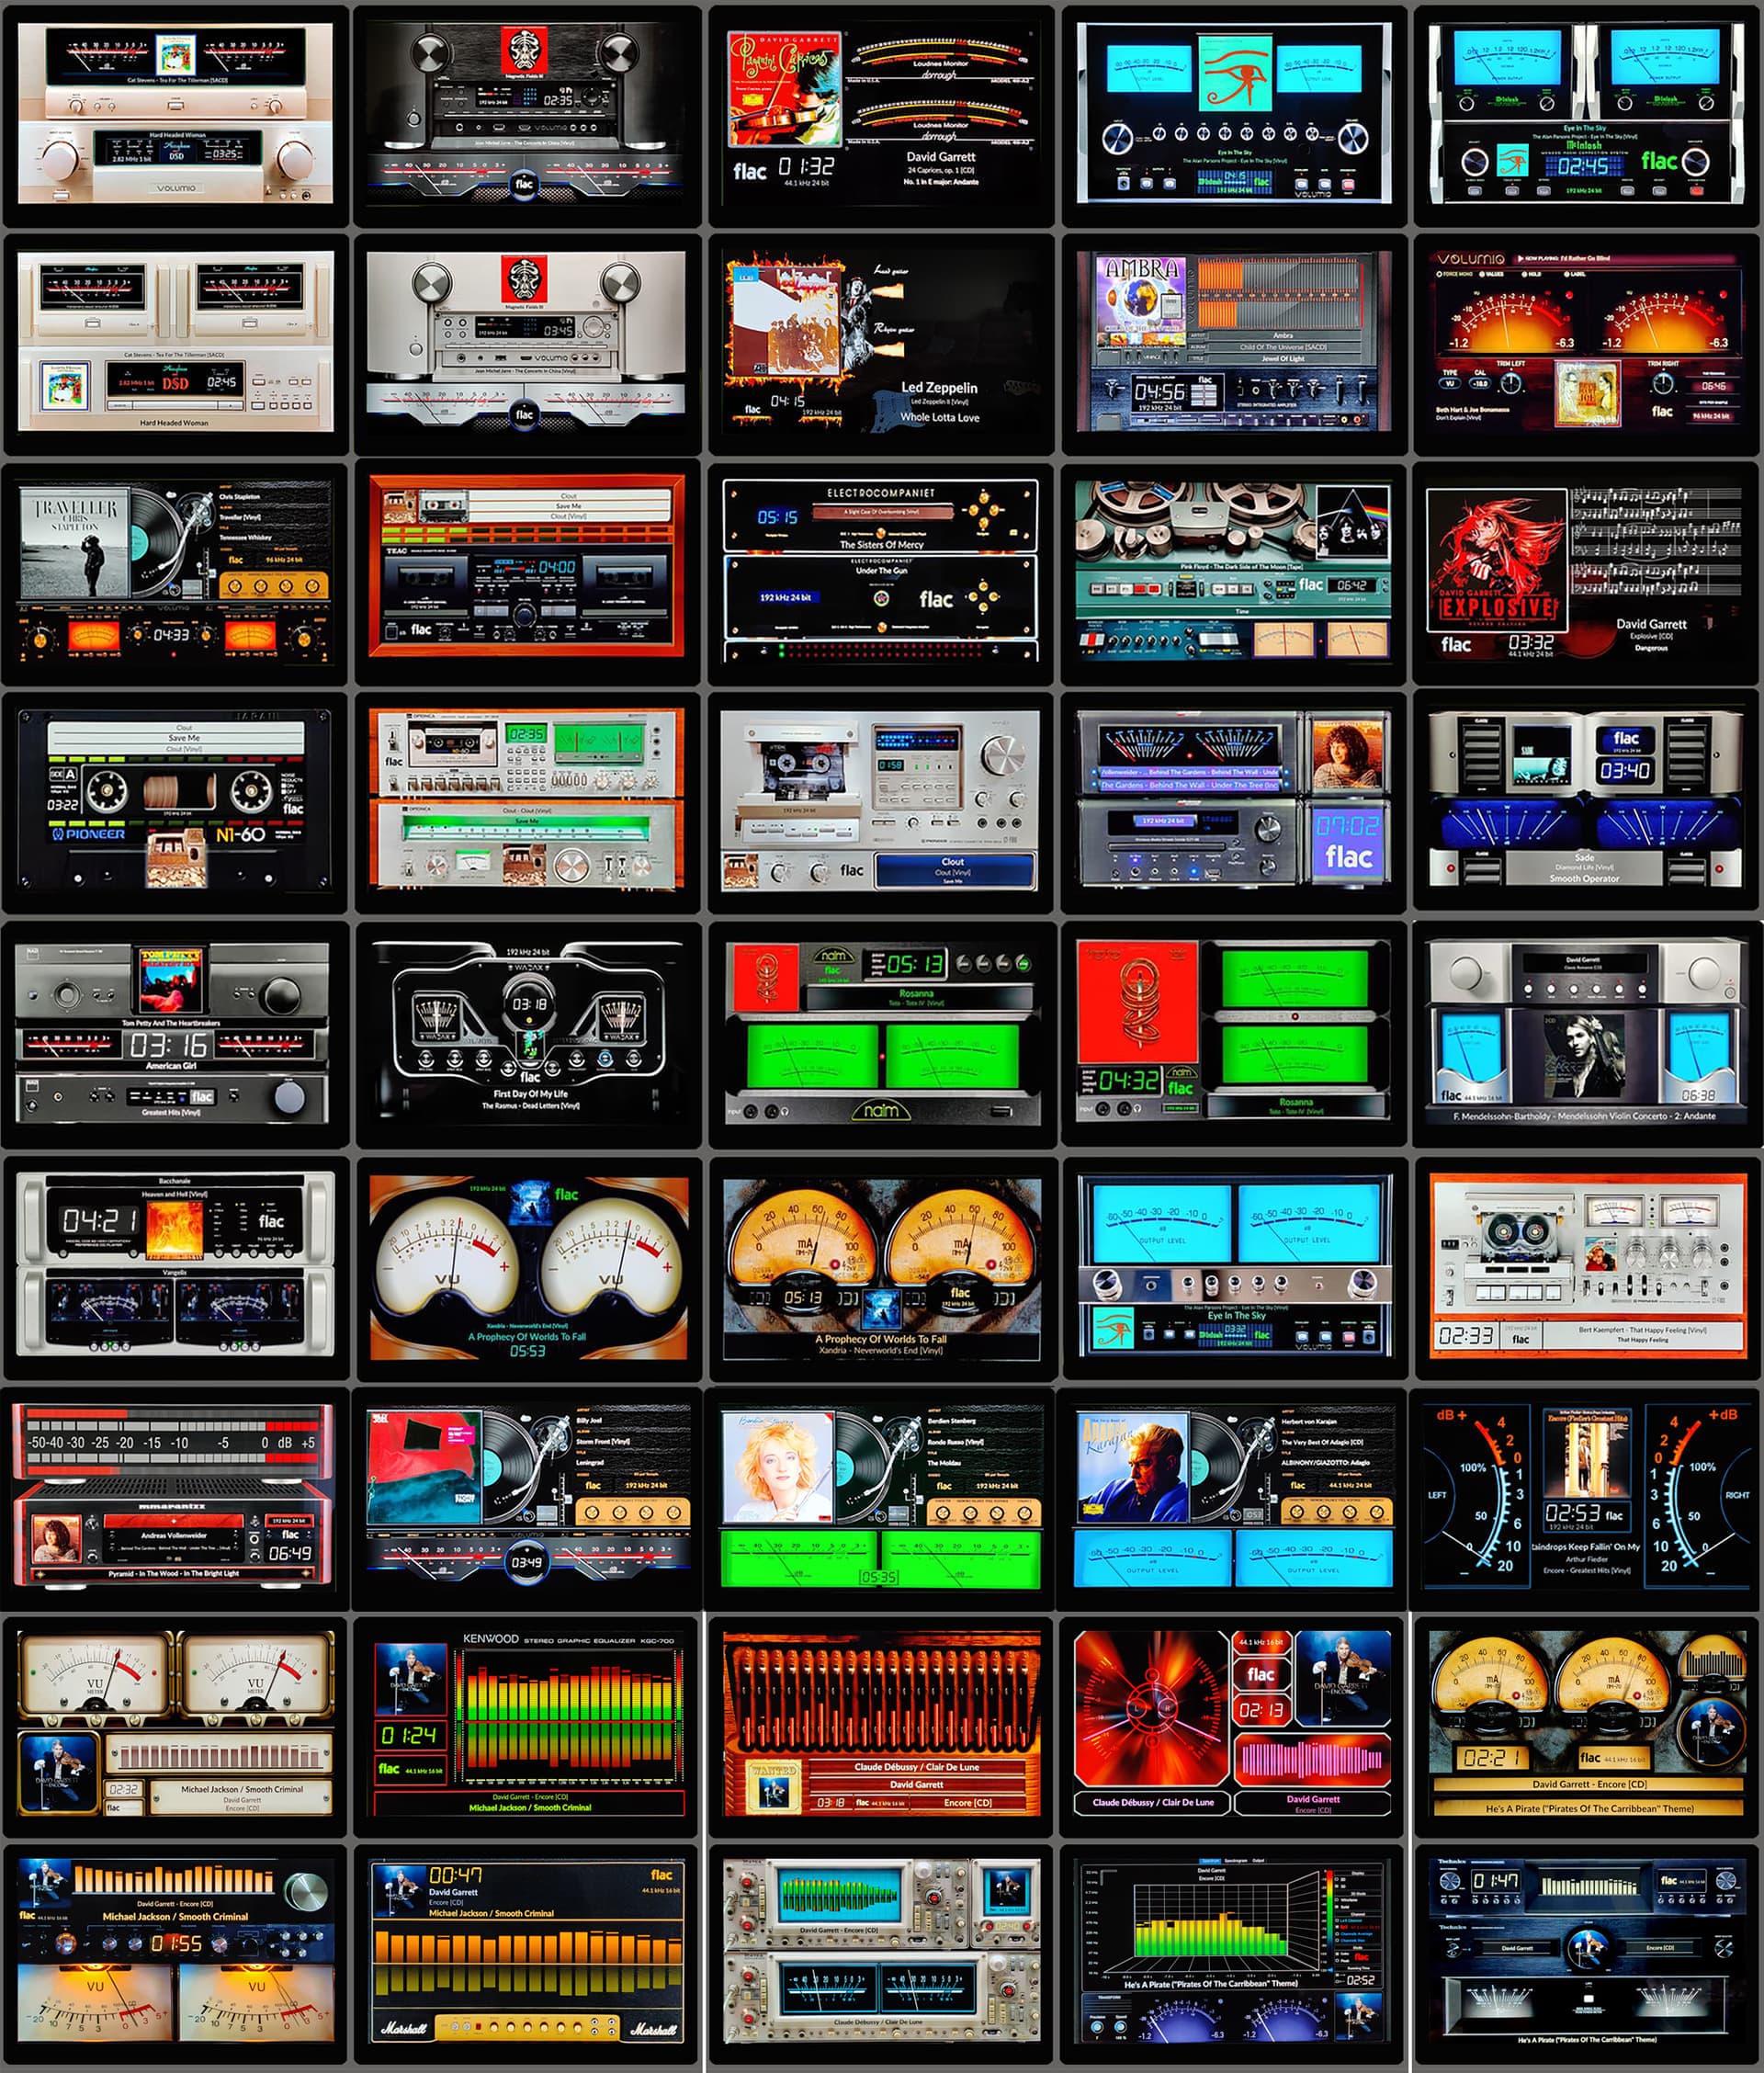
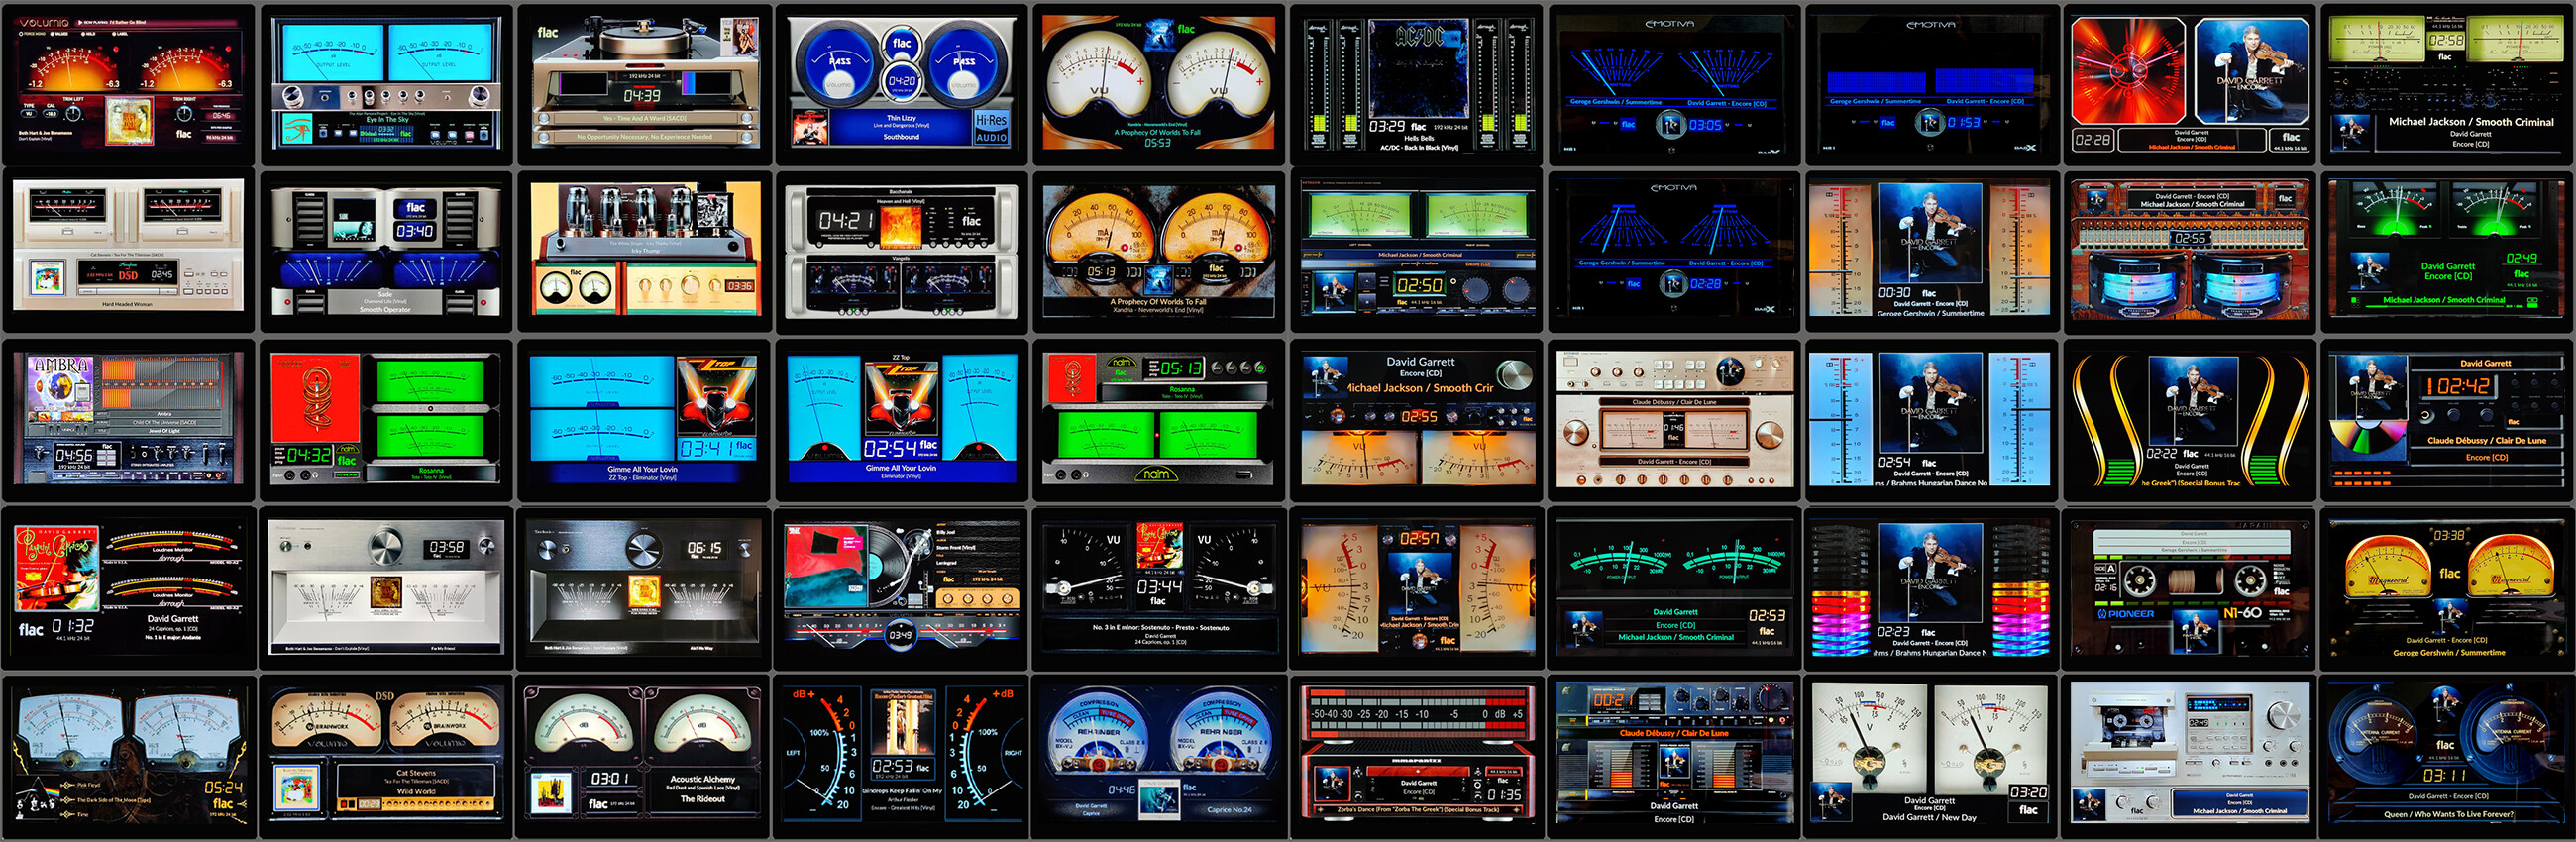
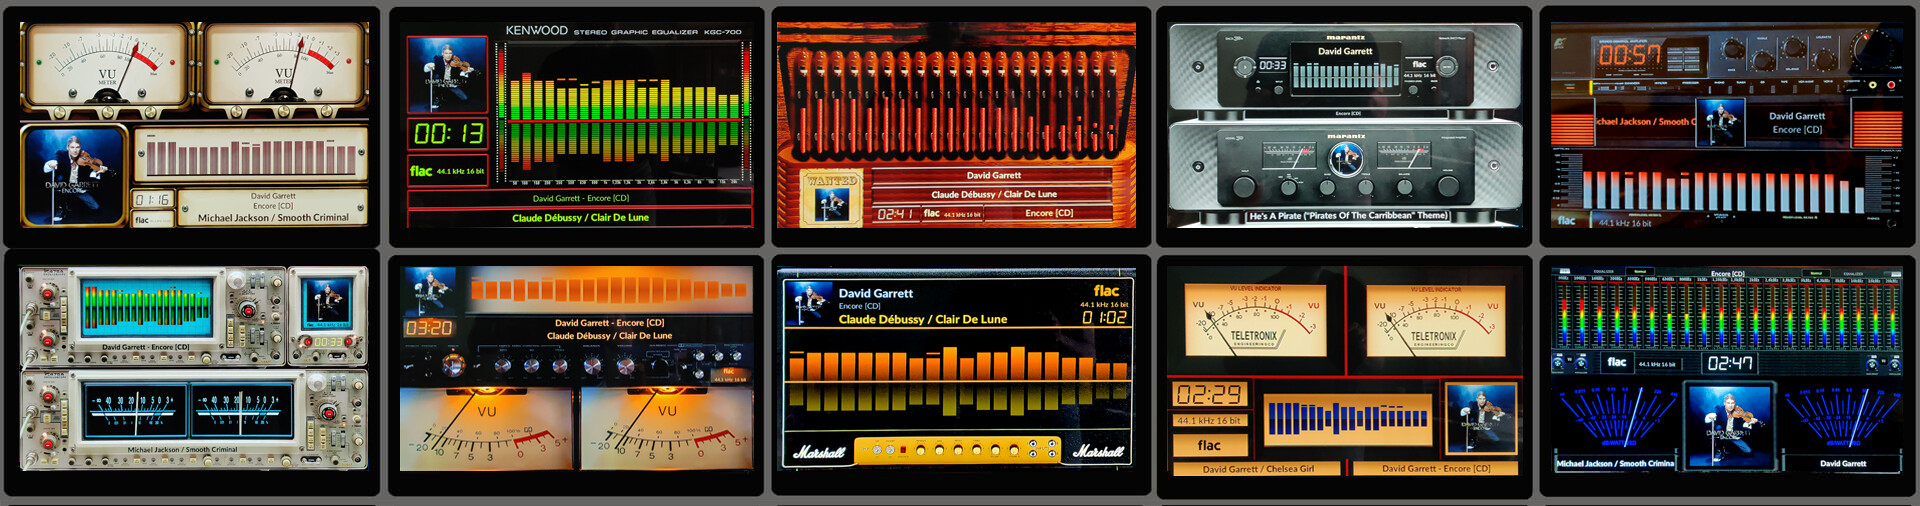
VOLUMIO 4 Bookworm
Credits
-
PeppyMeter/PeppySpectrum: project-owner

-
Original Volumio plugin: 2aCD
-
Volumio 4 refactoring: foonerd

-
Volumio 4 pythonising: Wheaten

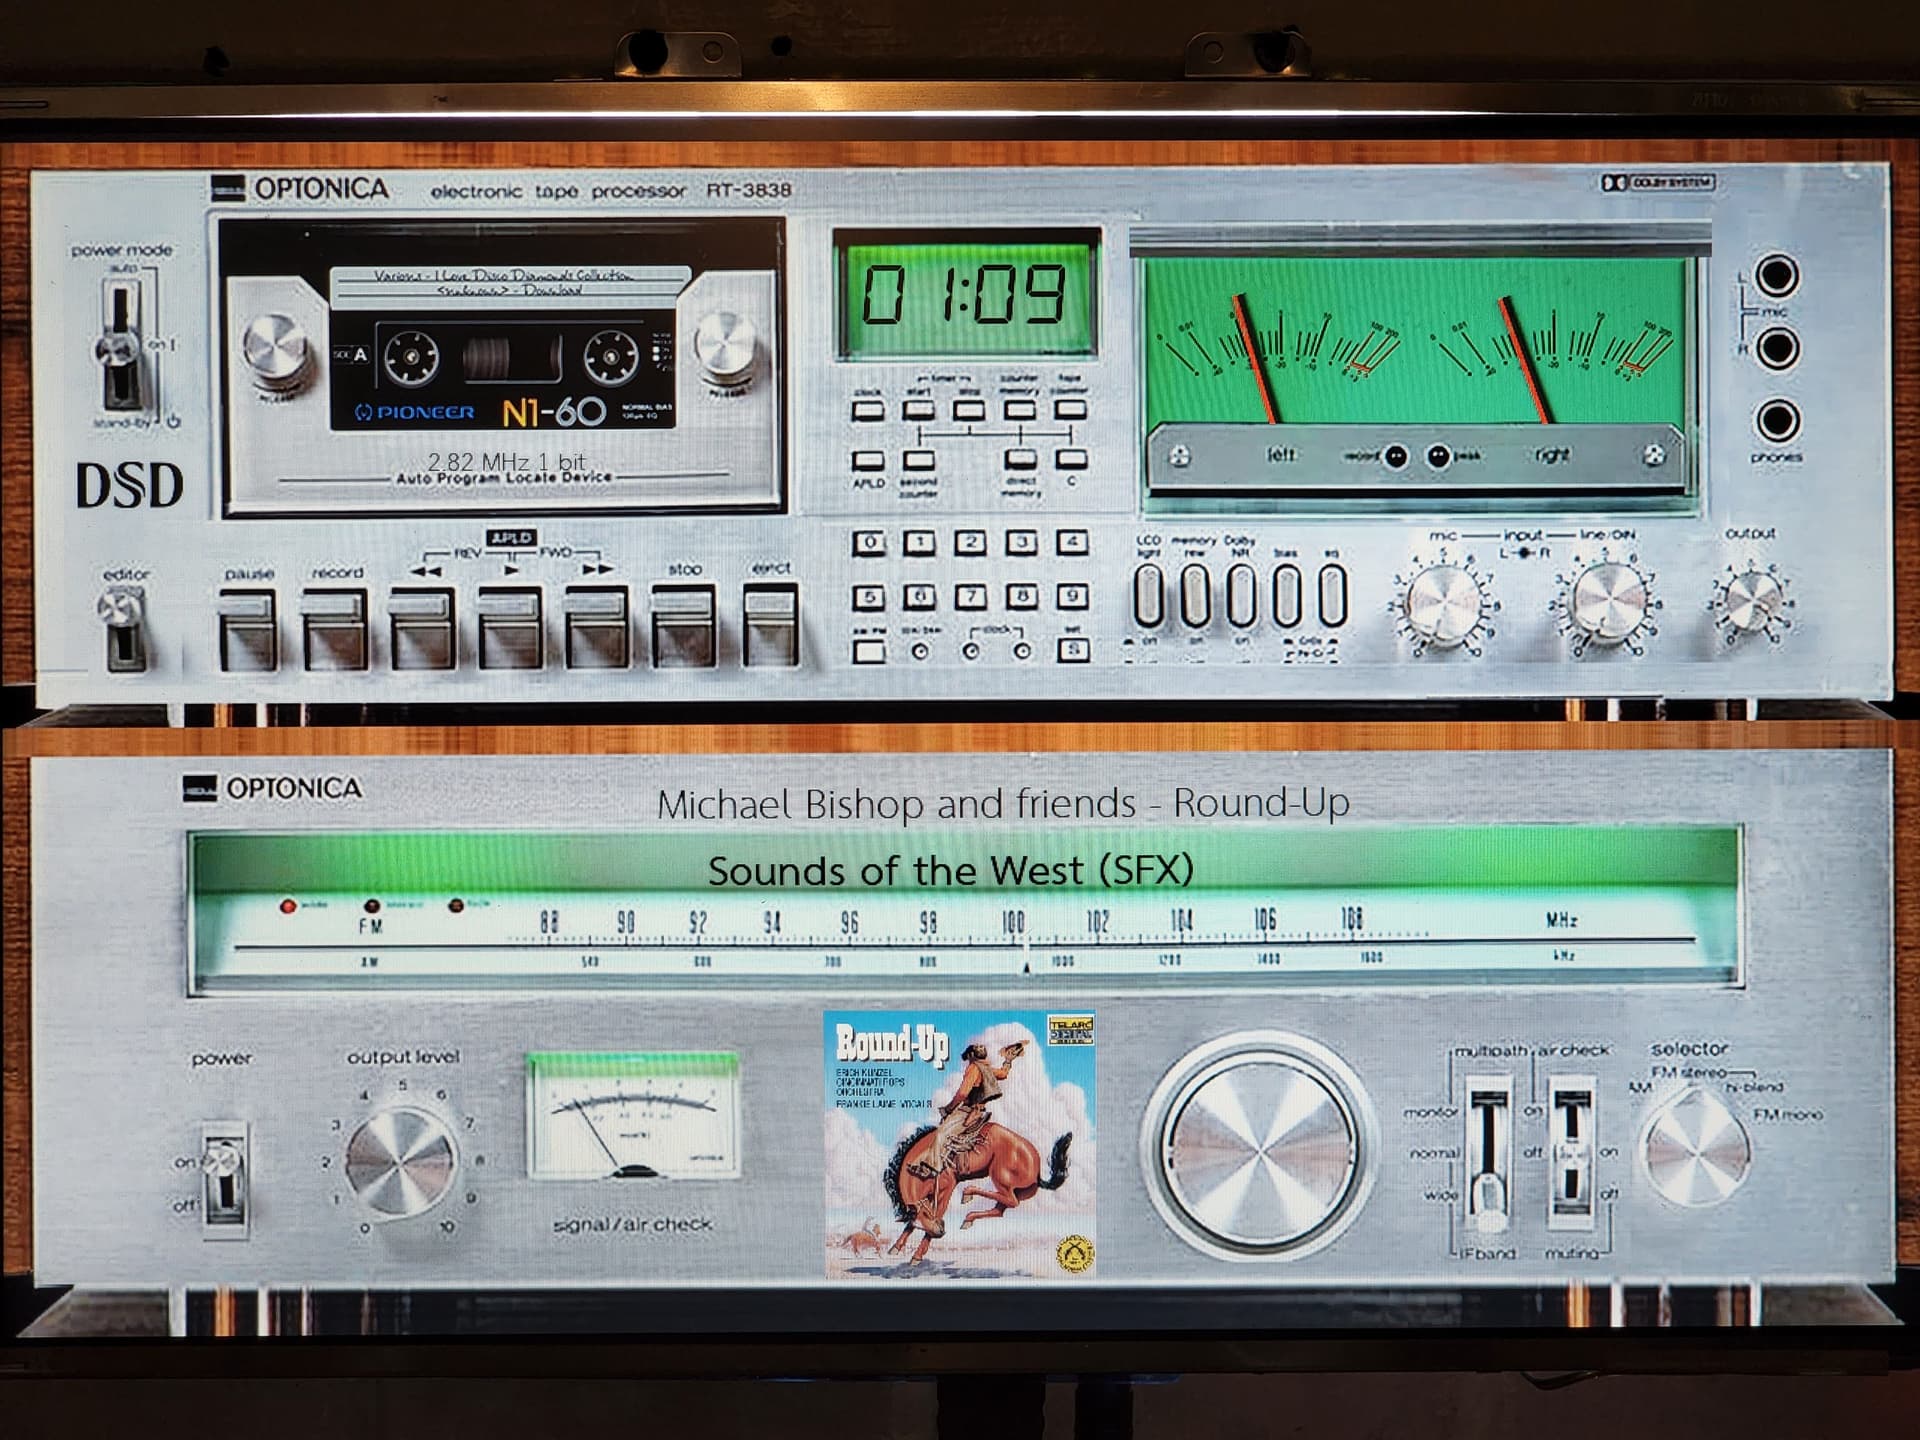
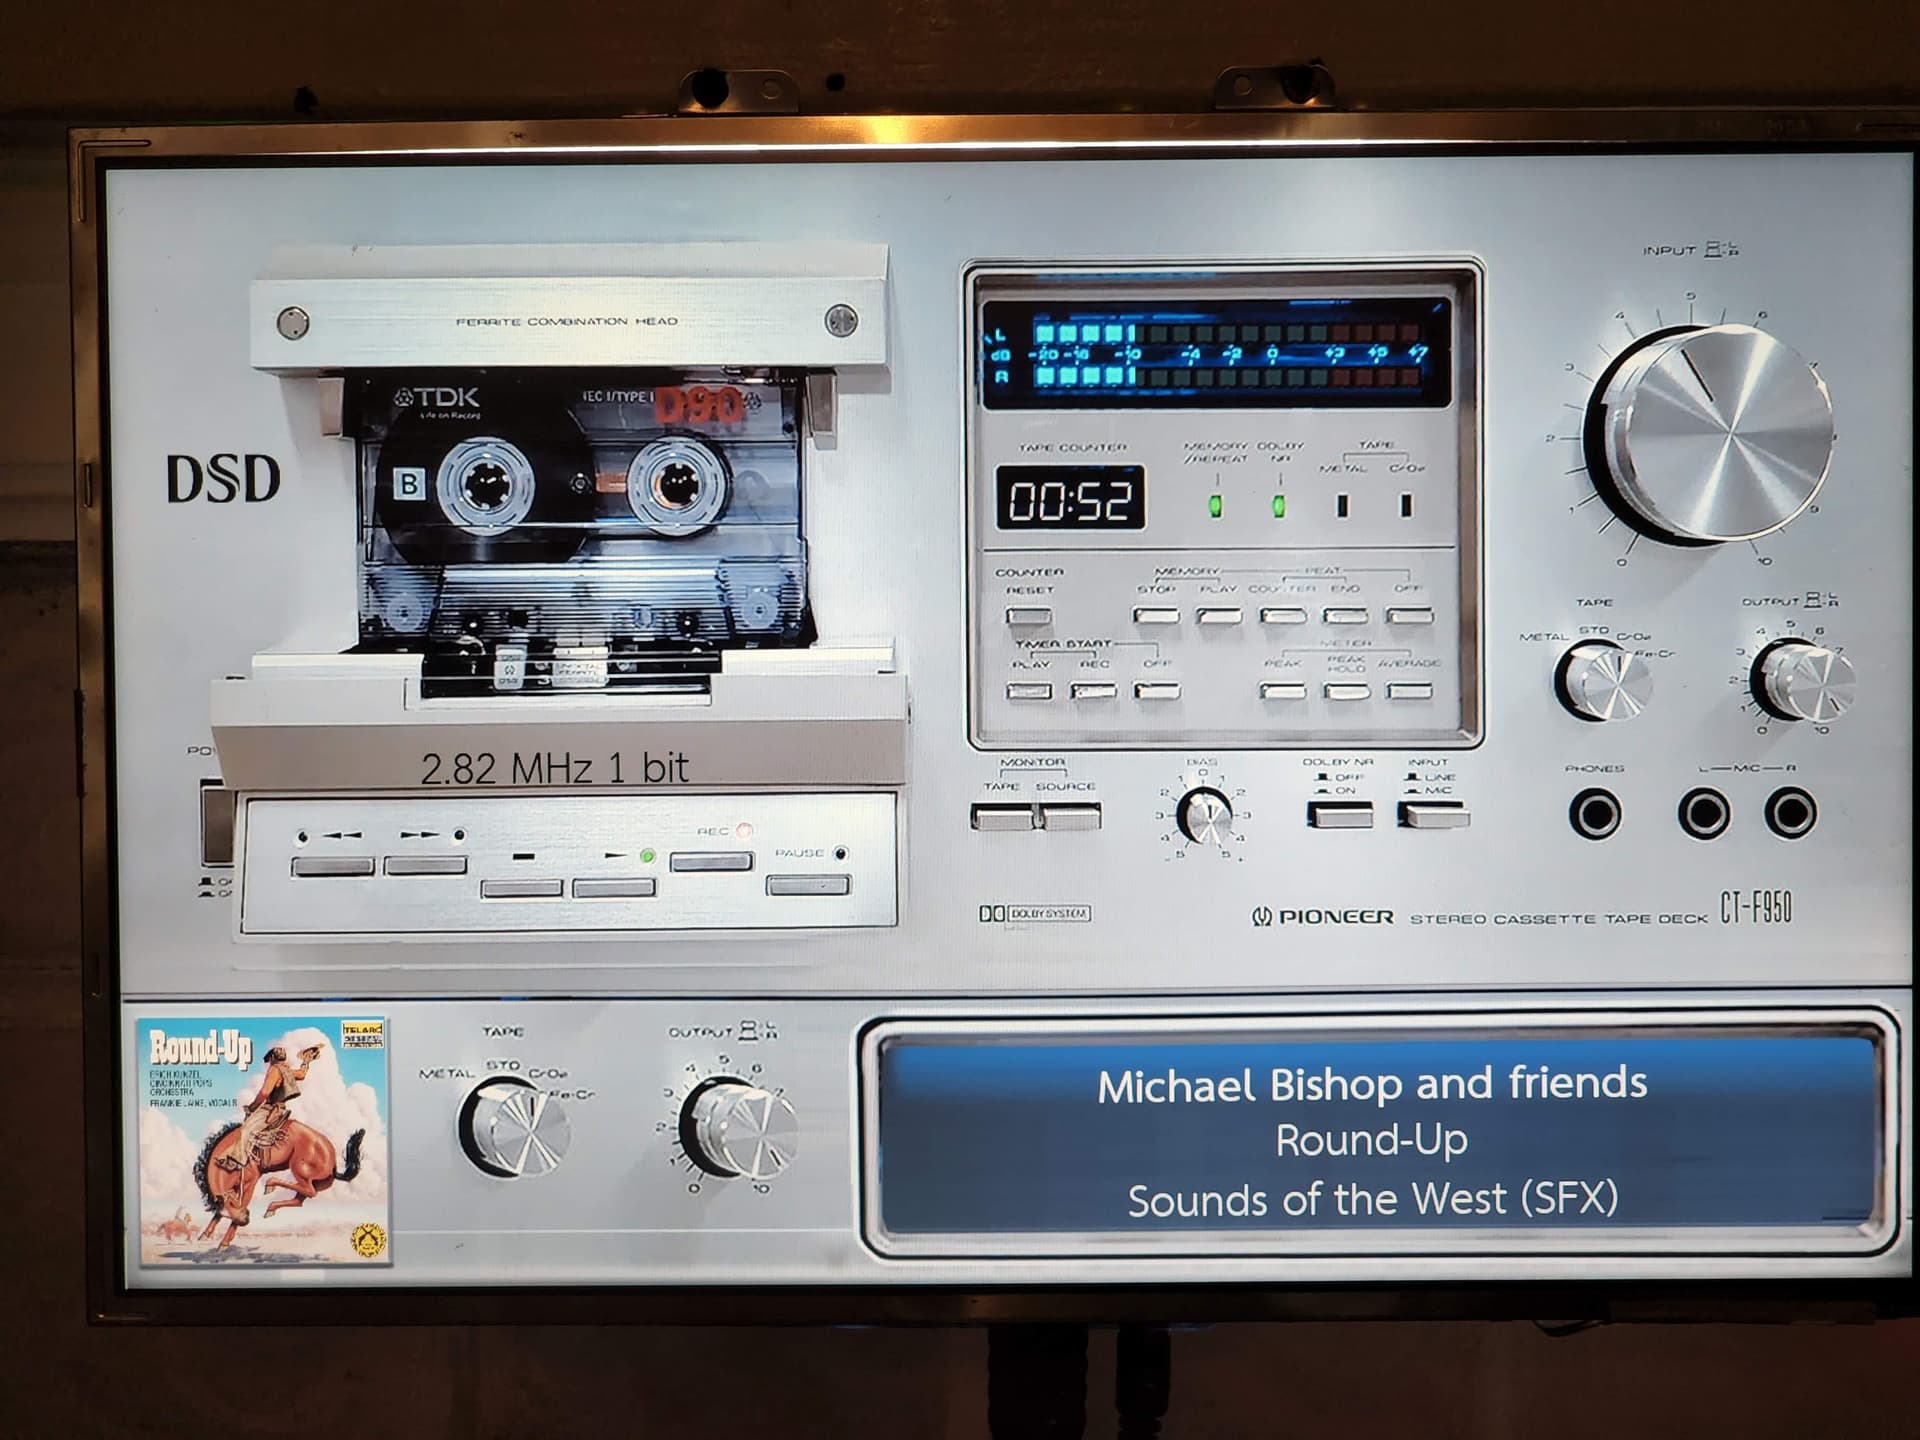
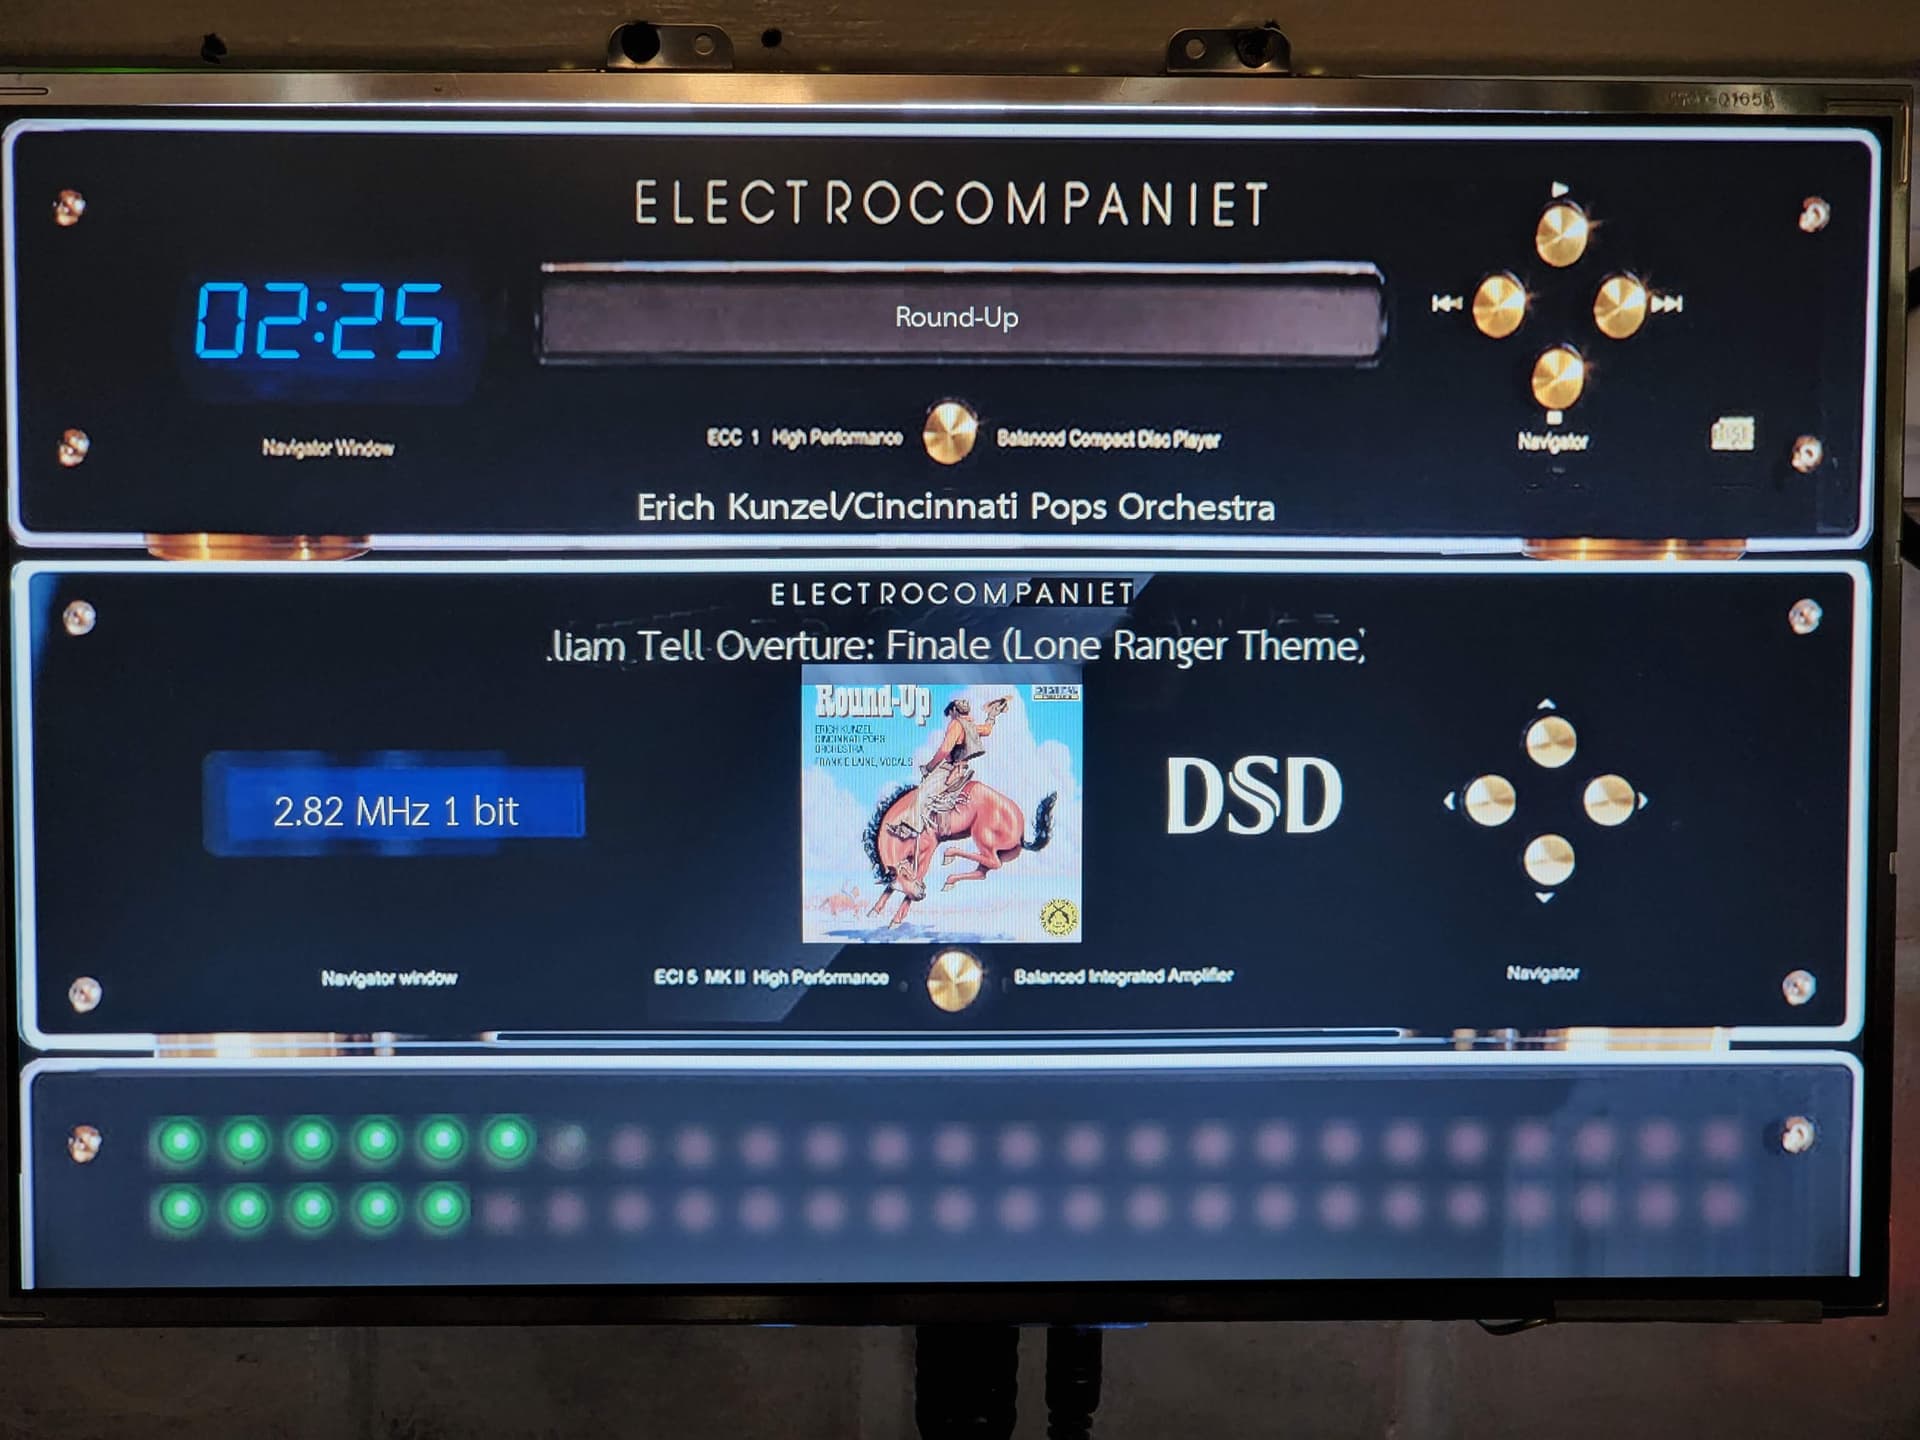
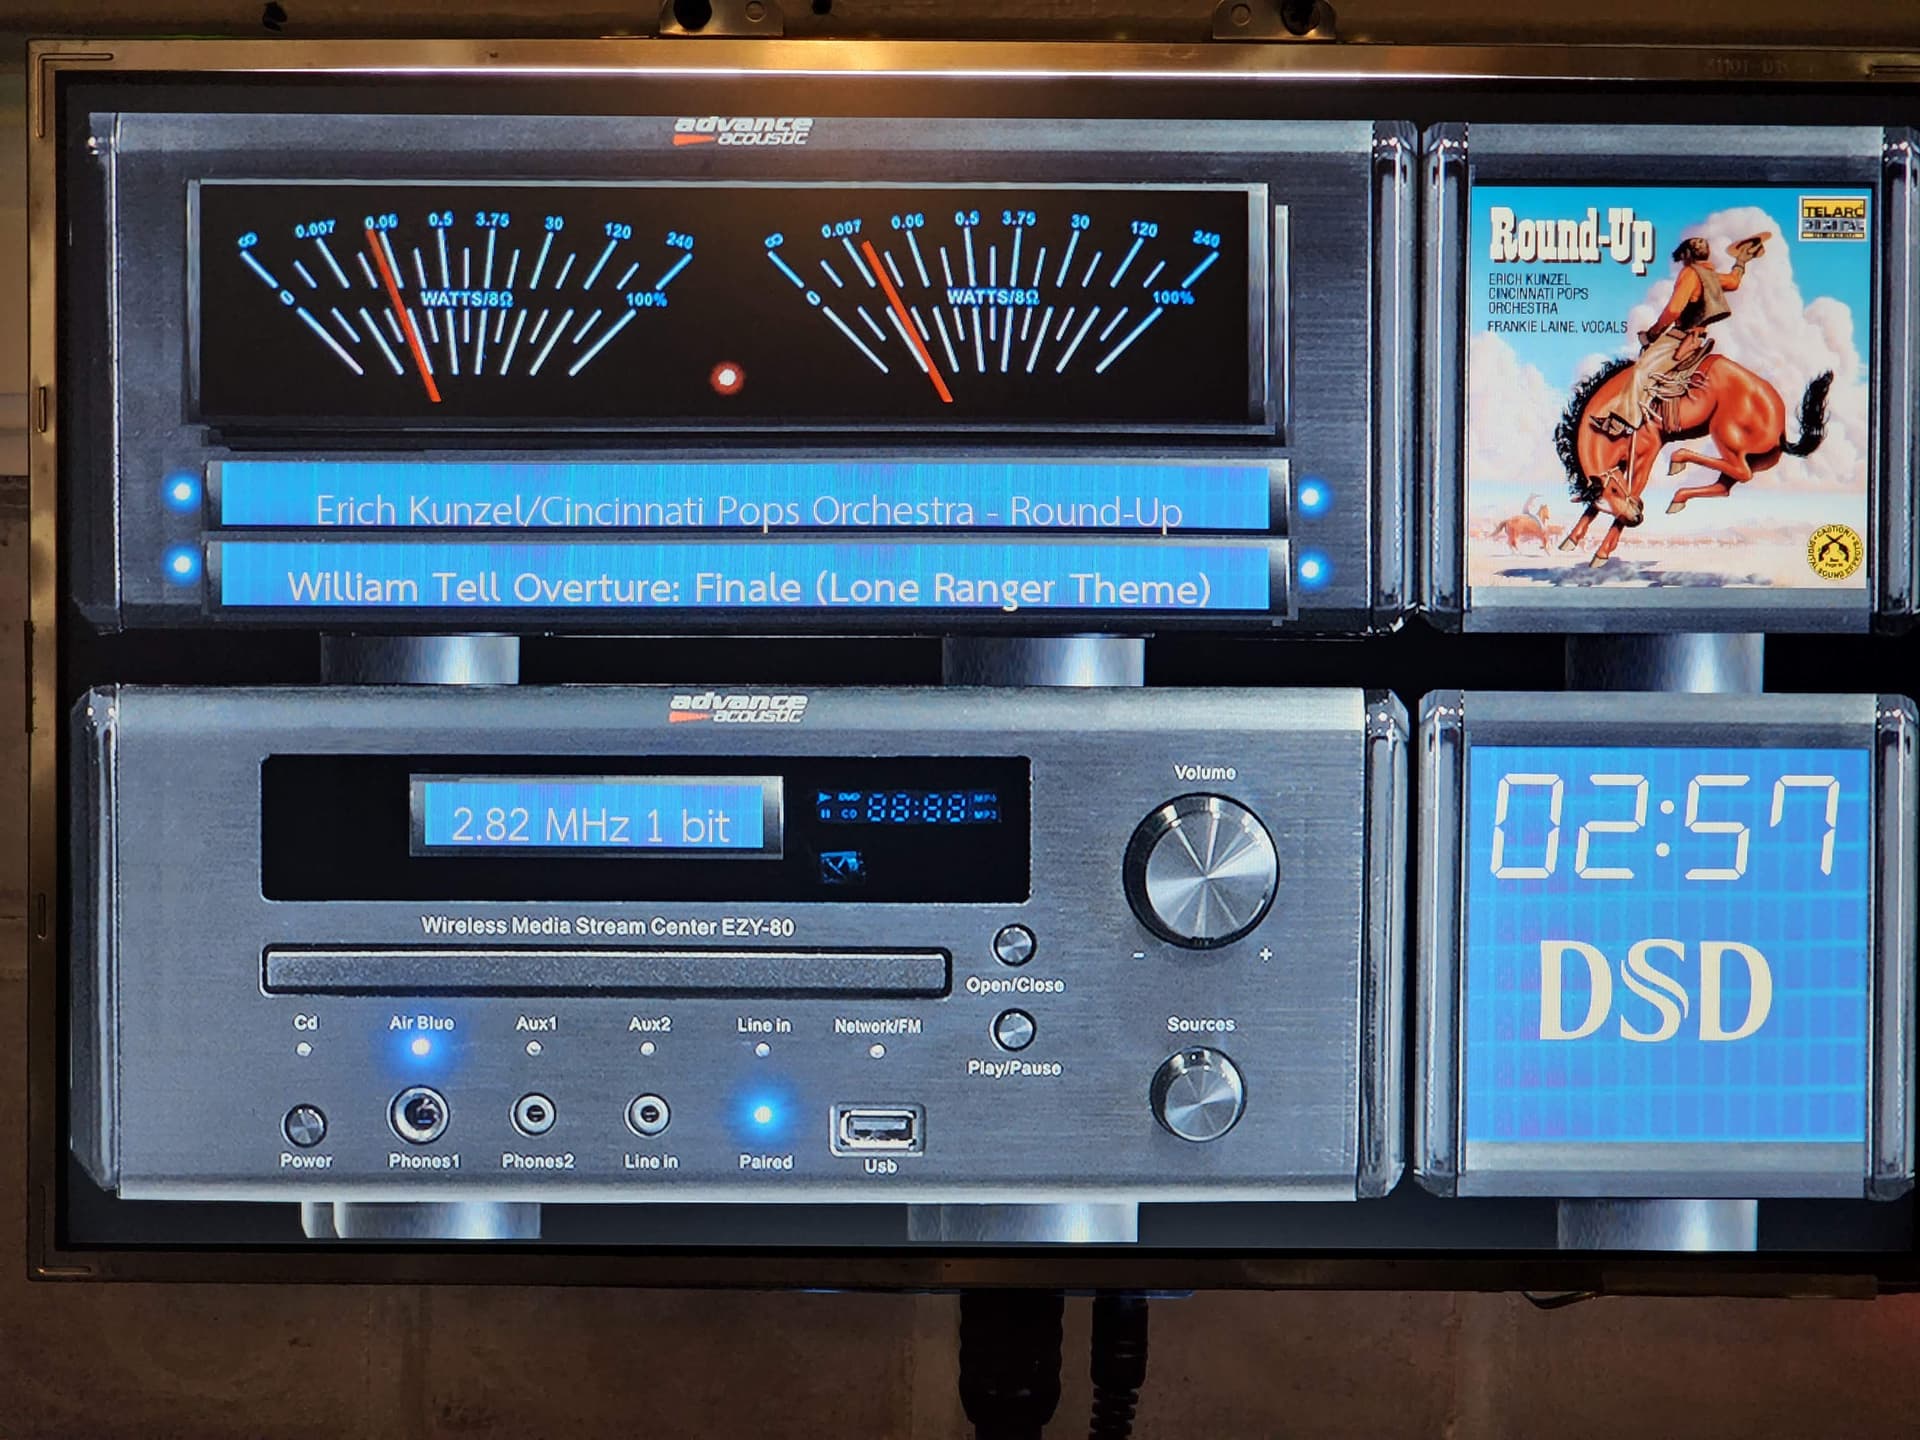
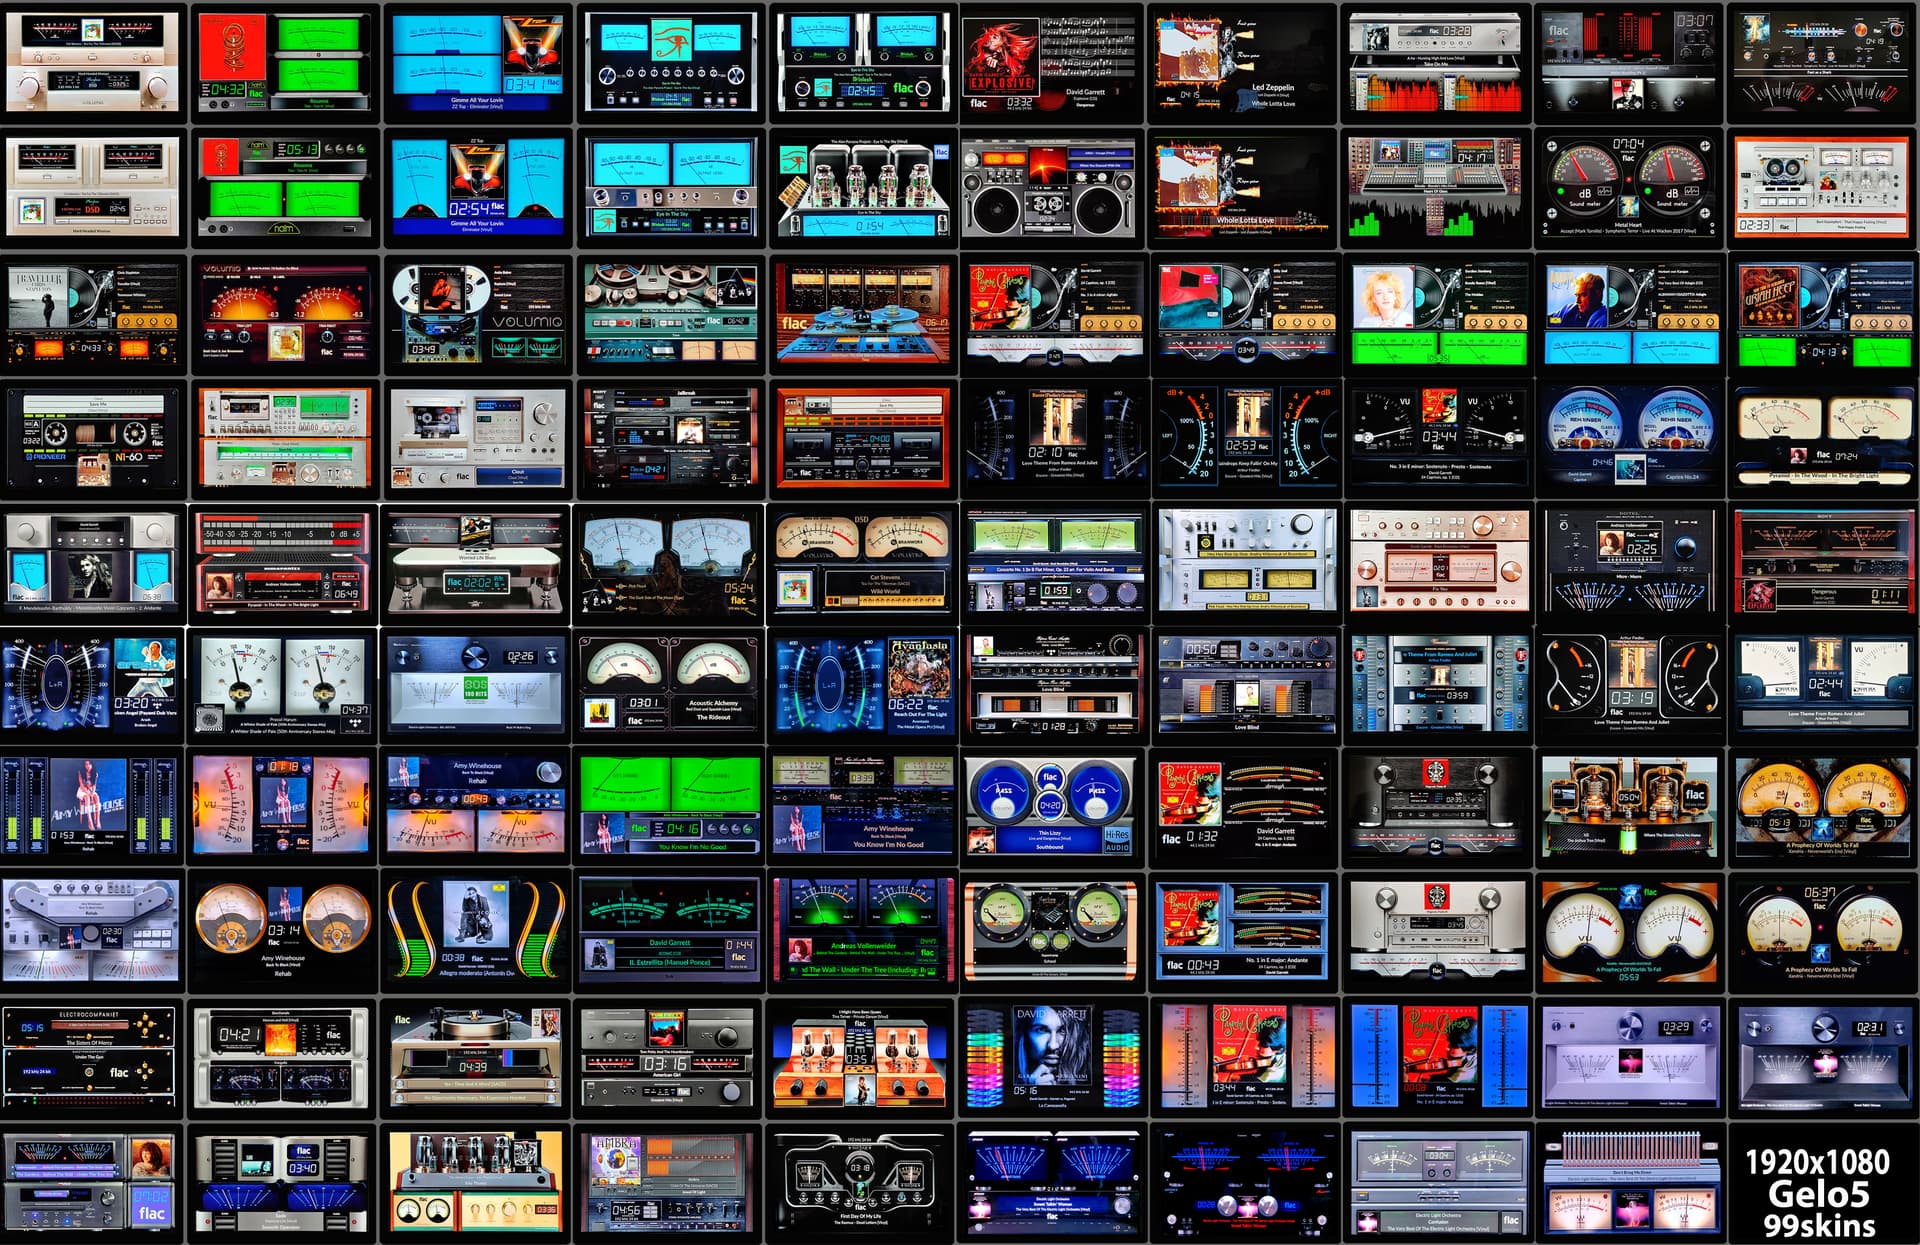
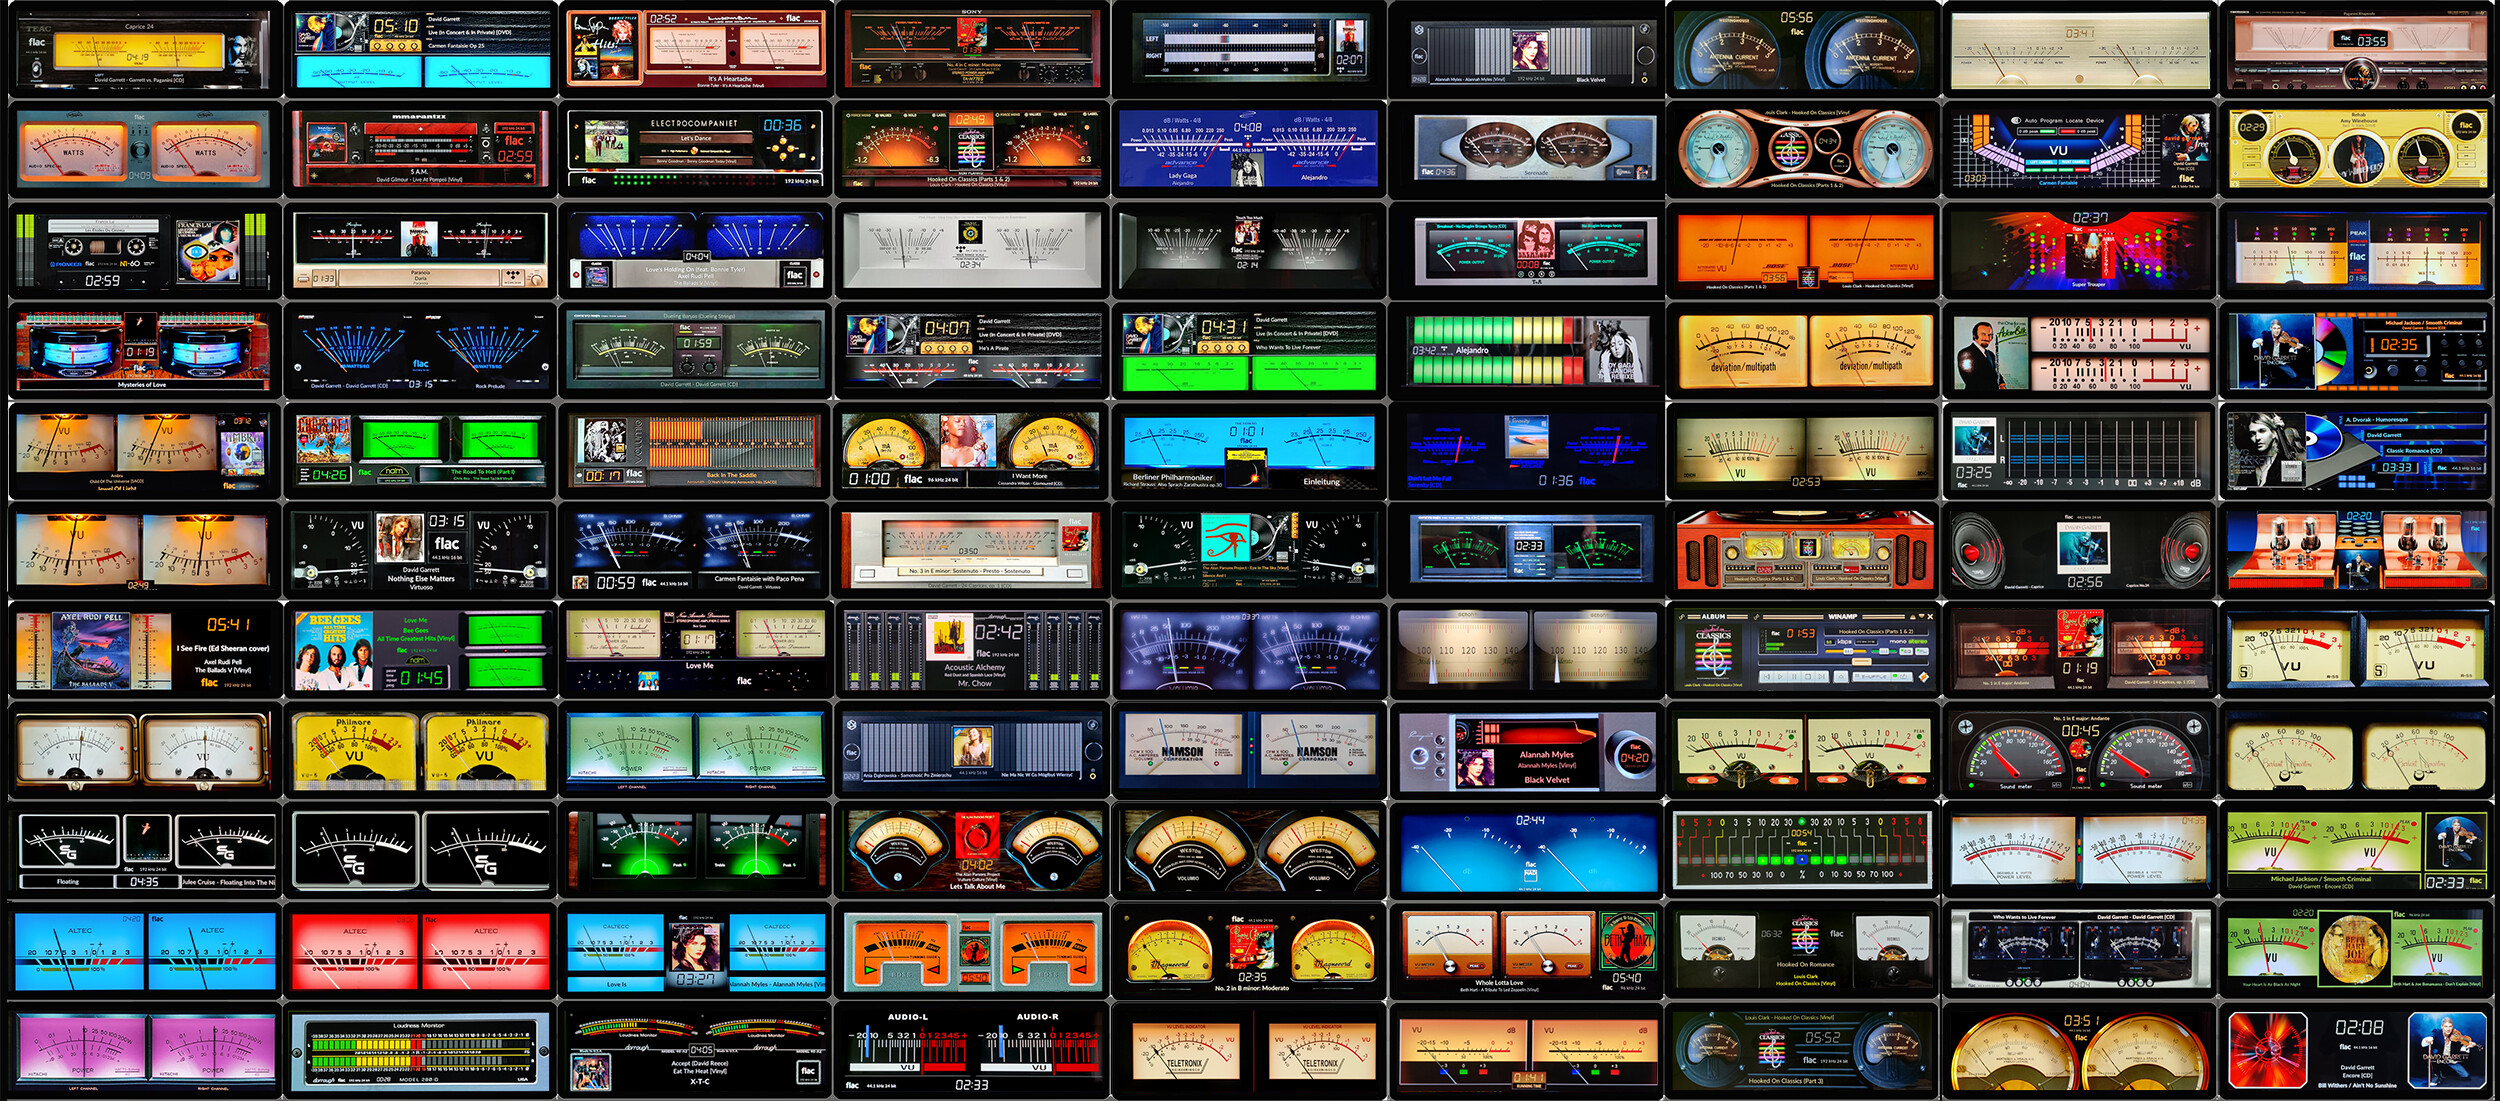
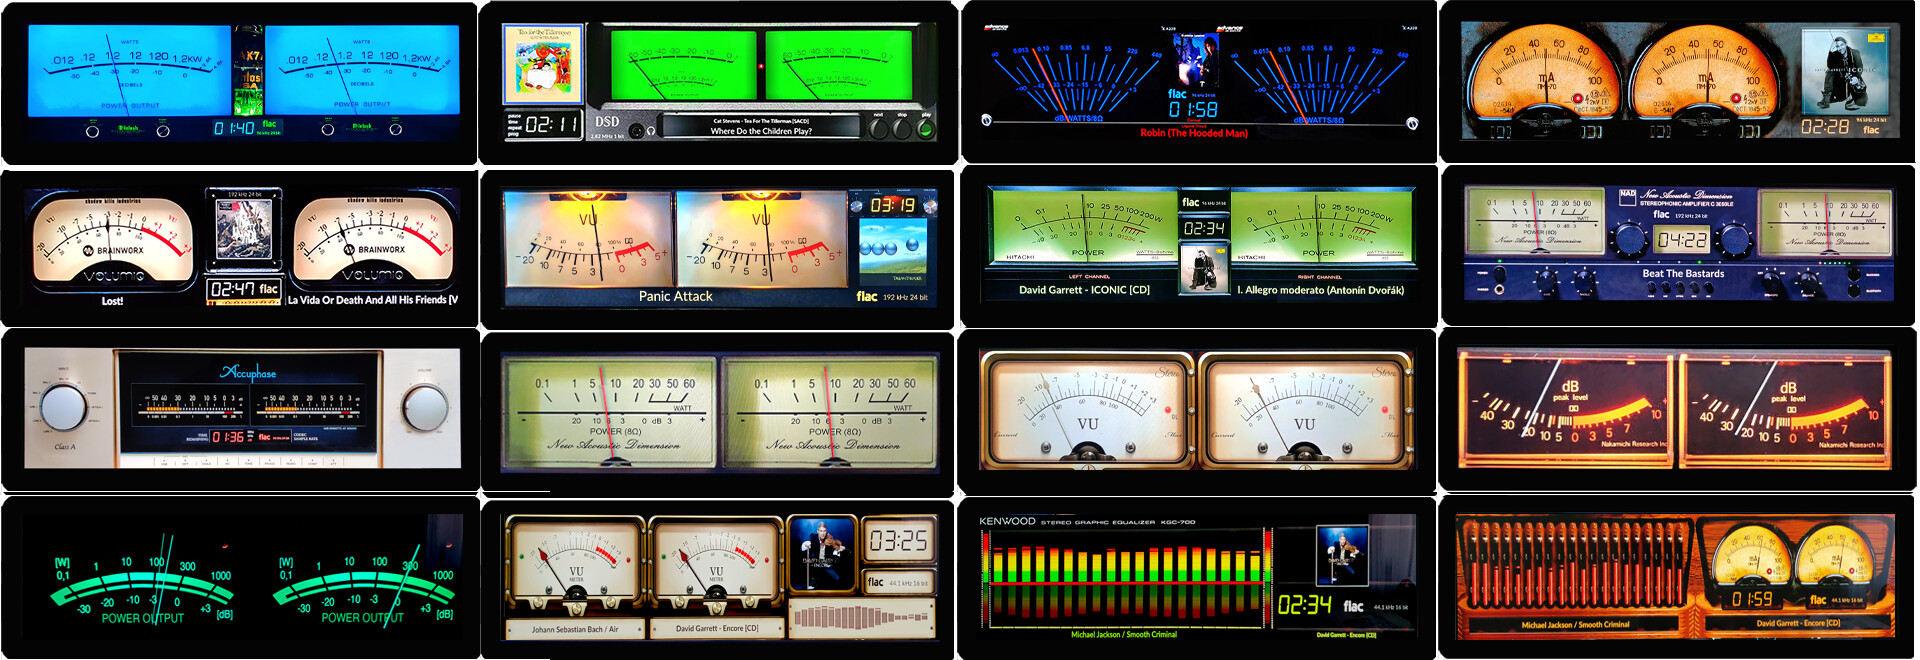
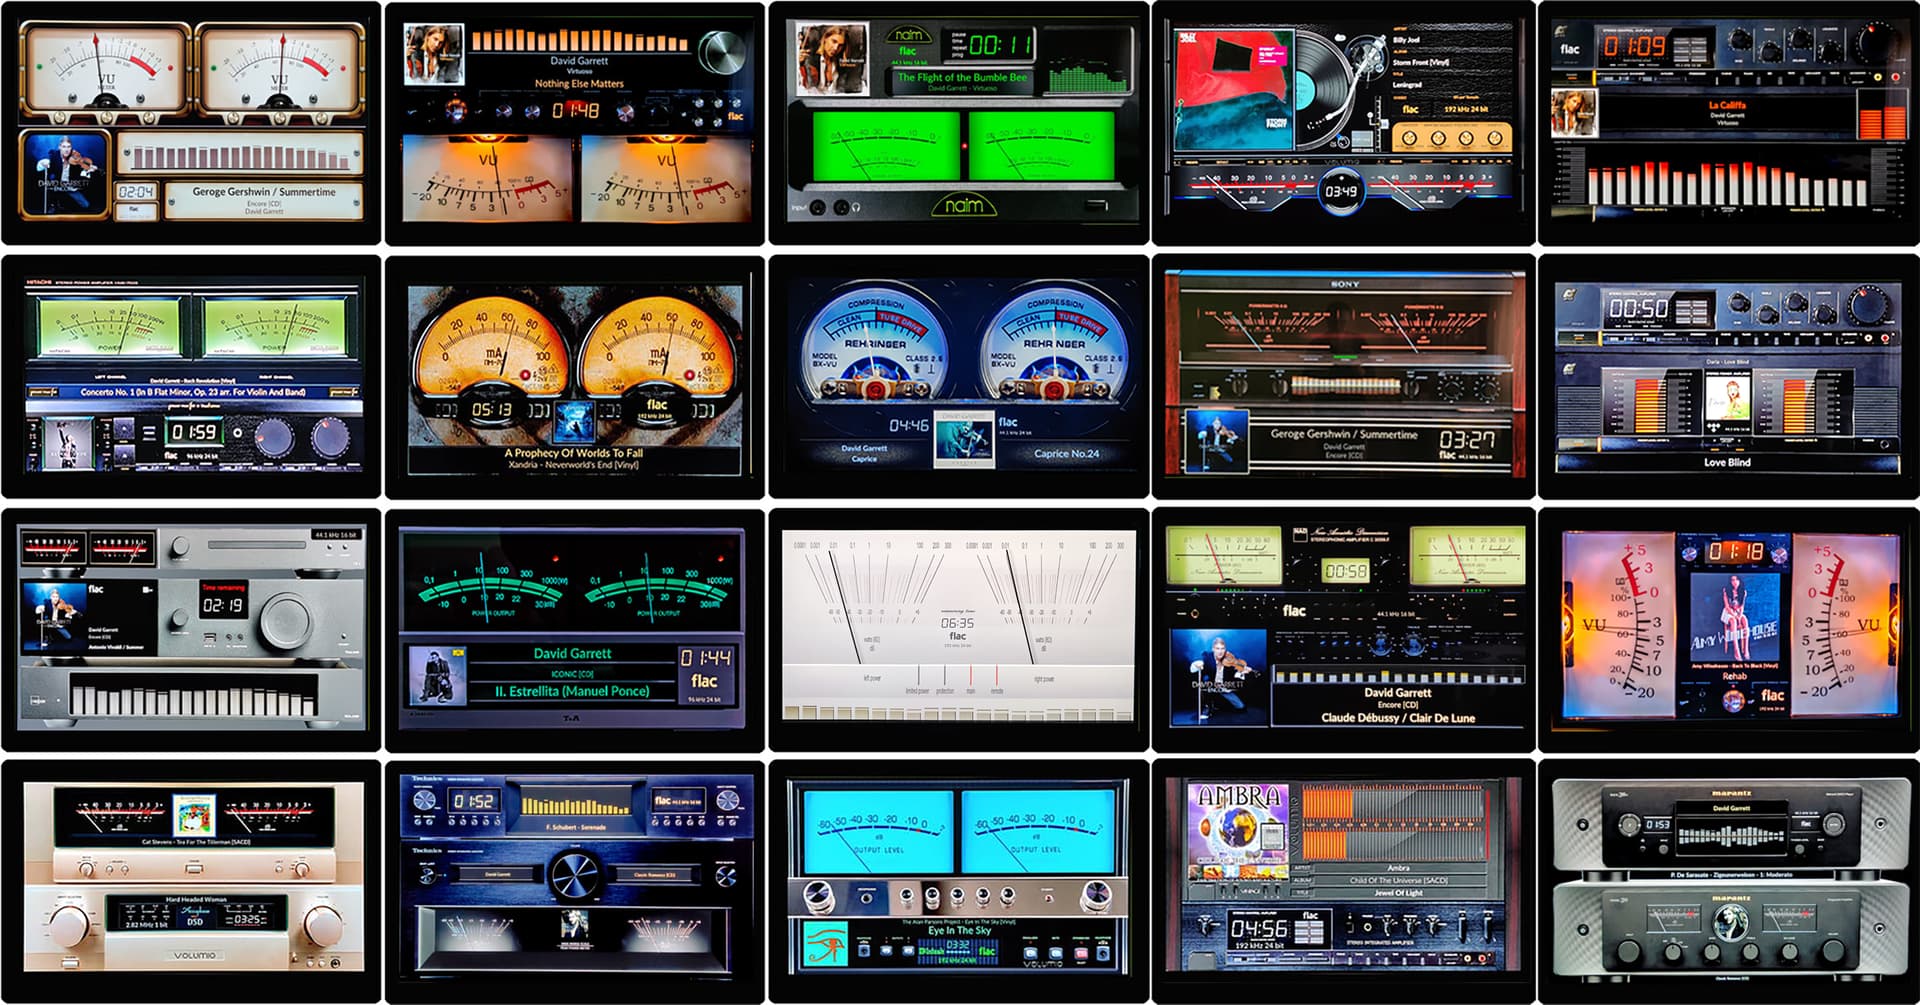
SKINS 1920x1080
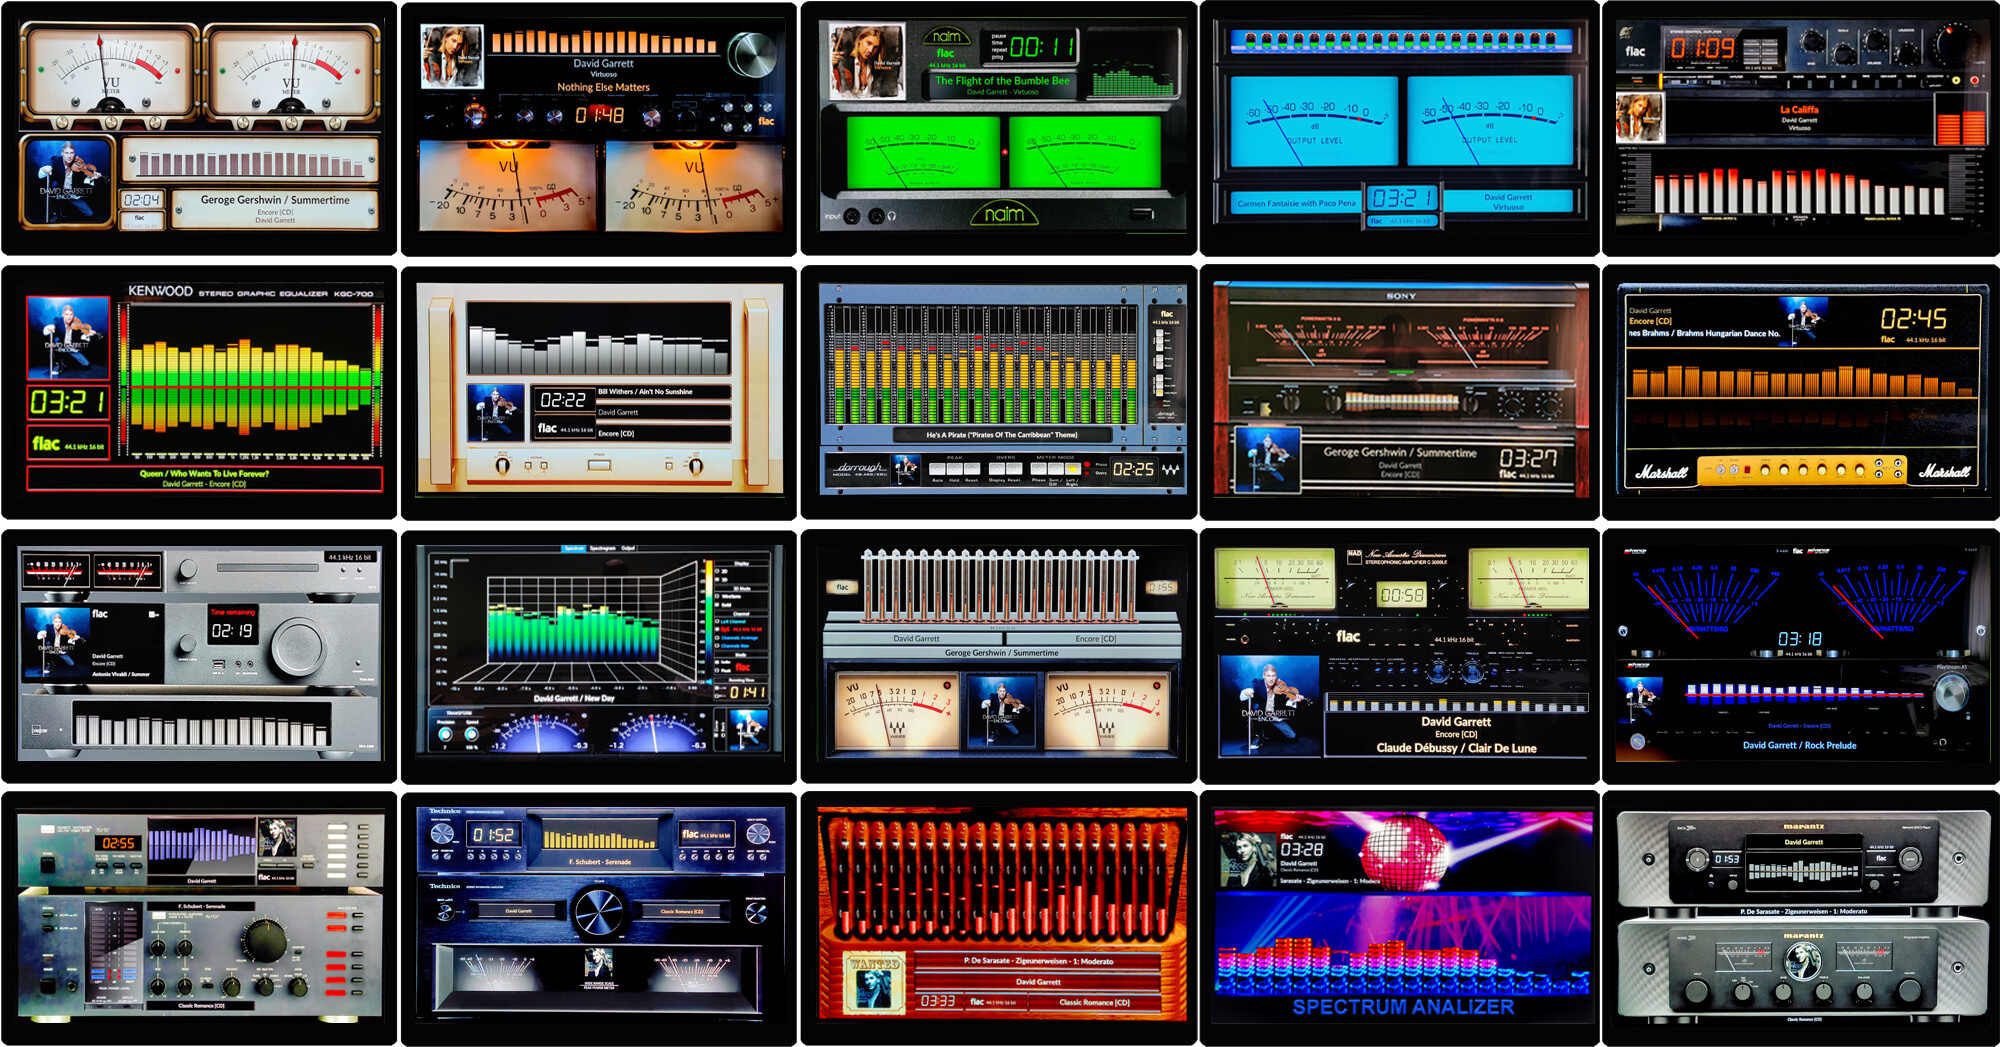
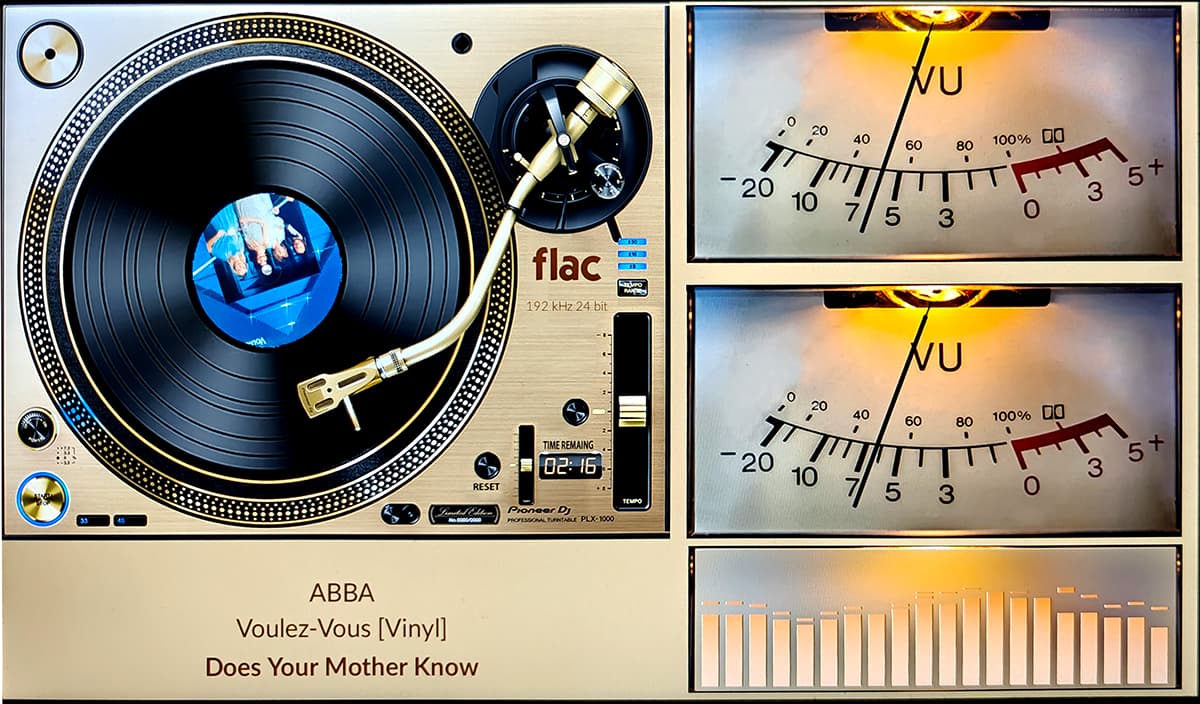
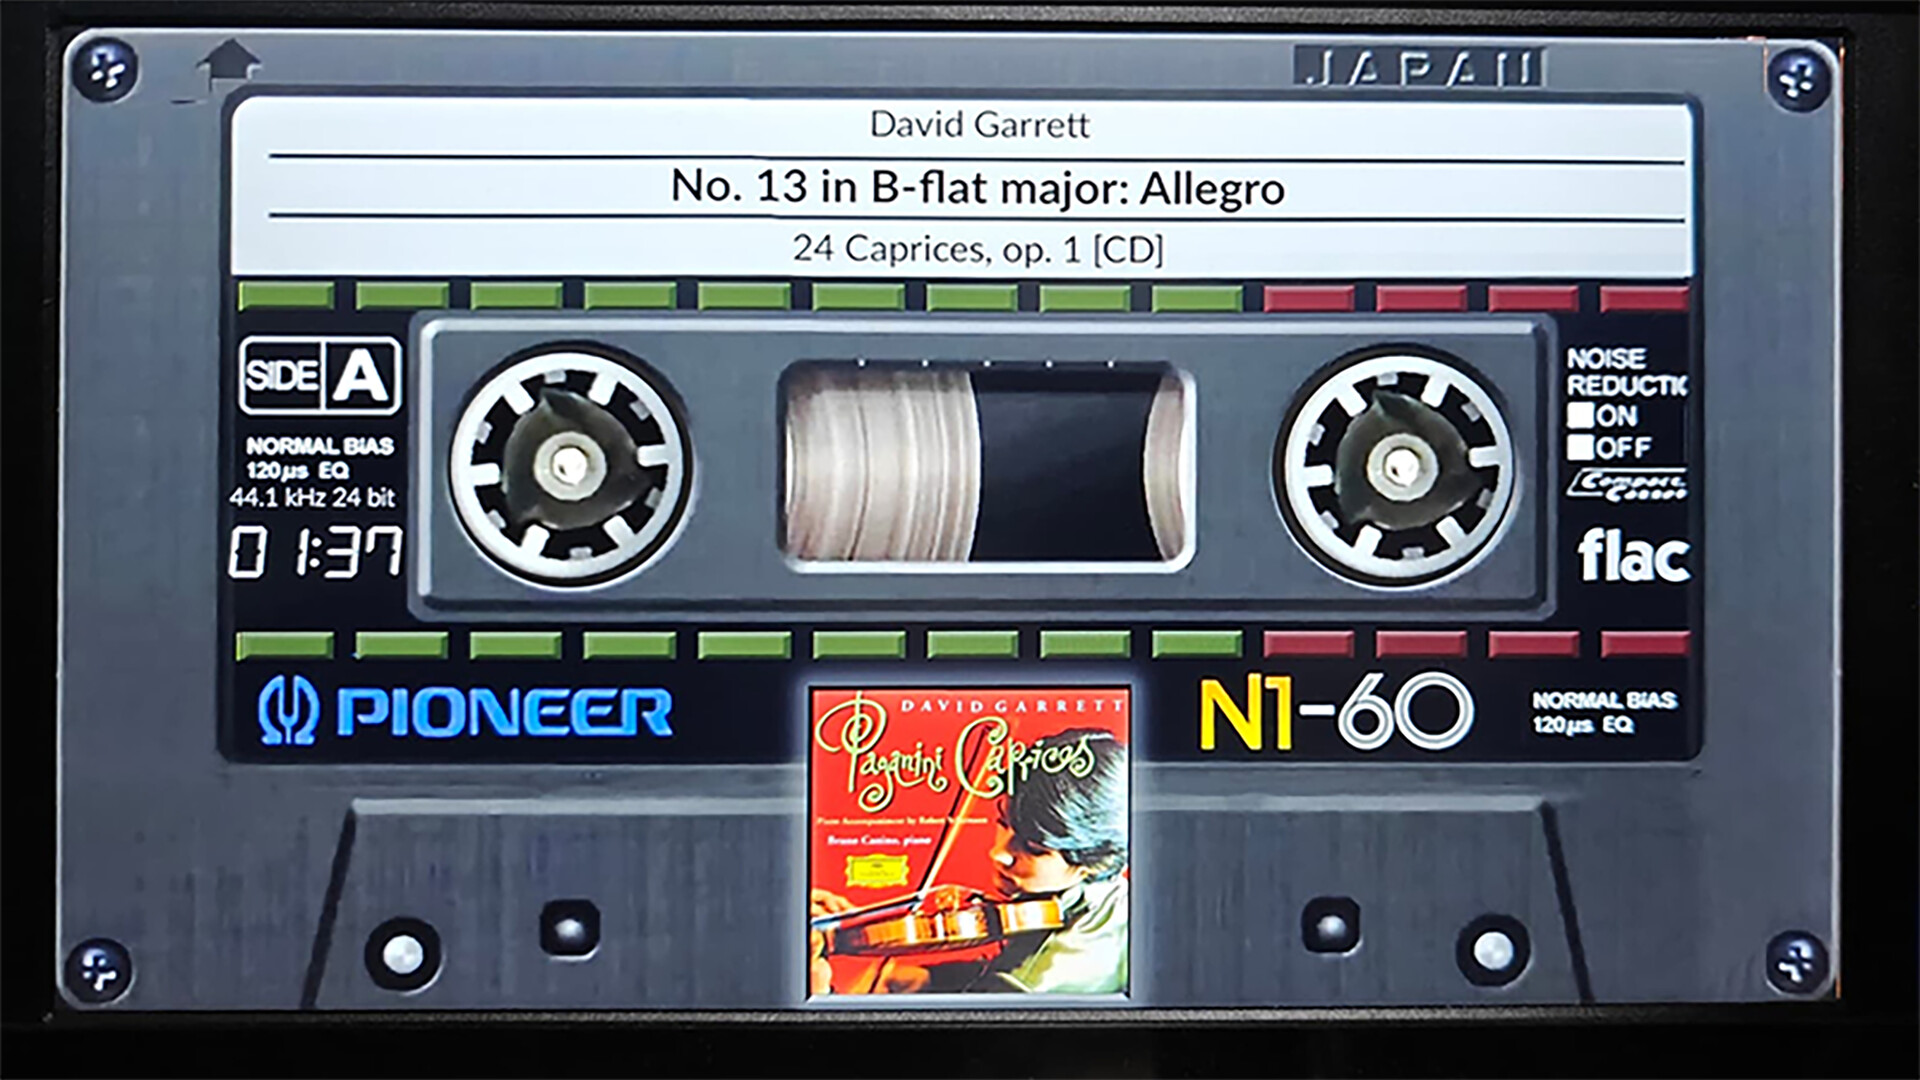
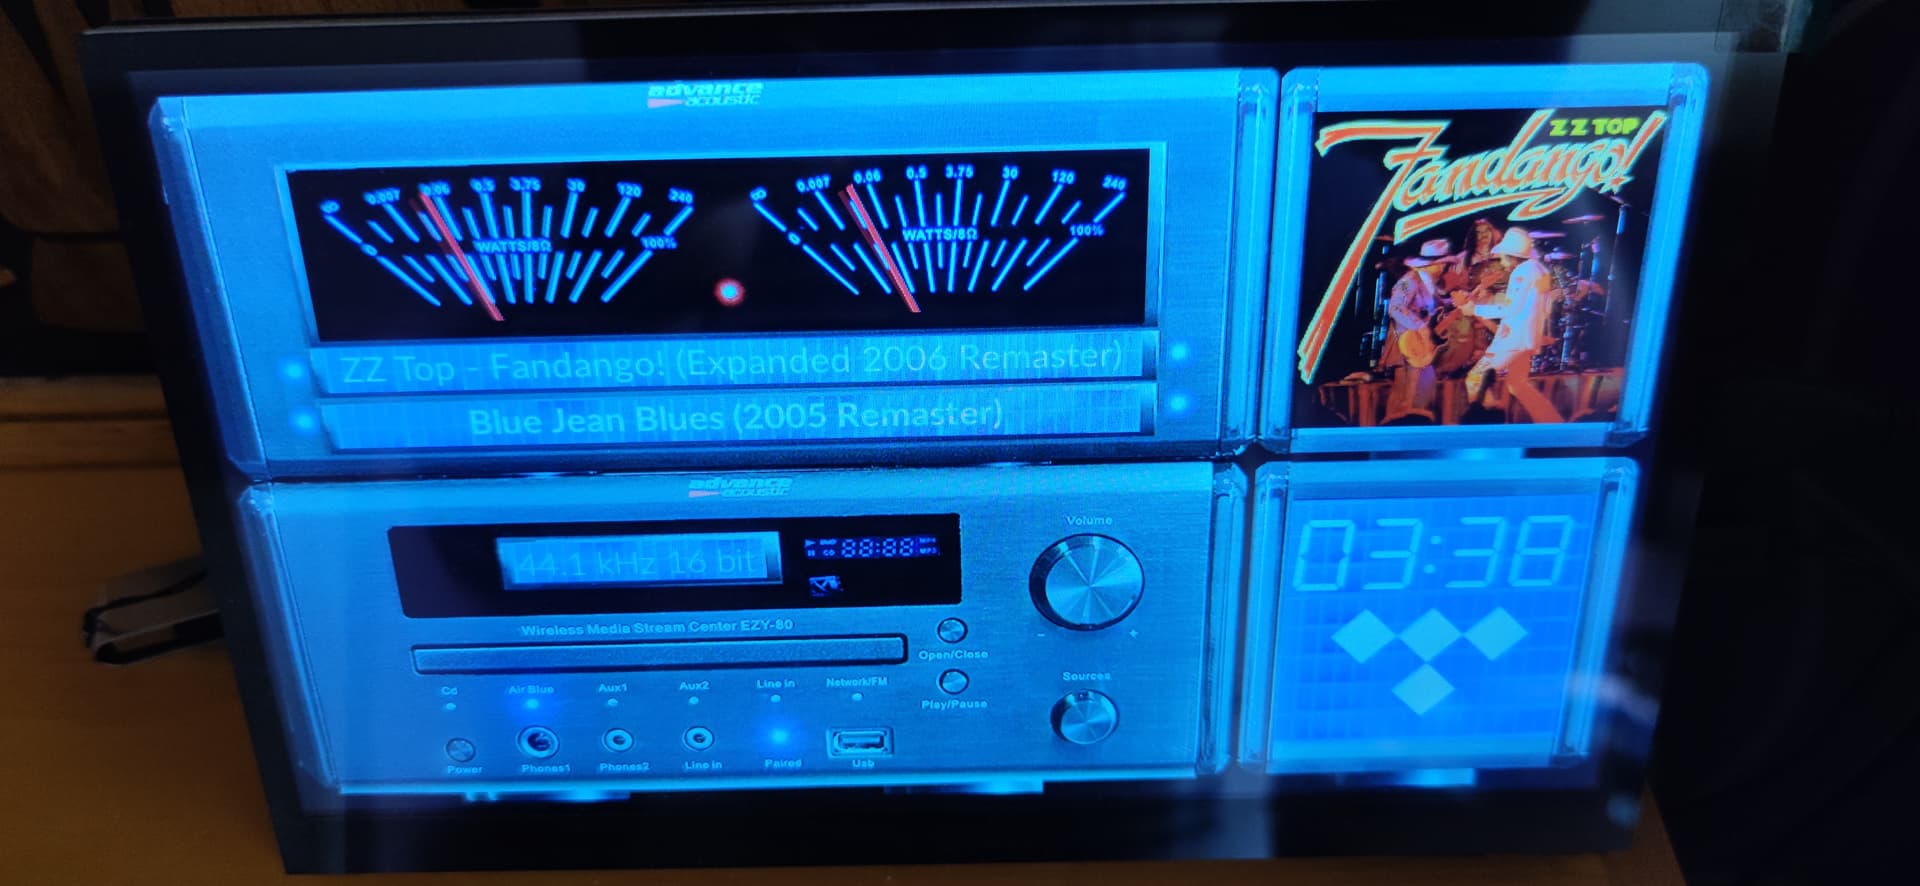
How it works (Spectrum+Meters)? Watch the video from @dc2geeks

Meters

Meters+Spectrum
-------------------
SKINS 1920x550

Meters
-------------------
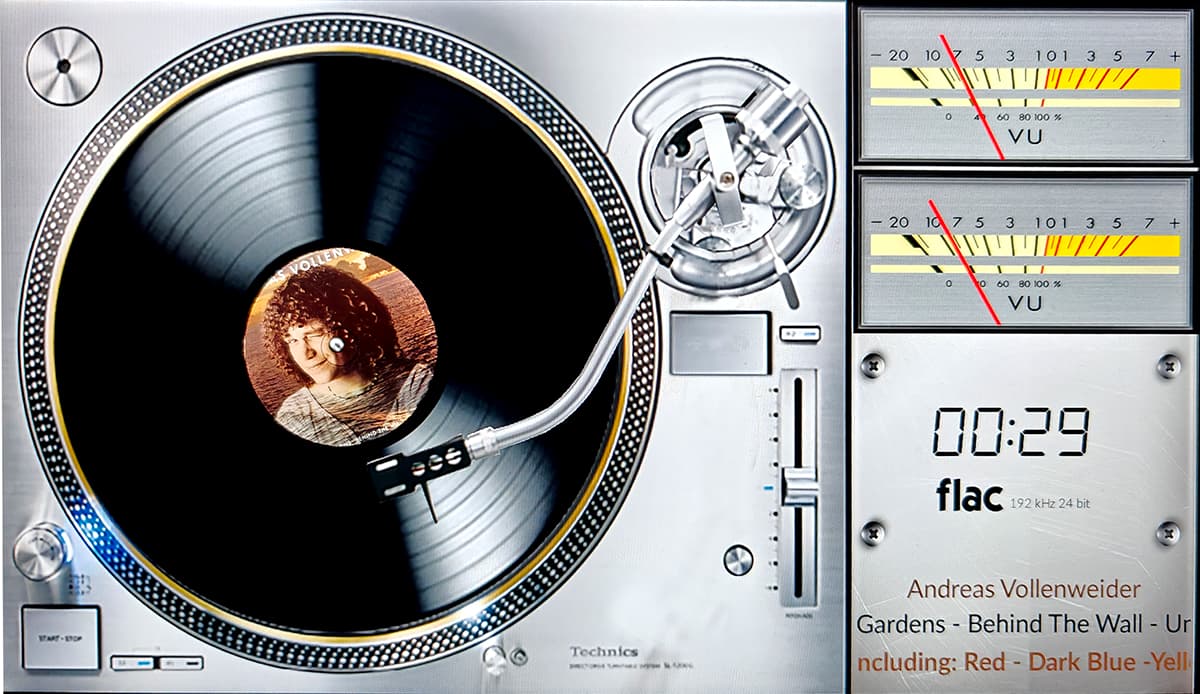
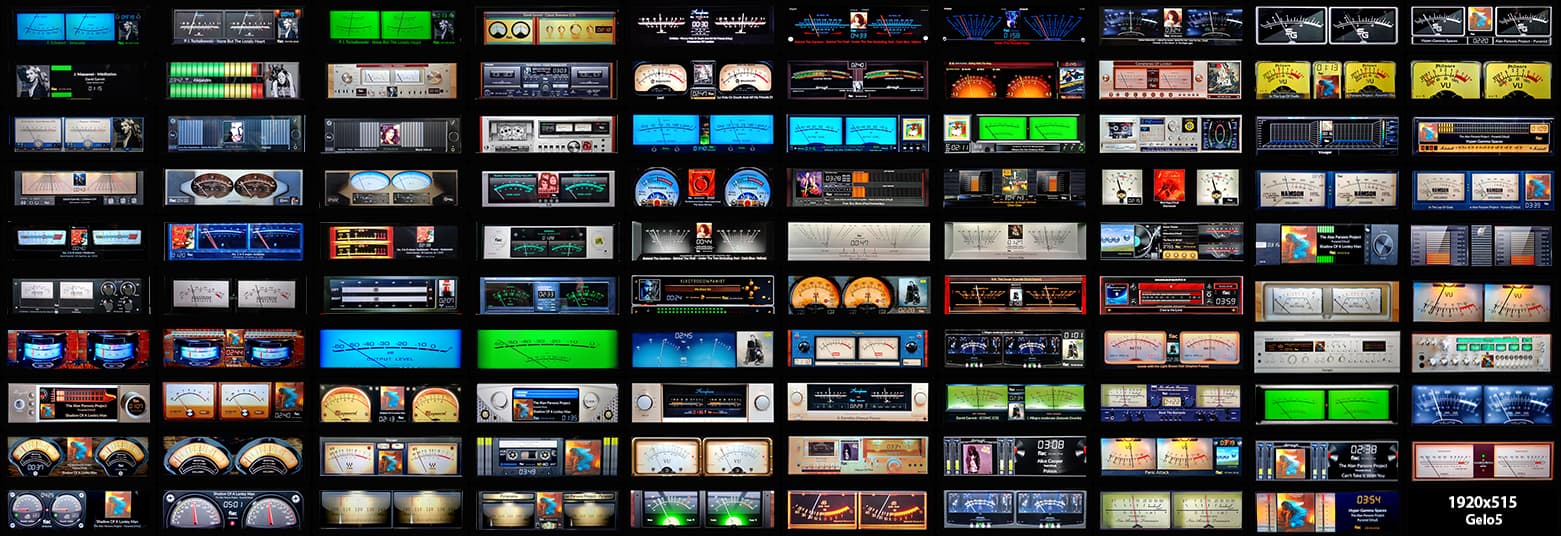
SKINS 1920x515


How it works (Spectrum+Meters)? Watch the video from @dc2geeks

Meters
Meters+Spectrum
-----------------------------
SKINS 1280x400
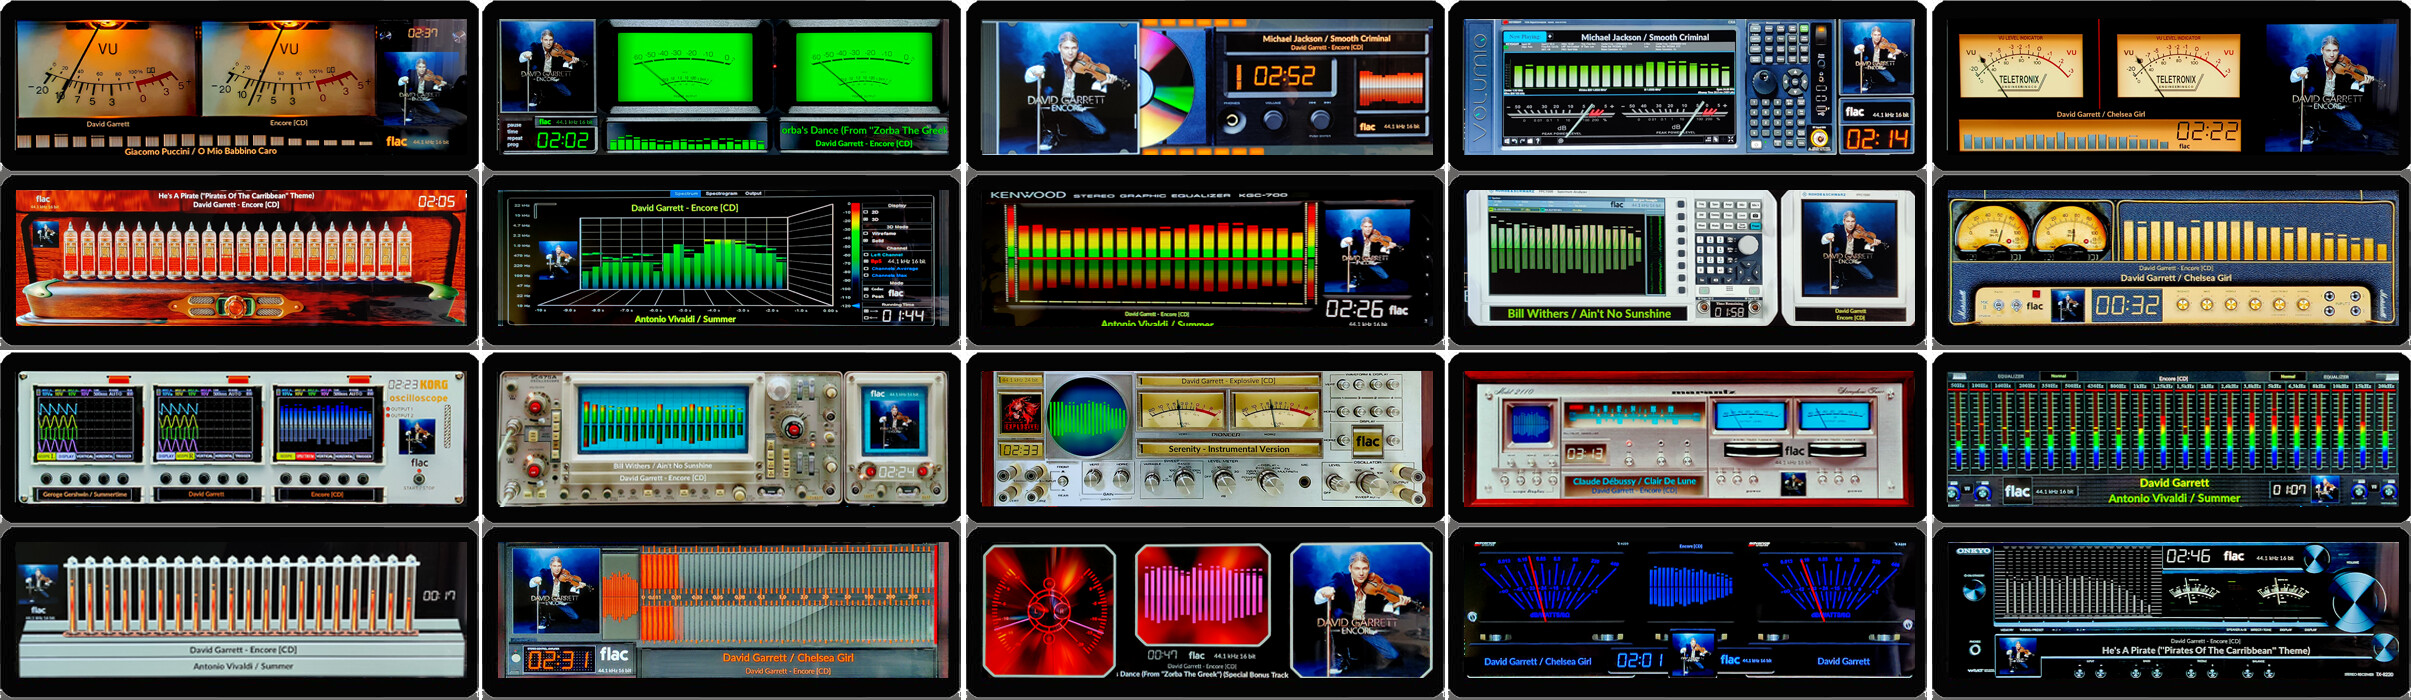
How it works (Spectrum+Meters)? Watch the video from @dc2geeks

Meters
Meters+Spectrum
--------------------------------
SKINS 1480x320


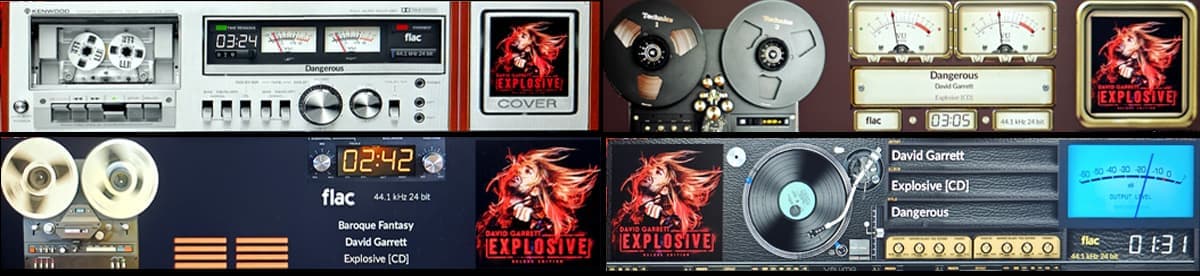
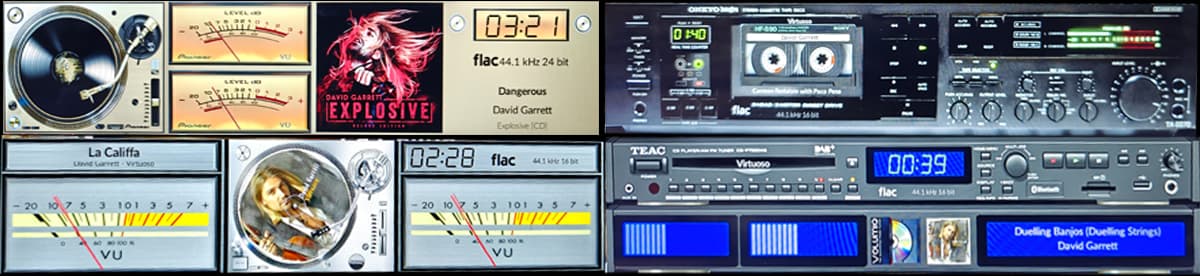
Meters
Meters+Spectrum
---------------------------------
SKINS 1280x800
Meters
Meters+Spectrum
--------------------------------
SKINS 1024x600
Meters
Meters+Spectrum
---------------------------------
SKINS 800x480
You can delete unused resolutions, e.g. custom 1024x600, 1920x515, 1920x1080 etc.
Meters
Meters+Spectrum
-------------------
SKINS 1920x480

Meters
Meters+Spectrum
----------------------------
SKINS 3840x2160
Meters+Spectrum
23 Likes
Great work! Many thanks for sharing.
Happy Easter.
2 Likes
Really nice work!! is it possible to have some of this skins scaled down to 800 x 480?
Happy Easter!
1 Like
How to install Peppymeter Screensaver correctly (Raspberry)?
-
Devices needed:
*Raspberry Pi 3 or 4 or 5
*SD card, preferably fast, 32GB or larger -
Additionally:
*Internet connection
*monitor (preferably HDMI)
*external DAC or Raspberry shield -
Extra: Volumio app - for your system
for Android
for iOS
- Volumio image
Original Volumio image
let’s start:
- Download the original volumio image (.zip)
- Unpack on your computer (there will be 2 files - .img, and .md5)
- Using the Balena/Pi Imager program, load the image onto our SD card
- Insert the SD card recorded in this way into Raspberry
Connect the monitor (HDMI) and turn on Raspberry
Wait for the volumio to load
The commands will appear on the monitor
The Volumio logo may appear
Type in the web browser
volumio.local
- a welcome window will appear
- follow the messages, configure volumio (language, name, internet, etc.)
- at the end we will receive information that volumio has been configured
everything happens in the browser, nothing appears on the monitor yet
Now we go to: plugins - search plugins - user interface
Select Touch Display - and install (it will take about 10-15 minutes)
- Then enter: volumio.local/dev in the browser
- Mark: Plugin Test Mode - TRUE
- Mark SSH - ENABLE
Attention! There will be no notification that we have launched it, but it will definitely work
Restart and now Volumio should appear on the monitor
!If necessary, place monitor data in boot/userconfig.txt
e.g (for 1920x1080 screen)
hdmi_group=2
hdmi_mode=87
hdmi_cvt 1920 1080 60 3 0 0 0
hdmi_drive=2
Before installing Peppyscreen, update your RPi
sudo apt-get update
Let’s start installing the Peppymeter Screensaver plugin
-
Download the latest version of Peppymeter screensaver from POST 7 or GitHub 2aCD as a plugin in zip format
-
Unpack on the computer
-
Will receive a folder “peppy_screensaver”
-
use Filezilla to move the entire folder with its contents to:
/home/volumio
-
Let’s turn off Filezilla and run Putty
-
Log in to Raspberry (if we did not change the name) - login: volumio - password: volumio
-
After connecting - write:
cd /home/volumio/peppy_screensaver
ENTER
next write
volumio plugin install
ENTER
Will be asked whether to install? Enter “Y” and then ENTER
- The plugin is installing. At the end we will receive information about the correct installation
RESTART
- Download additional skins (if you use them) from @peppy.player GitHub or Click on My Avatar
- Load it in the appropriate place (described above)
DONE
My settings:
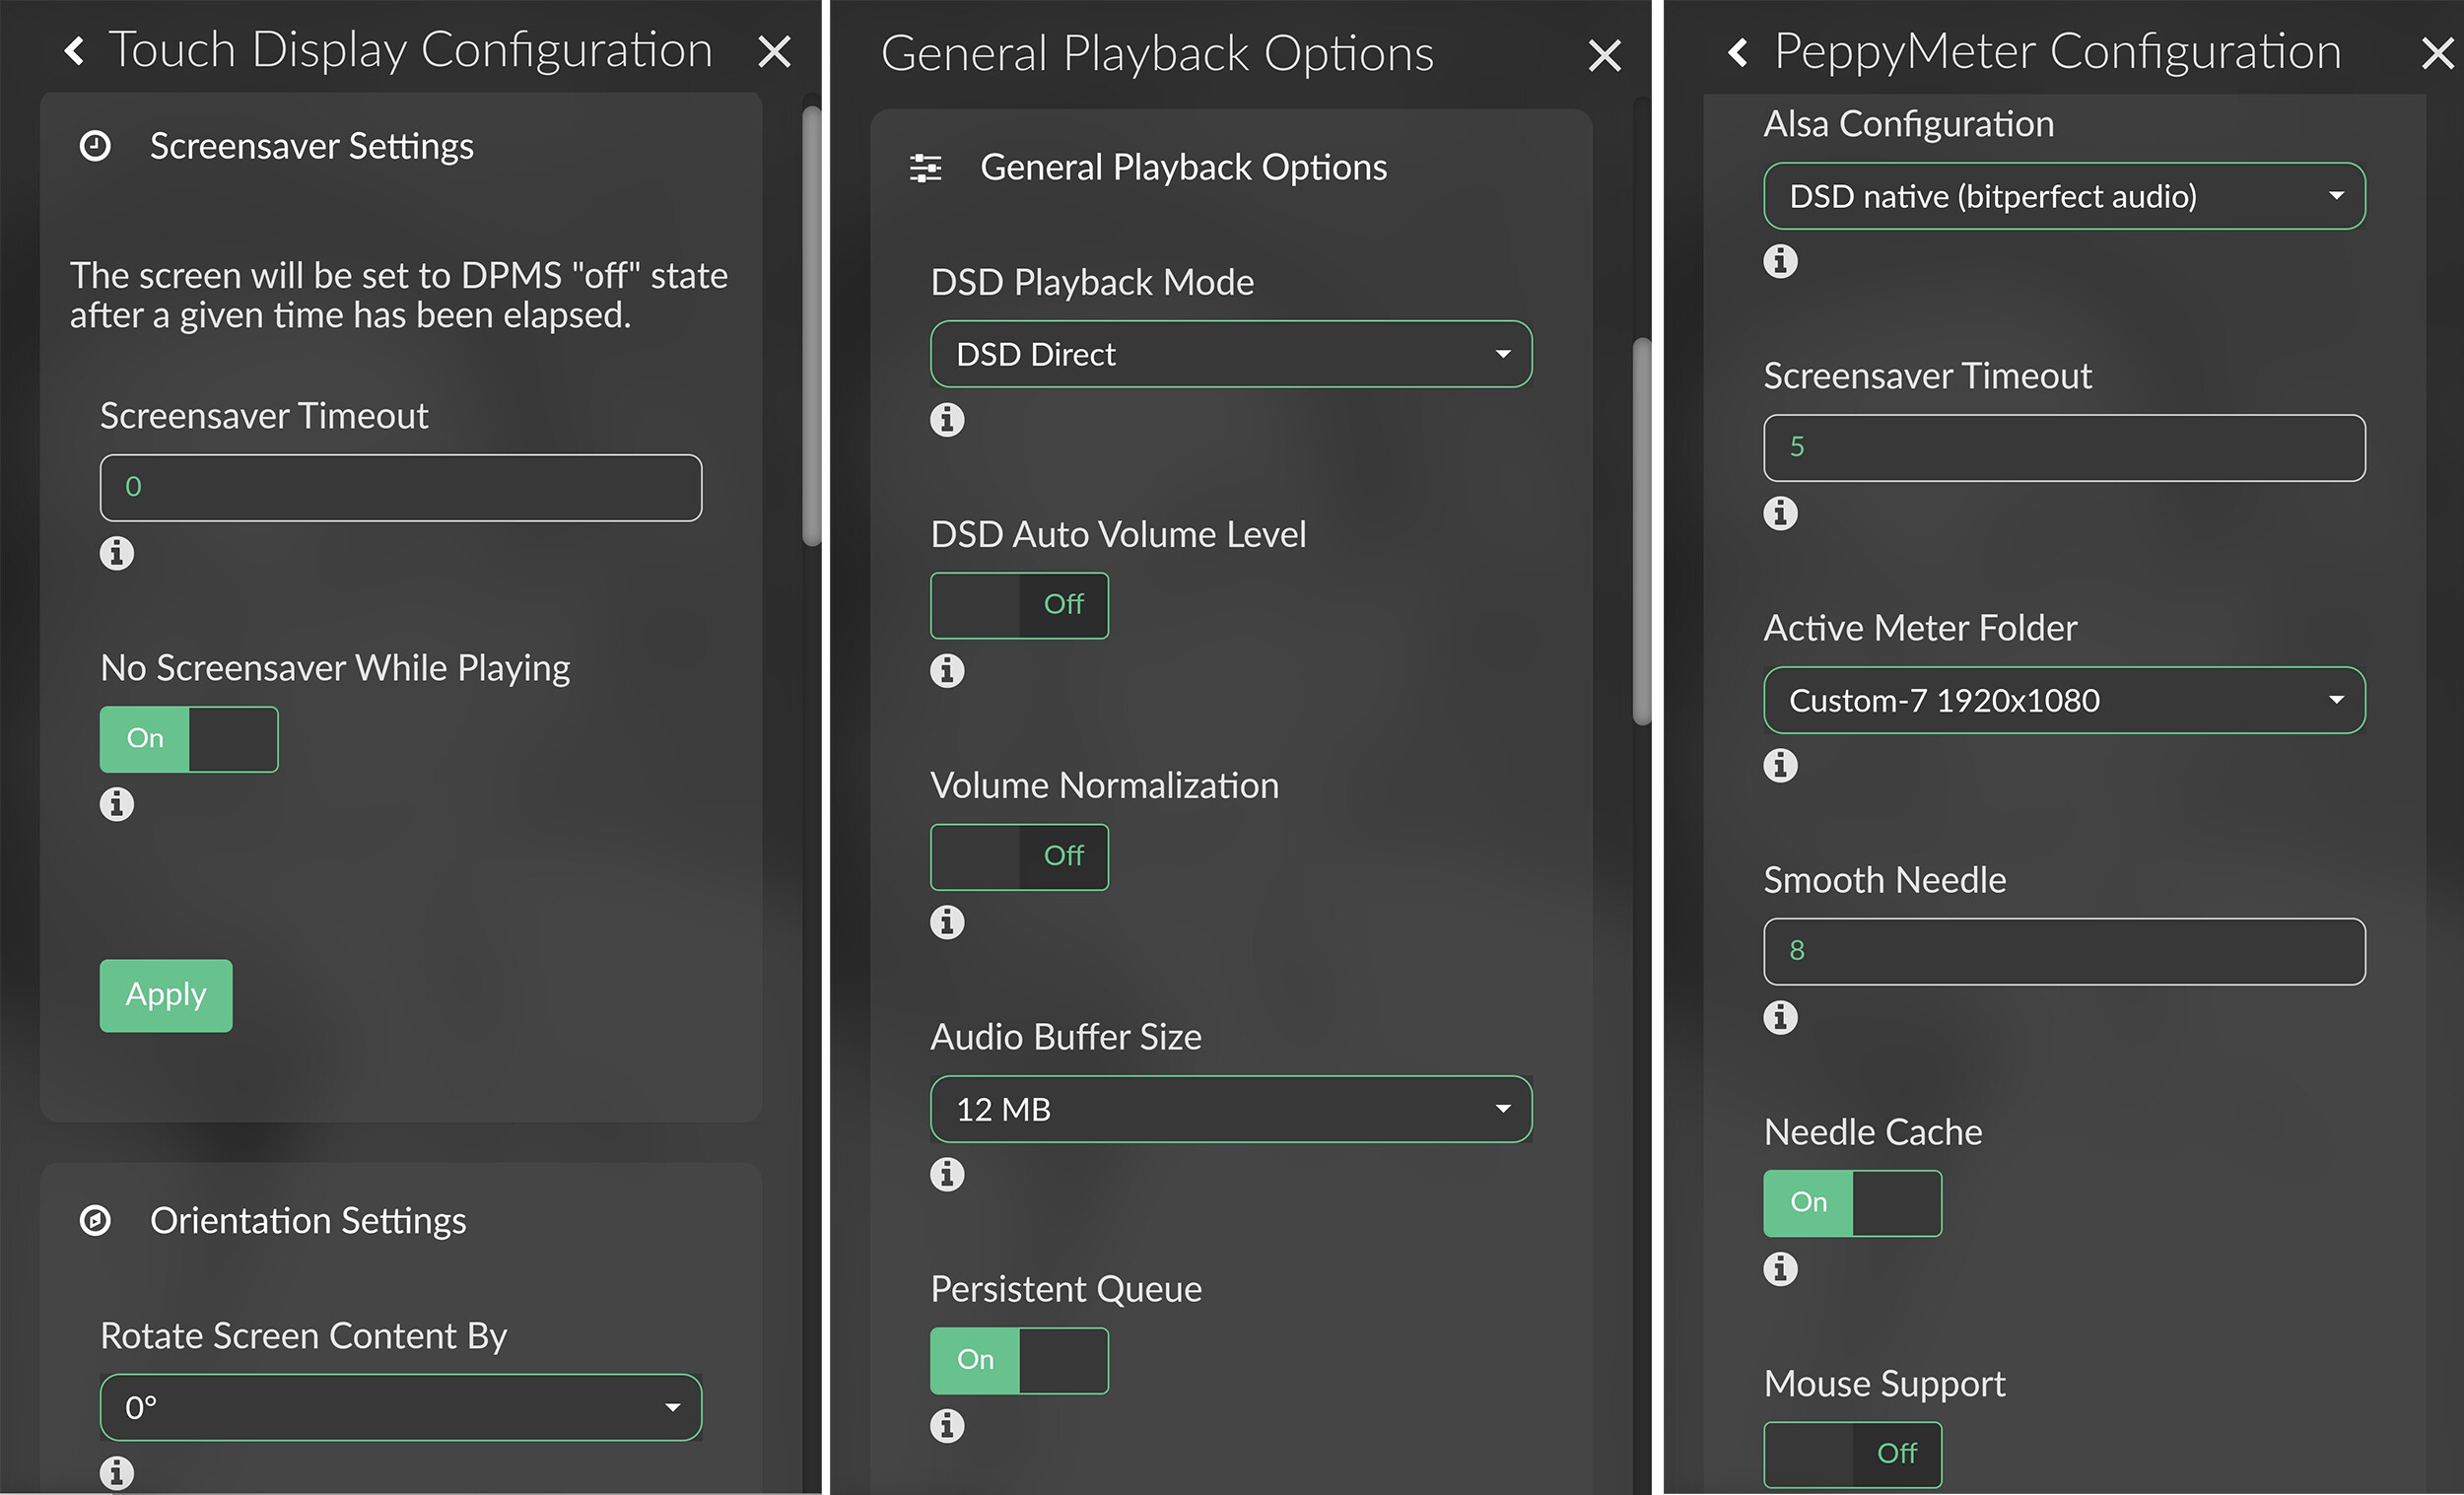
NOTE!
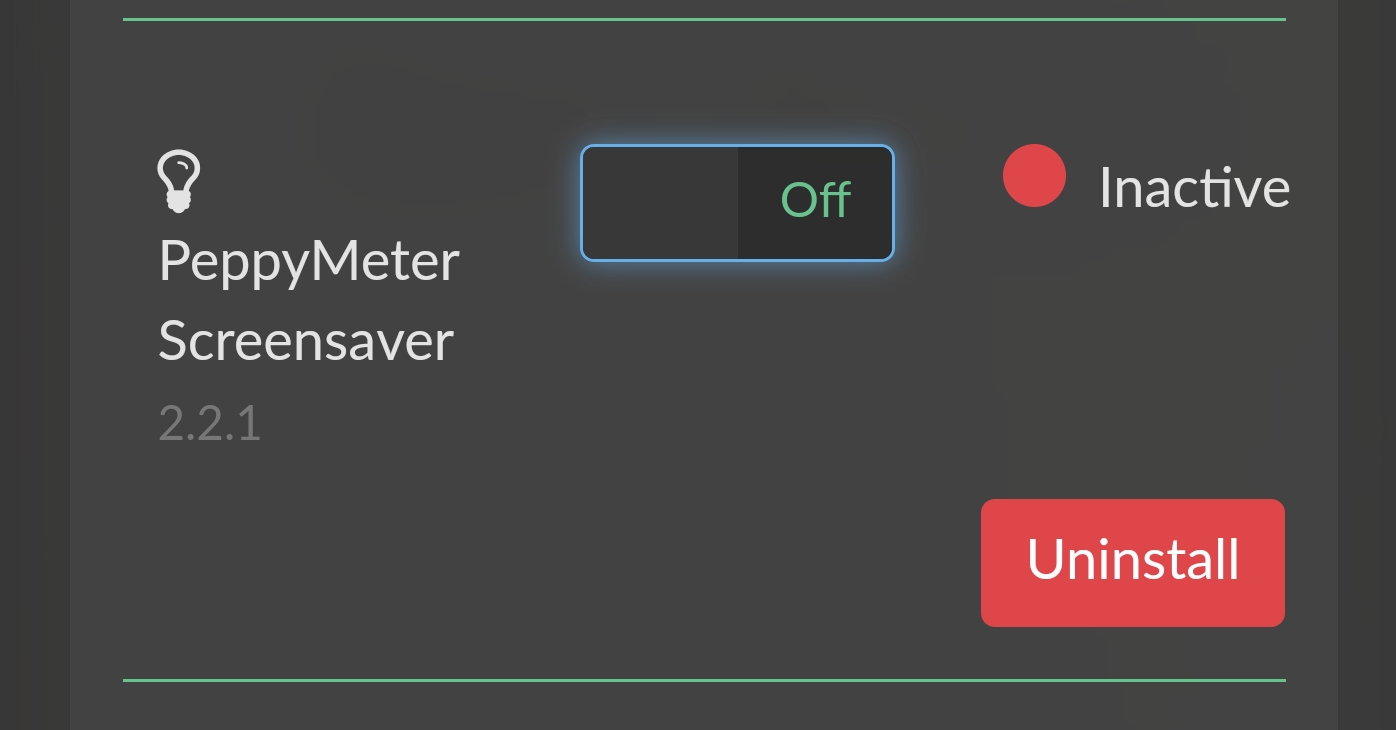
When updating the volumio software OTA: TURN OFF THE PLUGIN!
6 Likes
Thanks! It would be very appreciated.
1 Like
One condition: a minimum monitor of 7 inches. You will not see anything on the smaller ones.
Which skin to scale?
I really like Klanghelm an Accuphase…
1 Like