@Wheaten in other topic you said:
I know that this post has 1,5 year and I don’t want put it there but… maybe my reply can help somebody in next project and I put it here
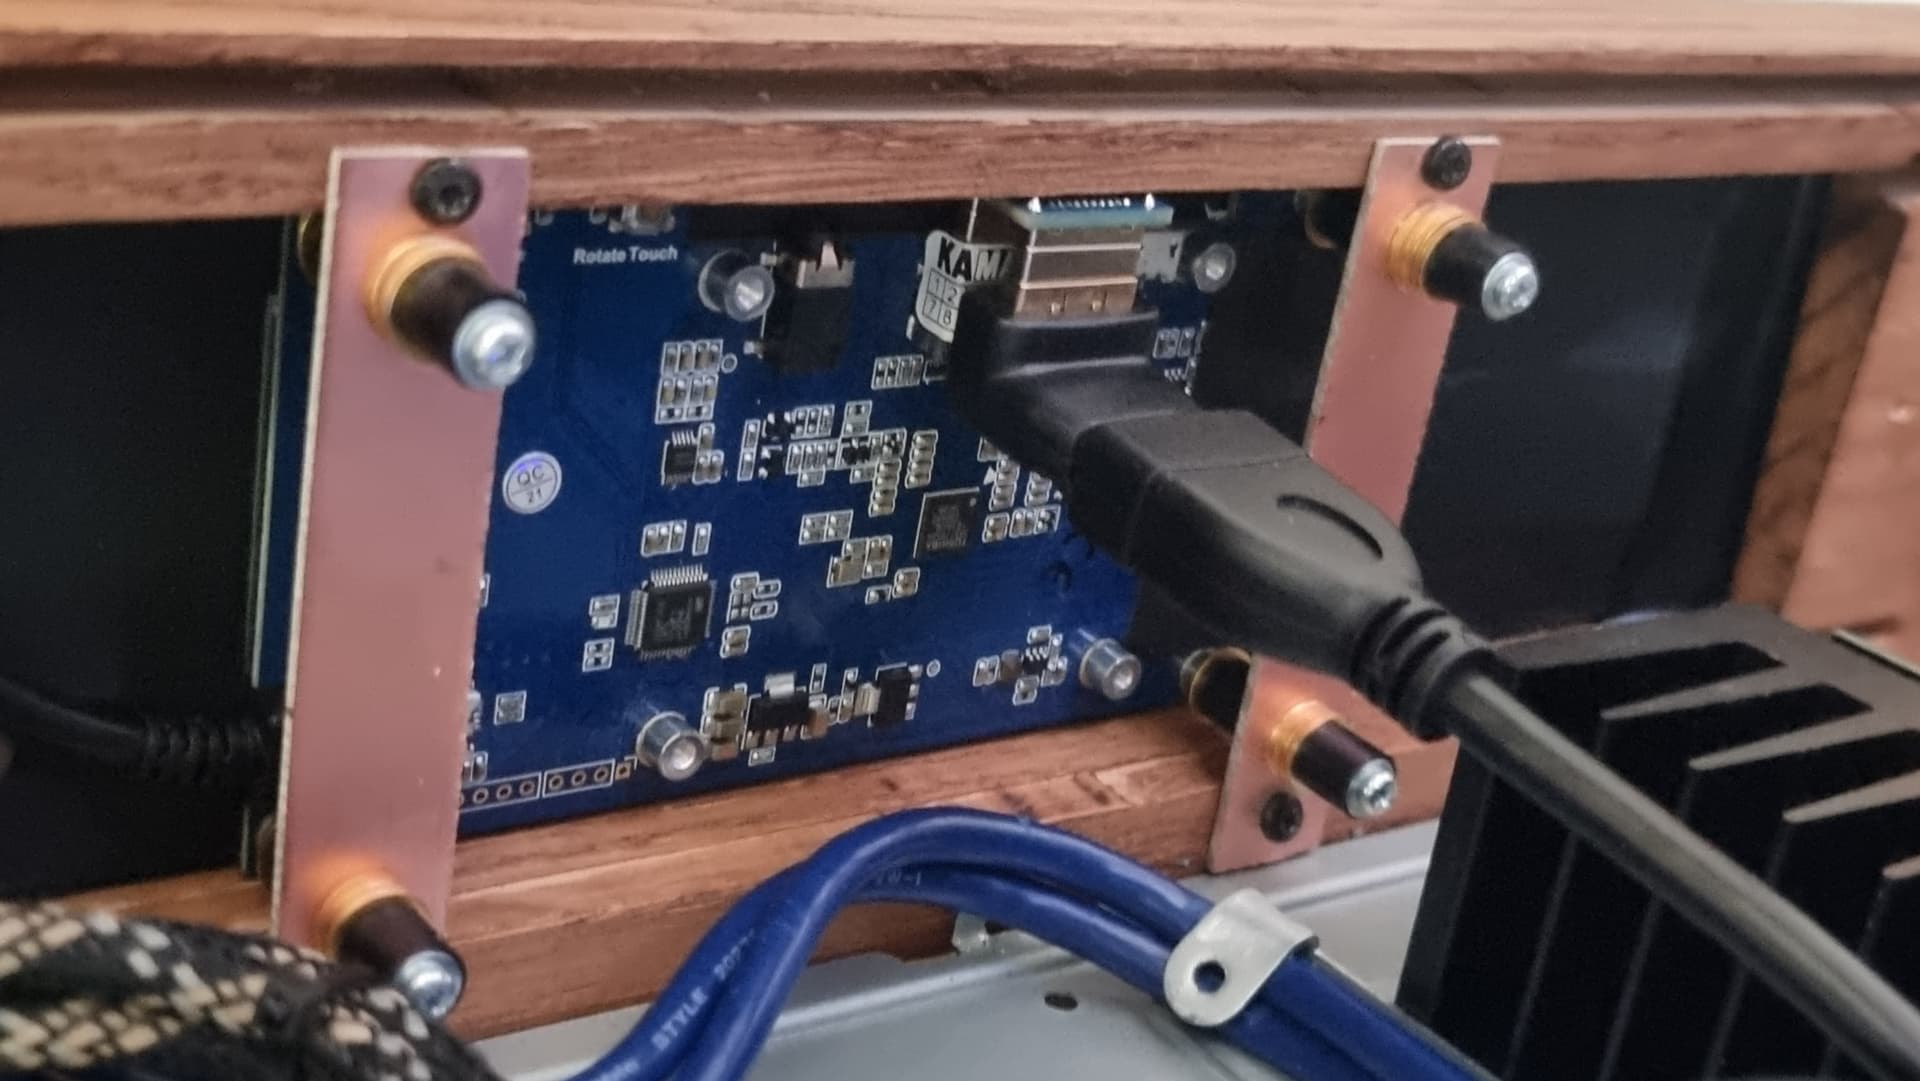
You can cut hole with external diameter of LCD and put LCD inside. After that you prepare mounting like mine below ( it take me 10 minutes ) and mask edges with black tape if you have some green, red, blue LED inside.
You don’t need any milimeters above the screen. With Waveshare you get 180 degrees adapter to mount Pi back to back on LCD
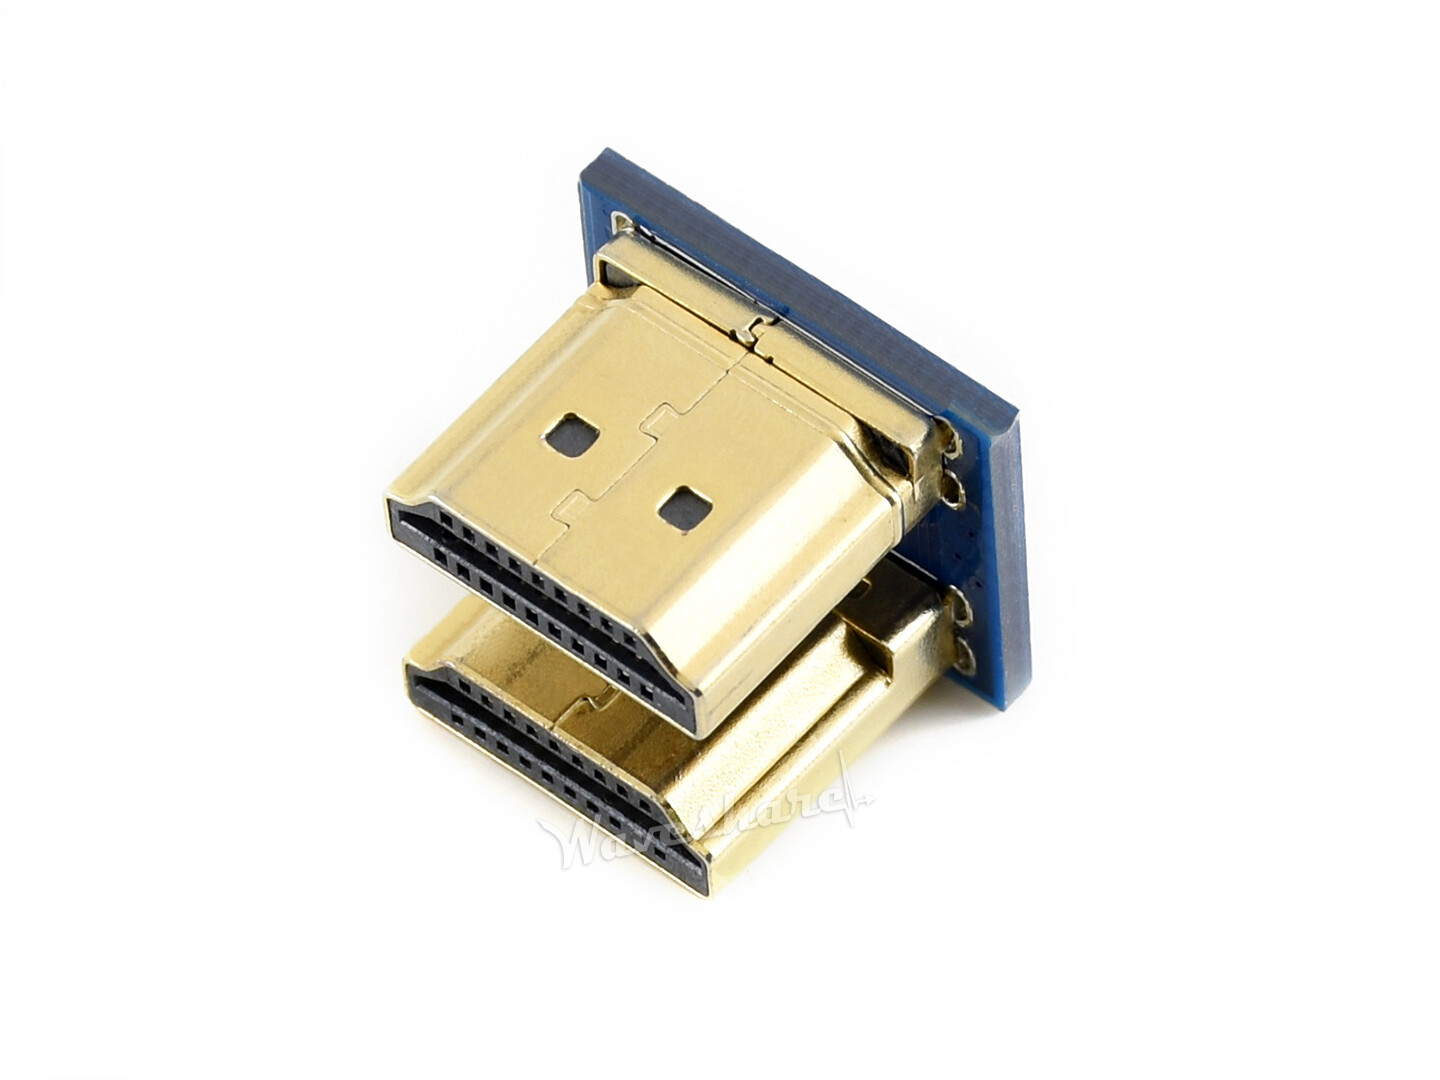
You should use it and mount with female - female HDMI adapter and connect with Pi via standard HDMI cable, or connect this adapter with Pi via female-male HDMI cable.
I use it in my Volumio and have 1 cm above LCD only because I want it, not because I have to.
Mine looks that :
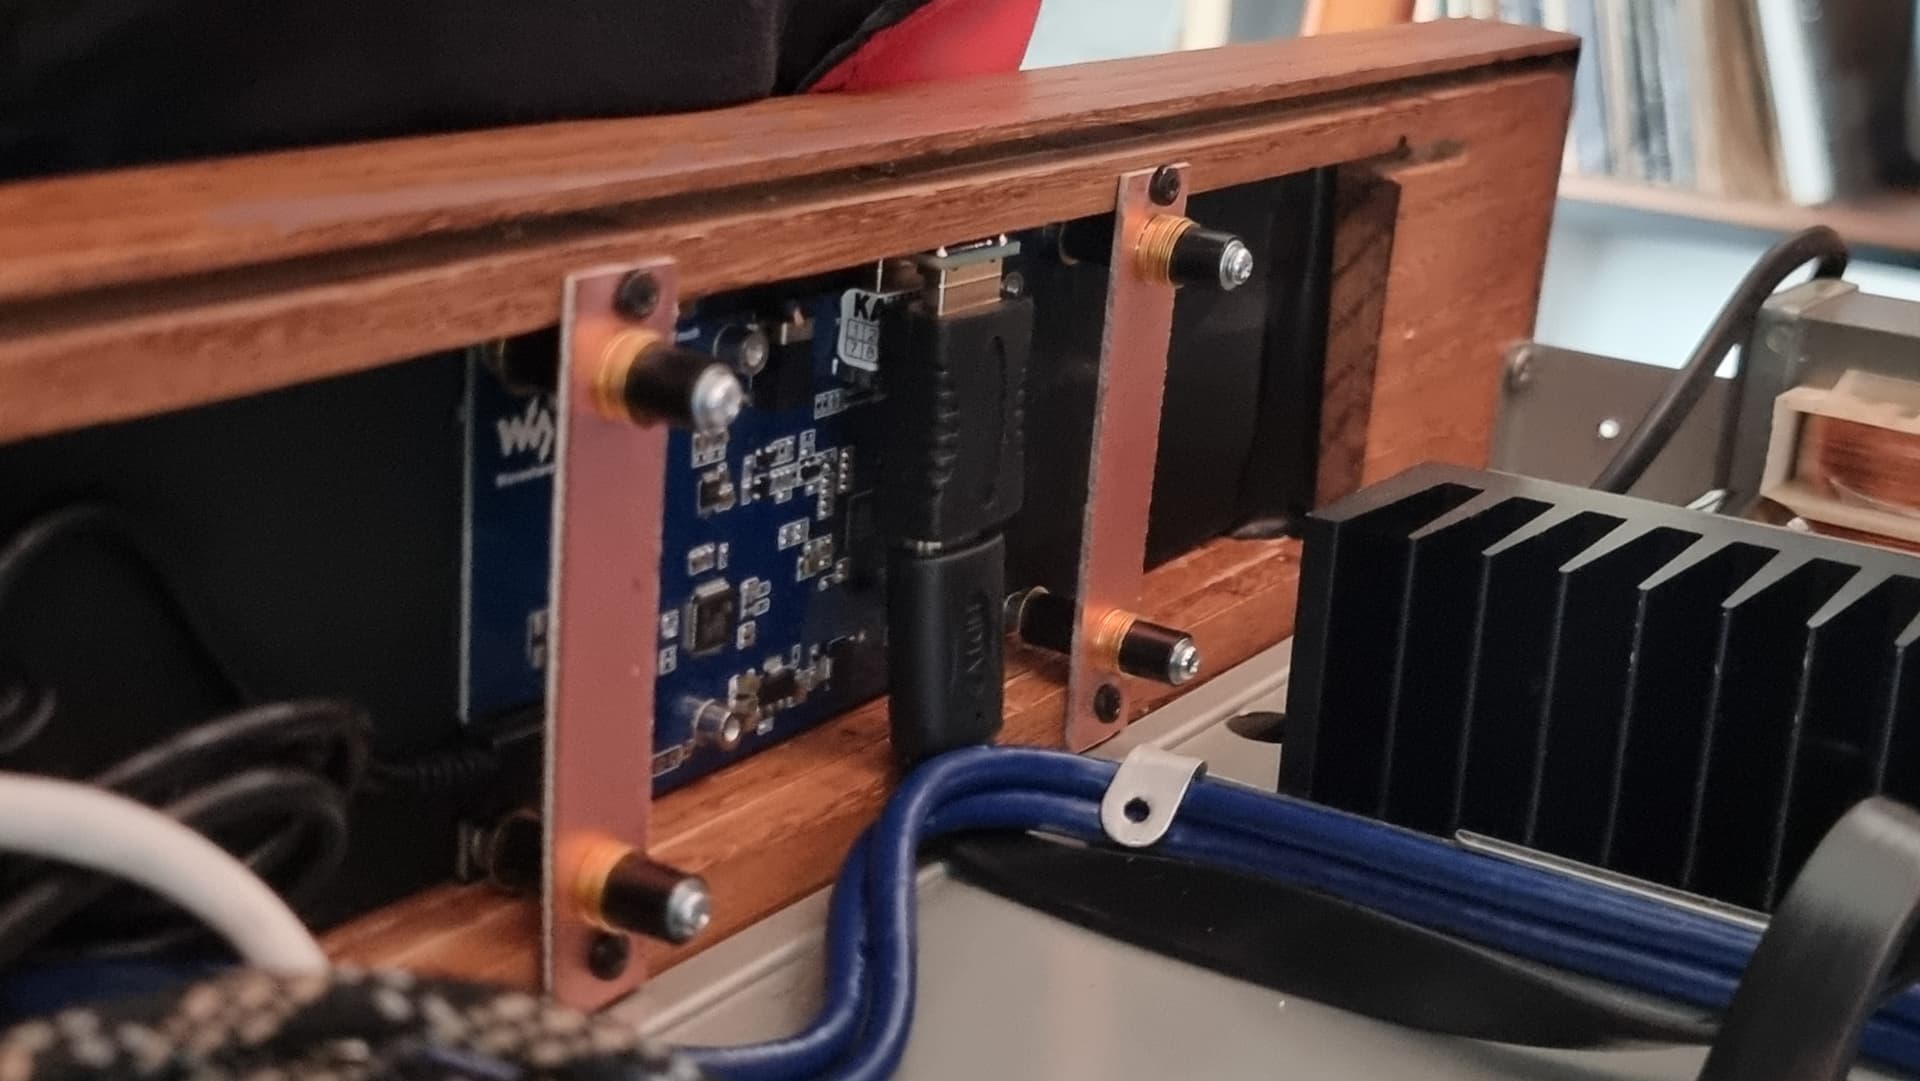
or that: