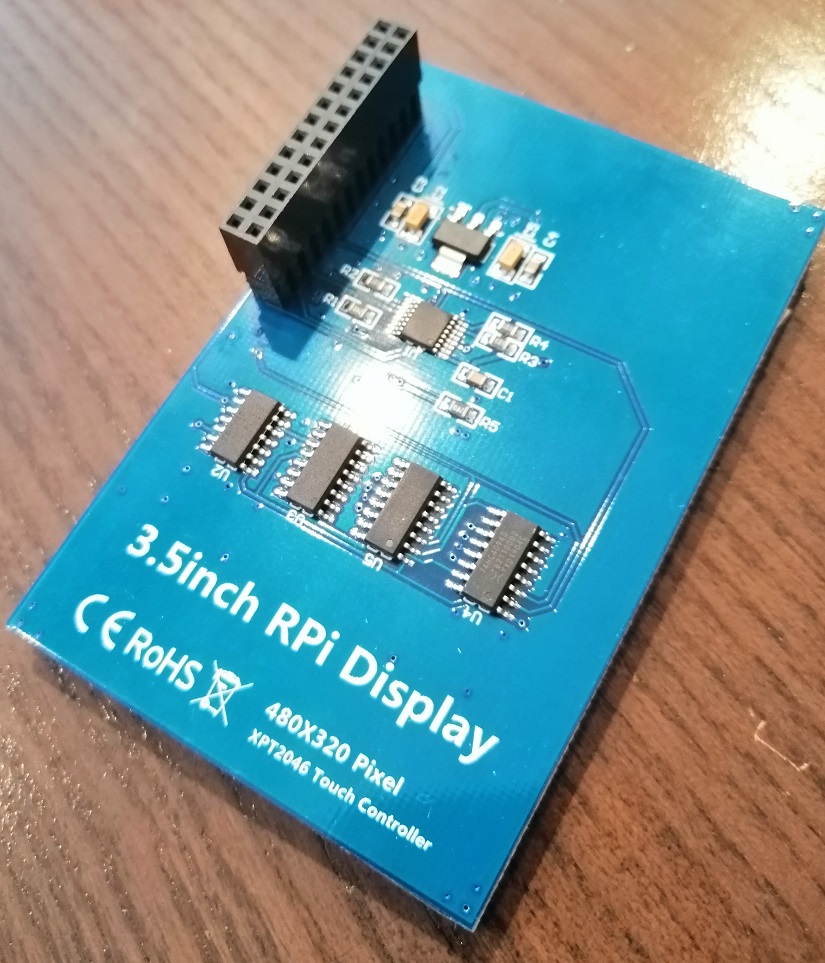
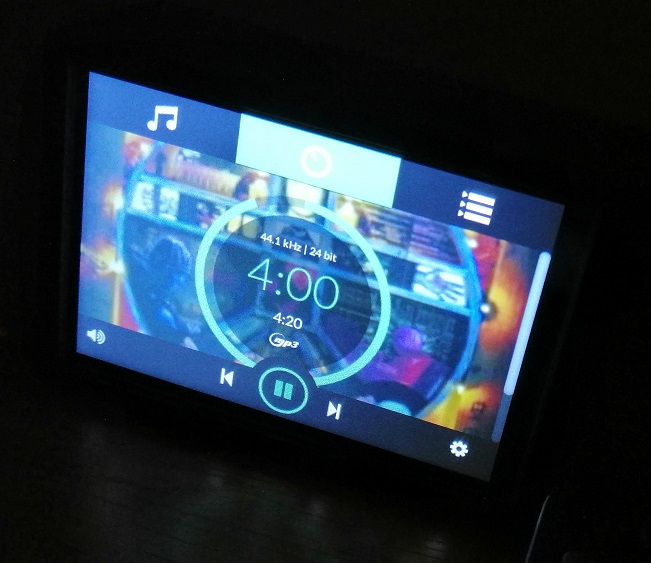
Volumio with 3.5" TFT Touch Screen (GPIO) RPi 3B+

Volumio on Raspberry Pi 3 B+ with 3.5’’ TFT Touch LCD

After many days of trying different guides I have finally managed to configure Raspberry Pi 3 B+ with 3.5’’ LCD that I bought from AliExpress. This will be step by step guide. If I did it you will too. I am absolute novice at the Linux world.

  1. Download, extract and burn Volumio image. After you’ve done that, put microSD to your Pi.

  2. Power the Pi, plug in the ethernet cable and wait for few moments.

  3. Open your favourite browser and type in the address: volumio.local/

  4. Go through basic configuration steps (you can now set up the WiFi if you prefer it over the cable).

  5. When you’re done with this go to Settings, where you select Plugins. On the left side click on the Miscellanea tab and install Touch Display Plugin. This can take up to 10 minutes.

  6. When the installation is over turn on the Touch Display (in the Installed Plugins tab).

  7. Now you need to turn on the SSH. You can do it at this address volumio.local/dev Select Enable at the SSH. There will be no notification about it.

  8. We will now need Putty. If you don’t have it you can get it here: putty.org/

  9. Open Putty and connect to volumio.local. Use default username and password (both volumio).

  10. If you already tried to get 3.5’’ LCD to work you will be familiar with next few famous lines. Copy and past them one by one at this exact order:

git clone https://github.com/goodtft/LCD-show
cd LCD-show/
sudo mkdir /etc/X11/xorg.conf.d
cd usr/
sudo cp tft35-overlay.dtb /boot/overlays/
sudo cp tft35-overlay.dtb /boot/overlays/tft35.dtbo
sudo cp -rf 99-calibration.conf-tft35-90  /etc/X11/xorg.conf.d/99-calibration.conf
sudo mkdir -p /usr/share/X11/xorg.conf.d/
sudo cp -rf ./usr/99-fbturbo.conf  /usr/share/X11/xorg.conf.d/99-fbturbo.conf
  1. We are done with copying files. We will now edit calibration file with this command:
sudo nano /etc/X11/xorg.conf.d/99-calibration.conf

Section “InputClass”
Identifier “calibration”
MatchProduct “ADS7846 Touchscreen”
Option “Calibration” “3936 227 268 3880”
Option “SwapAxes” “1”
Driver “evdev”
EndSection

You need to put Driver »evdev« into.

  1. Now we’ll edit config file. To do this use this:
sudo nano /boot/config.txt

nitramfs volumio.initrd
gpu_mem=32
max_usb_current=1
dtparam=audio=on
audio_pwm_mode=2
dtparam=i2c_arm=on
disable_splash=1
hdmi_force_hotplug=1
dtoverlay=tft35

At the botton type dtoverlay=tft35

  1. In next few steps we will update and install few packages. Use next codes:
sudo apt update
sudo apt install lightdm
sudo apt install xserver-xorg-input-evdev
  1. Do the reboot and if you did all steps without any errors you should see Login screen.

  2. What we want now is to enable auto login. To do this we will open lightdm configuration file and replace login username “pi” with “volumio”.

Sudo nano /etc/lightdm/lightdm.conf

In this file search for

autologin-user=pi

This value needs to be volumio

autologin-user=volumio

  1. In last step we want Raspberry start in chromium browser with full screen. It goes like this:
sudo nano /etc/rc.local

My file looks like this

xinit /usr/bin/chromium-browser --no-sandbox --no-first-run --noerrdialogs --start-fullscreen
–start-maximized --disable-notifications --disable-infobars --kiosk --incognito volumio.local:3000 &
exit 0

  1. Save file, do the reboot and watch how your Pi starts in Volumio full screen mode.

I hope this guide will save you some time. For me it worked. I used Volumio version 2.657 but just today as I write this guide version 2.668 was released. I have no idea if it works with that one.

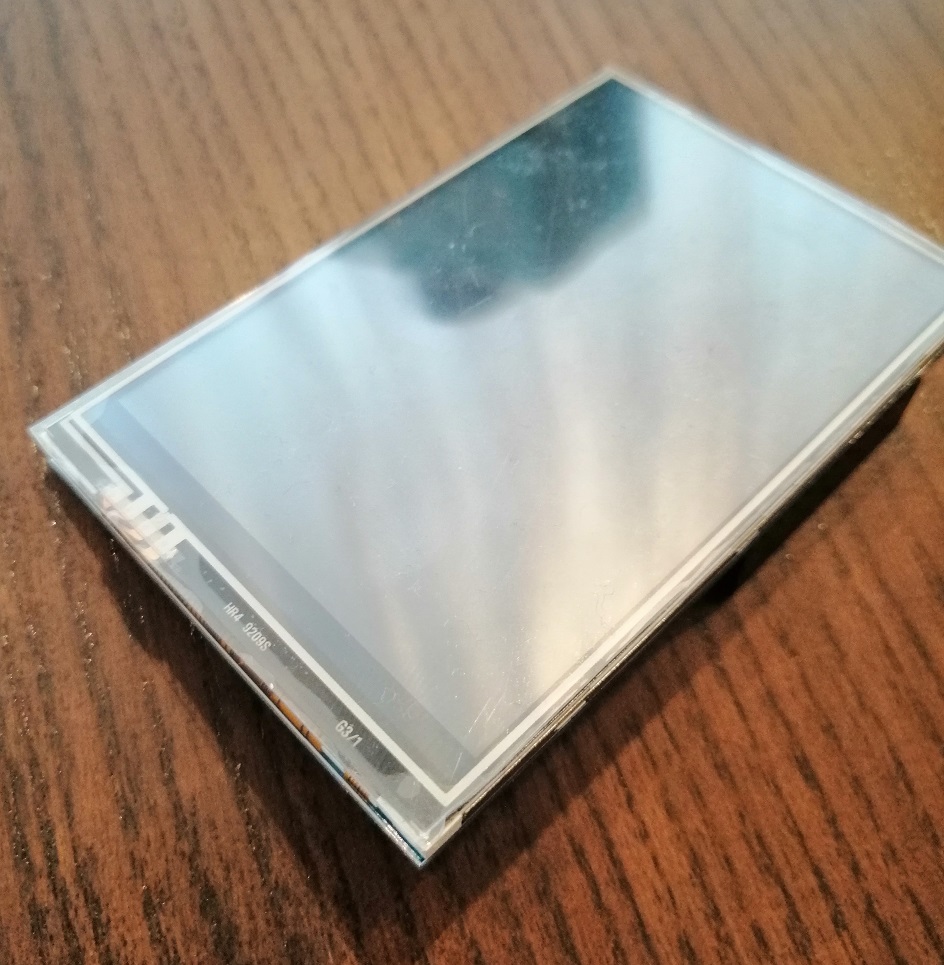
I’ve also attached picture of screen I’ve used.

Source:
volumio-inch-gpio-display-error-t12860.html - this one helped me a lot.
lcd2.jpg
lcd1.jpg
lcd.jpg

2 Likes

Hi,

Thanks for the guide, but it seems there are bugs with:

sudo cp tft35-overlay.dtb /boot/overlays/tft35.dtbo

and

sudo cp -rf ./usr/99-fbturbo.conf /usr/share/X11/xorg.conf.d/99-fbturbo.conf

the 99-bfturbo.conf can’t be copy.

Thanks for your help

zekarlito

I got this working by changing a few things

In step 10

sudo cp tft35-overlay.dtb /boot/overlays/ replace with → sudo cp tft35a-overlay.dtb /boot/overlays/

sudo cp tft35-overlay.dtb /boot/overlays/tft35.dtbo replace with —> sudo cp tft35a-overlay.dtb /boot/overlays/tft35a.dtbo

sudo cp -rf 99-calibration.conf-tft35-90 /etc/X11/xorg.conf.d/99-calibration.conf replace with —> sudo cp -rf 99-calibration.conf-35-90 /etc/X11/xorg.conf.d/99-calibration.conf (I actually used the -270 file because my display is upside down but this didn’t fix it)

replace with sudo cp -rf ./99-fbturbo.conf /usr/share/X11/xorg.conf.d/99-fbturbo.conf

(At this point in the instructions you are already in usr/ )

I also left out step 11 and it still worked.

then in Step 12: sudo nano /boot/config.txt
you want to add dtoverlay=tft35a rather than dtoverlay=tft35

I then stopped after step 14 rebooting, and it seemed to work and login on it’s own, so I didn’t continue with step 15 and 16.

My display was upside down, so then I changed step 12 to

dtoverlay=tft35a:rotate=270

This will rotate the display, but not the touchscreen, after rebooting

Then go into the touch display plugins in the plugin manager in volumio volumio.local/plugin-manager

and rotate screen to 90 or 270 to get the touchscreen to match the display.

Hi guys

I’m trying to use a Kedei 3.5 inch TFT screen instead of the above one. (I believe the one showed above in the pics is a Waveshare copy)

I downloaded the LCD_6_1_3 driver from http://kedei.net/raspberry/raspberry.html
and then I swapped the tft35 value with LCD35_v however I don’t seem to have any luck to get this working…

Any ideas or suggestions would be greatly appreciated.
It will be nice to make a small volumio player with a tiny display :slight_smile:

I have exactly the same problem, any help greatly appreciated.

Well eventually I abandoned the Kedei display and bought one like the one above.

You guessed it. It won’t work either no matter what I tried.
I only got the display to turn grey from bright white but there’s still no output.

I tried all possible solutions and drivers to no avail.

If you like me want Volumio with a small display like this, you’d better forget it once and for all and don’t throw your money to the bin.
I ended up with 2 displays and none of those worked for me.

Why it should be so difficult while there is supposedly a display plugin in the settings is beyond me.

1 Like

Hey gtj,

i had the exact same issue with a waveshare 3.5 inch TFT but managed to get it working. I knew the screen is working, because i had it connected to the raspberry pi with raspbian before. I am not able to tell you exactly what the exact difference was, but maybe I can give you some ideas what to try. Maybe your TFT is a waveshare clone?

First, i did not use goodtft library. I used the one provided by waveshare (github.com/waveshare/LCD-show/b … LCD35-show). Then i went through the LCD-show script to see what other steps are done there and executed them by hand.

Lines 23 to 37: The waveshare repo contains a compiled version of fbcb so i copied it like in the script
Lines 46 to 47: I copied the xorg.conf.d files for calibration and fbturbo and copied the rc.local file
Lines 62 to 63: I figured, that the /boot/config.txt contains more settings, so i compared them and added the missing properties
Lines 91 to 92: I executed the overlay copy commands
Lines 94 to 98: I compared the provided cmdline and compared it with the one of volumino and just added stuff. (I removed the settings ‘quiet splash’ to see the boot process on the tft)
Line 100: I copied the inittab

After that, the screen showed the boot process and after that lightdm popped up. If i wait about a minute, the Touch interface appears.

I suggest to start with a fresh system and then to not install lightdm and to not execute steps 15 to 17 of the OP. You can probably omit installing “xserver-xorg-input-evdev”, too, unless you need to calibrate the touchscreen using evdev.

@gtj
Please post the results of ls -al /tmp/.X11-unix and systemctl status -l volumiokiosk.service
For further investigation it would be necessary to know the brand and exact model of the display you have.

1 Like

If you don’t need touchscreen, you can use this driver, it’s heavily optimized for fast refresh rate and low CPU consumption

github.com/juj/fbcp-ili9341

At the moment I switched to this one, because I can’t make the procedure working on a fresh system. I had it working back in time, but now it does not and I don’t understand why.

I’m performing some test to have this driver with touchscreen working again. I’ll keep you up to date

Hi Darmur, did you write this driver or are you expert of DSI drivers?
If yes, it could be great if you could contact us at info at volumio dot org

Hi Michelangelo,

I’m not an expert of DSI drivers, but I’m performing test with several of them under RPi and I’m gaining some knowledge there. I’m working on some volumio-based projects and touchscreen will be part of them, I’ll write you something more in private later on.

I found the driver mentioned before some time ago, It’s an optimized version of FBCP (FrameBufferCoPy) dedicated to RPi processors. Please have a look to the section “How it works” on the readme for further details.

This driver is using SPI in non-standard way, to achieve maximum frame-rate with little CPU consumption. because of that, standard SPI driver must be disabled and standard SPI touch driver can’t work. From the readme:

Likewise, if you have any touch controller related dtoverlays active, such as dtoverlay=ads7846,… or anything that has a penirq= directive, those should be removed as well to avoid conflicts. It would be possible to add touch support to fbcp-ili9341 if someone wants to take a stab at it.

With this driver I had a RPI3 A (half RAM!) running for 3 days in a row, with screen always active. It can work with several SPI-based LCD screens.

The other driver provided by the LCD vendors is not very optimized, with RPi3 A makes the system slowing down after some time the screen is on (response to commands has severe lag). The workaround I use for now is to turn off the screen when not playing. I prepared a script that will make this 3.5" working on latest volumio.

It can be copied to the FAT32 boot partition and then executed from SSH

sudo sh /boot/install_3.5_screen.sh

The script can be adapted for other orientation and different screens. Orientation is fixed at 90 degrees, I’ll provide other scripts for different orientations later on.
install_3.5_screen.sh.zip (818 Bytes)

2 Likes

here the modified scripts to select all possible orientations
install_3.5_screen.zip (3.25 KB)

2 Likes

Hey Guys,

I know this might be an older post… I am trying to get this to work and all I have is a black screen (not white anymore).

I am using the same screen as mentioned in the post.

I could use some help…i.e. any updates or how others have done things to make it work!

BTW i am using the most current version of V2 as of today’s date.

1 Like

Hi Jersinger,

maybe this script >>here<< can help

Yves

Thank you for your corrections. My display works now. I have an issue with the touchscreen. My problem is that the tochscreen after rotating the screen is reversed. SwapAxes doesn´t seem to do anything.

I used the instructions in MomFab1’s script to install the screen and the screen stayed black. However, I made one change:
I edited /usr/share/X11/xorg.conf.d/99-fbturbo.conf to change fb0 to fb1
Not sure if this is required. Anyway, leaving the Pi on for about 10 minutes and the screene eventually changes from black and starts displaying.

1 Like

I have this problem as well. The best I have managed to get is correct two diagonal corners, while the other two are reversed.

1 Like

I Have written the edited version of this tutorial. Here is the link

1 Like

Nice work mate will try your revision and will see if it does the work, anyways thanks.

Edit: Done working with related to this project and it was working. Thanks

1 Like

thanks, it works perfectly :ok_hand: