Yes, my bad. Command has to read
xrandr --display :0 --output HDMI-1 --rotate right
Yes, my bad. Command has to read
xrandr --display :0 --output HDMI-1 --rotate right
You are the man!!!
It works - now I have a working display ![]()
thank you!!!
well, after quick check it seems Now Playing plugin doesn’t work.
but for now I am really glad I can ‘see’ my Volumio back.
The really added value of RP5 is speed and audio quality.
@gvolt
Many thanks for you time and final solution (at least work around)!!!
Be aware that setting the rotation using “xrandr” does not survive a reboot. To have the rotation set automatically after each boot you currently have to
mkdir /home/volumio/.config/openbox

cat >> /home/volumio/.config/openbox/autostart <<EOL
xrandr --output HDMI-1 --rotate right
EOL
confirmed again - works!!!
if someone want to reuse command for this particular display: Waveshare 400x1280 7.9", the rotate should be left:
xrandr --output HDMI-1 --rotate left
Again many thanks!!!
Depends on how the display is mounted I guess. ![]()
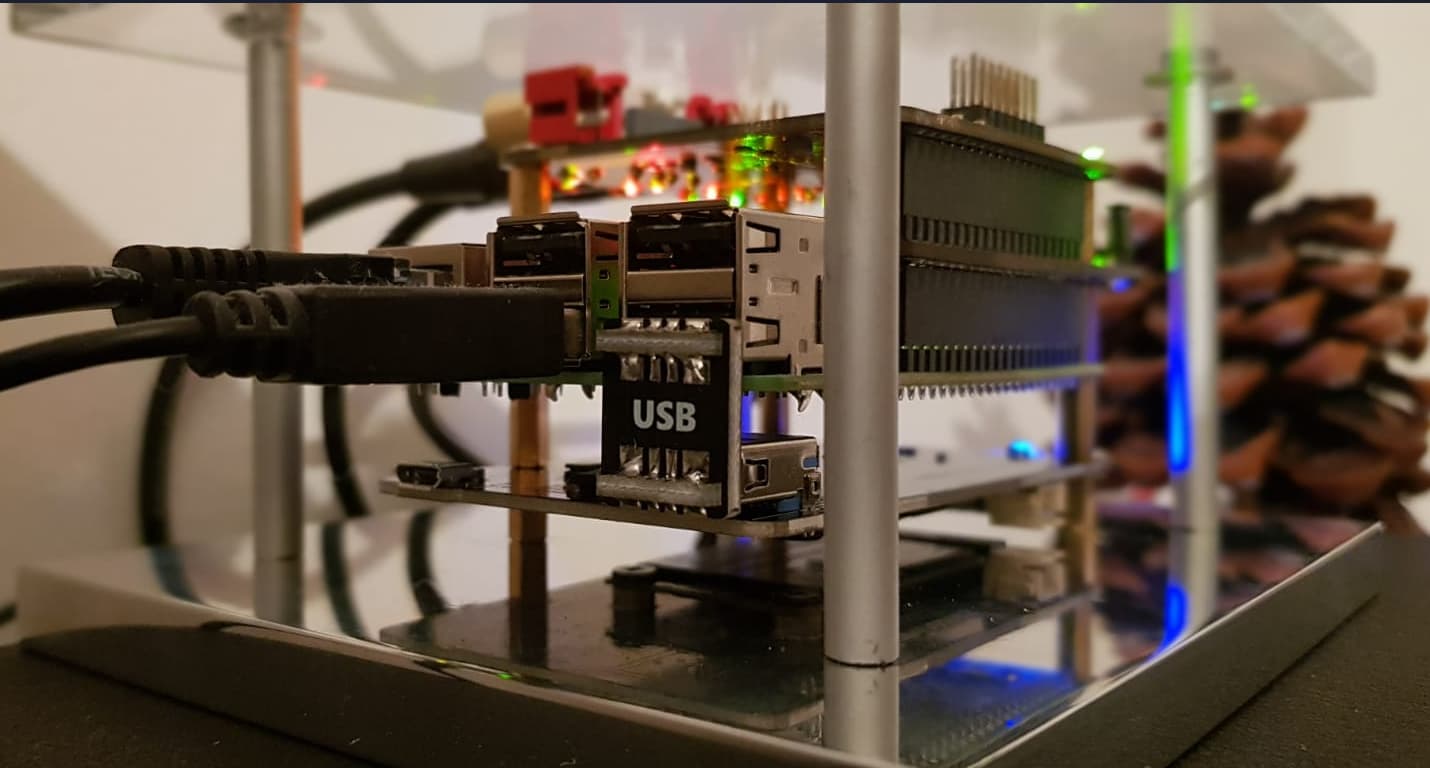
Just in case if someone is wondering how it goes without cooling: I’m using the Pi 5 in combination with a SSD USB expansion (similar like this here) and Allos Piano 2.1 with Kali as reclocker. All in a more or less open setup (see picture)
One thing I need to get familiar is the power button. If someone made already some experience it would be great to share it here. E.g. I’m not clear what happens to Volumio if I press it? Is it initating a shotdown in Volumio or is it just a hard shut off?
it will initiate a clean shutdown
and power on after re-use
Thx Darmur!
Has anyone adjusted the eeprom configuration in order to reduce the shutdown power?
It’s describe here like this:
Default shutdown wattage is around 1 to 1.4W. However this can be decreased by manually editing the EEPROM configuration, sudo rpi-eeprom-config -e and change the settings to:
BOOT_UART=1
POWER_OFF_ON_HALT=1
BOOT_ORDER=0xf416
This should drop the shutdown power consumption to around 0.01W.
But however, it seems a bit more complicate to edit the eeprom config.
Thanks for this link. I thinking how I can add external power button. Now I know:
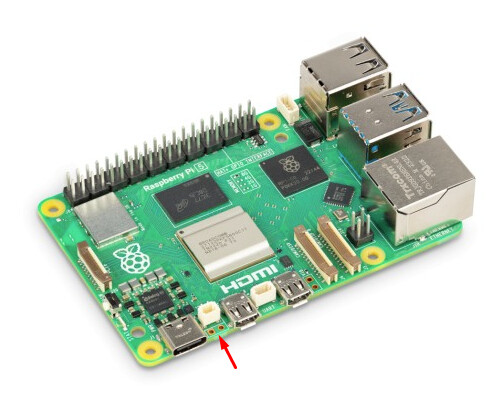
“The J2 jumper, located between the RTC battery connector and the board edge, is a breakout allowing you to add your own power button to Raspberry Pi 5 by adding a Normally Open (NO) momentary switch bridging the two pads. Briefly closing this switch will perform the same actions as the onboard power button.”
yep it works. Just make sure to use a fiberglass pin to clean the pads, otherwise soldering becomes problematic.
Don’t worry, I’m certified electronics technician ( Master’s degree in philosophy and mechanical engineer, too ![]() ). I am a Renaissance man - I am not afraid of any work
). I am a Renaissance man - I am not afraid of any work ![]()
The latter might help you ![]() But the first won’t get it on the board
But the first won’t get it on the board ![]()
Since years with RPI I use two GPIO pins:
One which shorten via button to GND initiate the shutdown
One which indicate via LED the system is online/ofline
Only what needs to be done is to add below to config.txt (I usually selects these GPIO for which initial state is high):
dtoverlay=gpio-poweroff,gpiopin=xx
dtoverlay=gpio-shutdown,gpio_pin=yy,active_low=1
gpio-poweroff is a pin that at the end of the shutdown should have a certain voltage value
gpio-shutdown is a pin that can be used to initiate a shutdown
Yeah but the rpi 5 has hardware for a power button, so why would you use GPIO?
1 reason I have for different purpose at least 4 RPI4 and only one RPI5. For RPI5 I don’t need to change the connector ![]() I am lazy
I am lazy
2 reason - I need as well second GPIO for the status.
As a hardware I have standby module which through the relay is powering up the power supply for RPI - when I initiate poweroff from RPI side and when this second GPIO idicate the RPI is off than rellay is cutting of power for RPI. And vice versa: when I press button the RPI is going down, when finished the power is off because of change of second GPIO.
worked like a charm. thanks.
Why are you annoying me? ![]()