Is there a way to specify to the plugin to use a USB device for the IR receiver? I’m trying to get the FLIRC usb receiver to work for Volumio, but am not sure how to get it to work.
The Flirc translates IR inputs to keystrokes, and appears to the device (Volumio in this case) as a keyboard.
You’d have to program the Flirc on another device, but you could maybe use something like triggerhappy to link those key inputs to Volumio.
See this link for more details - [GUIDE] Keyboard shortcuts with triggerhappy
Dear colleagues,
could anybody help me with installing IR remote for Argon One set?
The remote is installed according the manual and power button works fine , but what I have to set in IR plugin to see my remote?
add to userconfig.txt:
dtoverlay=gpio-ir,gpio_pin=23
and reboot
@Wheaten Thanks a lot! and what profile in IR plugin?
just gpio settings didn’t work ![]()
may be I need to setup additional maping between buttons and commands?
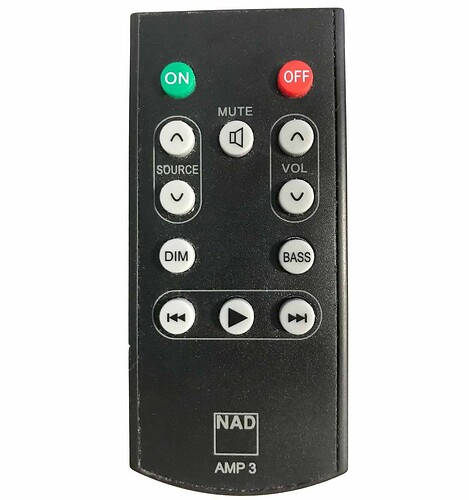
I’ve tried JustBoom and NAD AMP 3
No need to setup anything in the config. The mapping for the NAD AMP3 was shared, As I did create them.
NAD AMP3.ZIP (1.2 KB)
Unpack an copy the content to:
/data/plugins/system_hardware/ir_controller/configurations
Select the NAD AMP3 in the dropdown of the IR setting page.
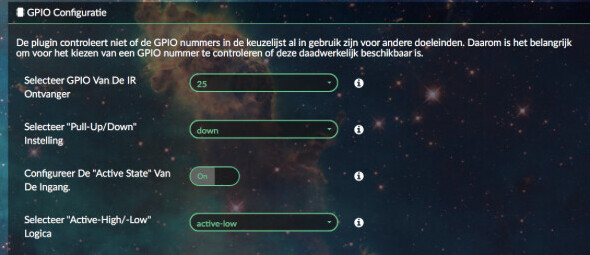
If you added the given line to /boot/userconfig.txt there is no setup in the plugin needed. In fact they should not even be visible.
It should not be necessary to set the gpio pin in “/boot/userconfig.txt” but could / should be done on the plugin’s config page.
I don’t recommend to unpack to that path, because it will be overwritten on an update of the plugin. Instead user-specific configurations for remote controls - in this case the folder “NAD AMP3” with its files - should be stored in “/data/INTERNAL/ir_controller/configurations”.
P.S. The “NAD AMP3” remote configuration is already part of the plugin by default.
Many none computer savvies struggle with this screen. Just adding it to the userconfig.txt solves many questions/frustrations. as in worst case they have to try 3^2 before it works.
 .
.
I thought so I as I shared the files. But haven’t checked it as it is working for me.
Hm don’t know. Regularly it suffices to set the GPIO pin and leave the other options unchanged…
unfortunately doesn’t work
I’ve replaced NAD files, add gpio to config, but it doesn’t react on remote
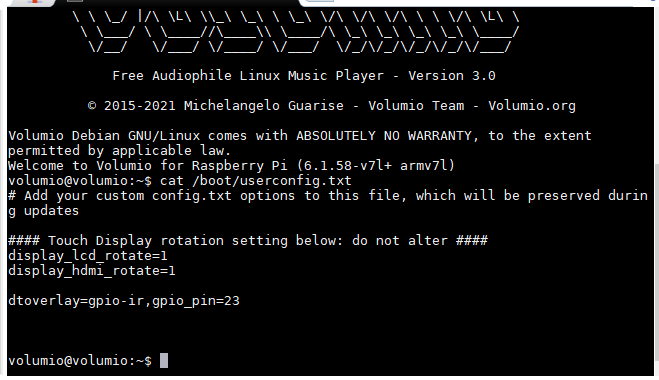
please show the output of:
cat /boot/userconfig.txt
As this is working as I have the powerbutton board of the Argon one in my own setup.
only 3 keys are implemented:
PLAY, PREV and NEXT
file and screenshot are below
the parameter is written without anu spaces
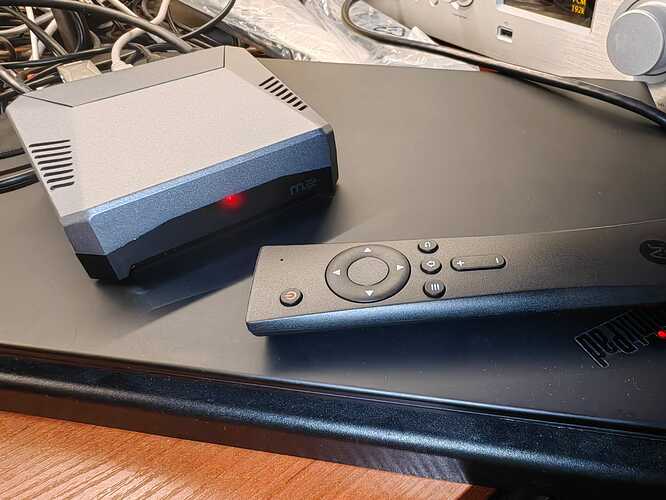
just in case I also added a photo of my Argon model
Add your custom config.txt options to this file, which will be preserved during updates
Touch Display rotation setting below: do not alter
display_lcd_rotate=1
display_hdmi_rotate=1
dtoverlay=gpio-ir,gpio_pin=23

I’ve written abow that my remote and set is Argon One (both the case and the remote)
yep, read it again, you stated you tried them, not having them. Point taken…
Still the Argon one’s IR operates on GPIO23. So that part is OK.
This topic started for the Justboom. Only difference I see your RC looks different.
Unfortunate I don’t have a Justboom RC, So I can’t check it.
But anyway thank you for a try to help!
you can try them all one by one, or in worse case scenario, learn the commands yourself.
would you recommend any soft to learn and analyse IR codes?
I think it was already mention here by @gvolt
@Vlad_Dmitriev For the Argon One remote control there is currently no configuration included in the plugin.
You could try unpacking Argon Remote.zip (1,1 KB) to “/data/INTERNAL/ir_controller/configurations” then head to the plugin’s configuration page, select the profile “Argon Remote” and click “Save”.
I created the “lircd.conf” file with parameters I just gathered from a script of Argon40 - don’t know if it will work.
In the “lircrc” file the buttons have been assigned as follows:
KEY_POWER = shutdown
KEY_UP = volumio next
KEY_DOWN = volumio previous
KEY_LEFT = volumio seek minus
KEY_RIGHT = volumio seek plus
KEY_VOLUMEUP = volumio volume plus
KEY_VOLUMEDOWN = volumio volume minus
KEY_OK = volumio toggle
KEY_HOME = volumio clear
KEY_MENU = volumio random
KEY_BACK = volumio repeat


