People asked me in a different topic to write down instructions to accomplish what is mentioned in the title. So here we go.
All code is based on the following hardware. If you use different hardware, you need to make the changes yourself. I will not support it.
If you have absolutely no clue what is being described her, don’t start with it ![]()
What will it bring you:
- Control Peppy_Meter as if it is an extra screen layout
- Scroll through all you Peppy Templates by a press of a button
- Turn you LCD on/off by press of a button
- Use the arrow keys on your remote as a mouse
- Select what MPD_OLED shows (Full spectrum, default layout, Clock, off) by press of a button
Requirements:
- Rpi5
- Rotary switch (min 4 connections)
- 2 push buttons (Momentary push button, default off)
- SSD1306 oled
- Waveshare 7.9inch HDMI LCD screen
- Baha Enclosure
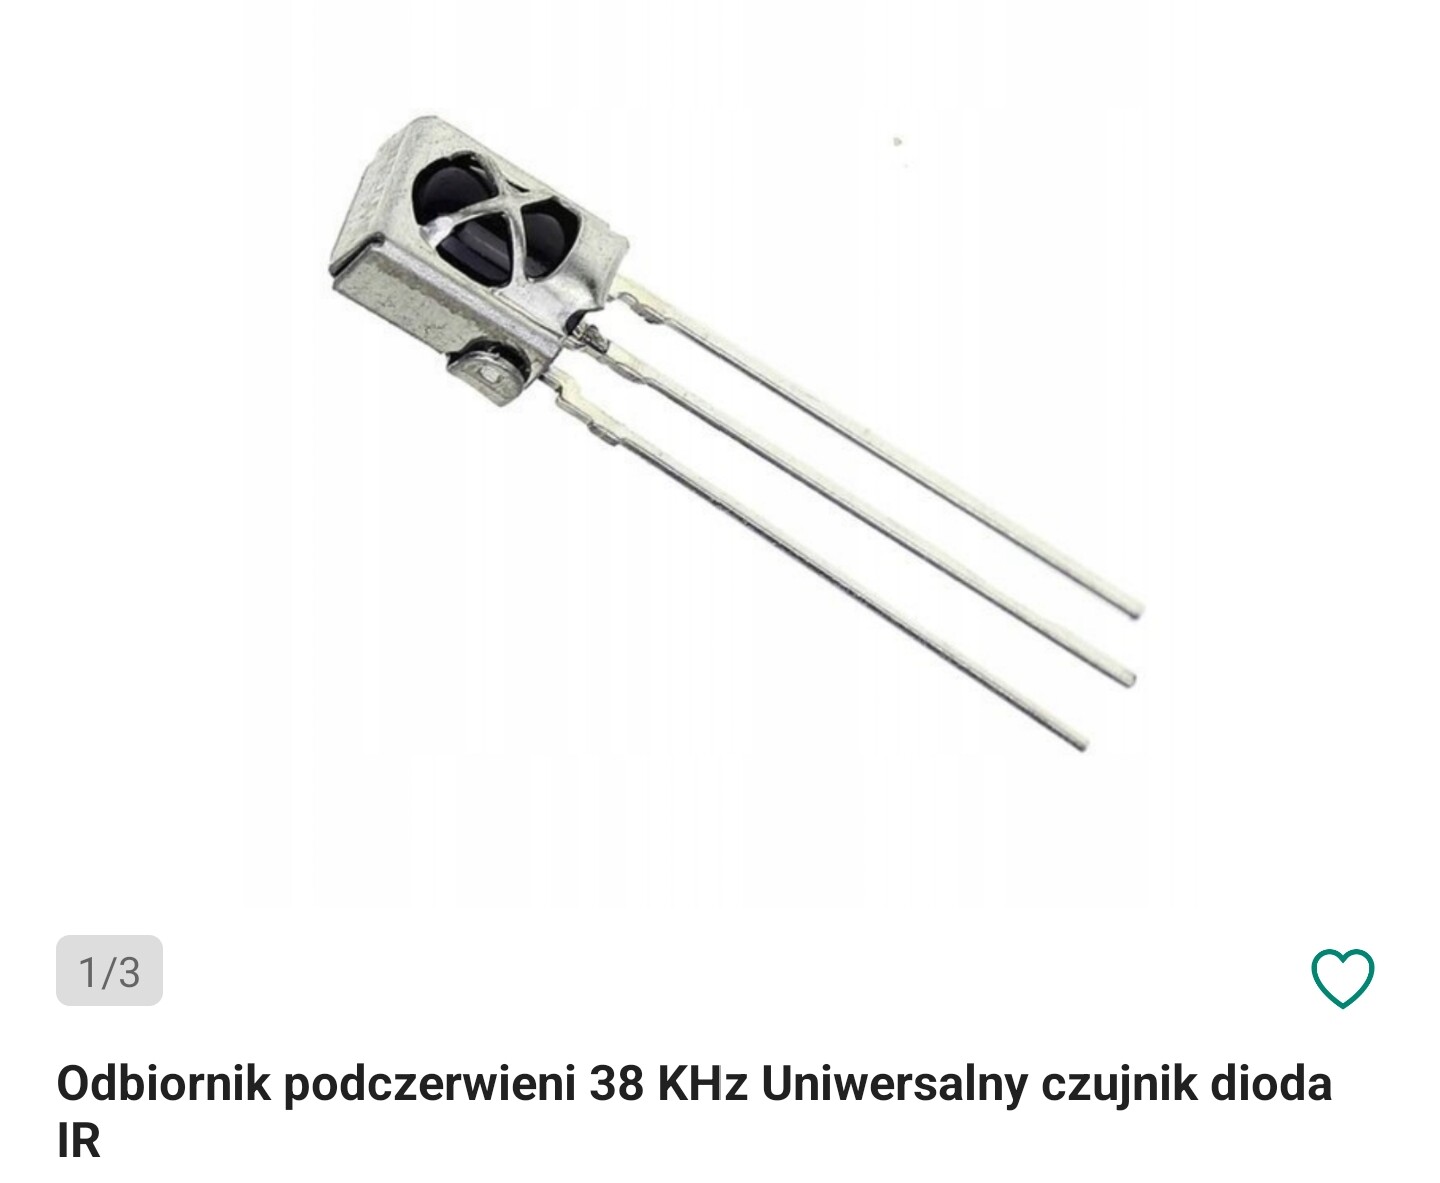
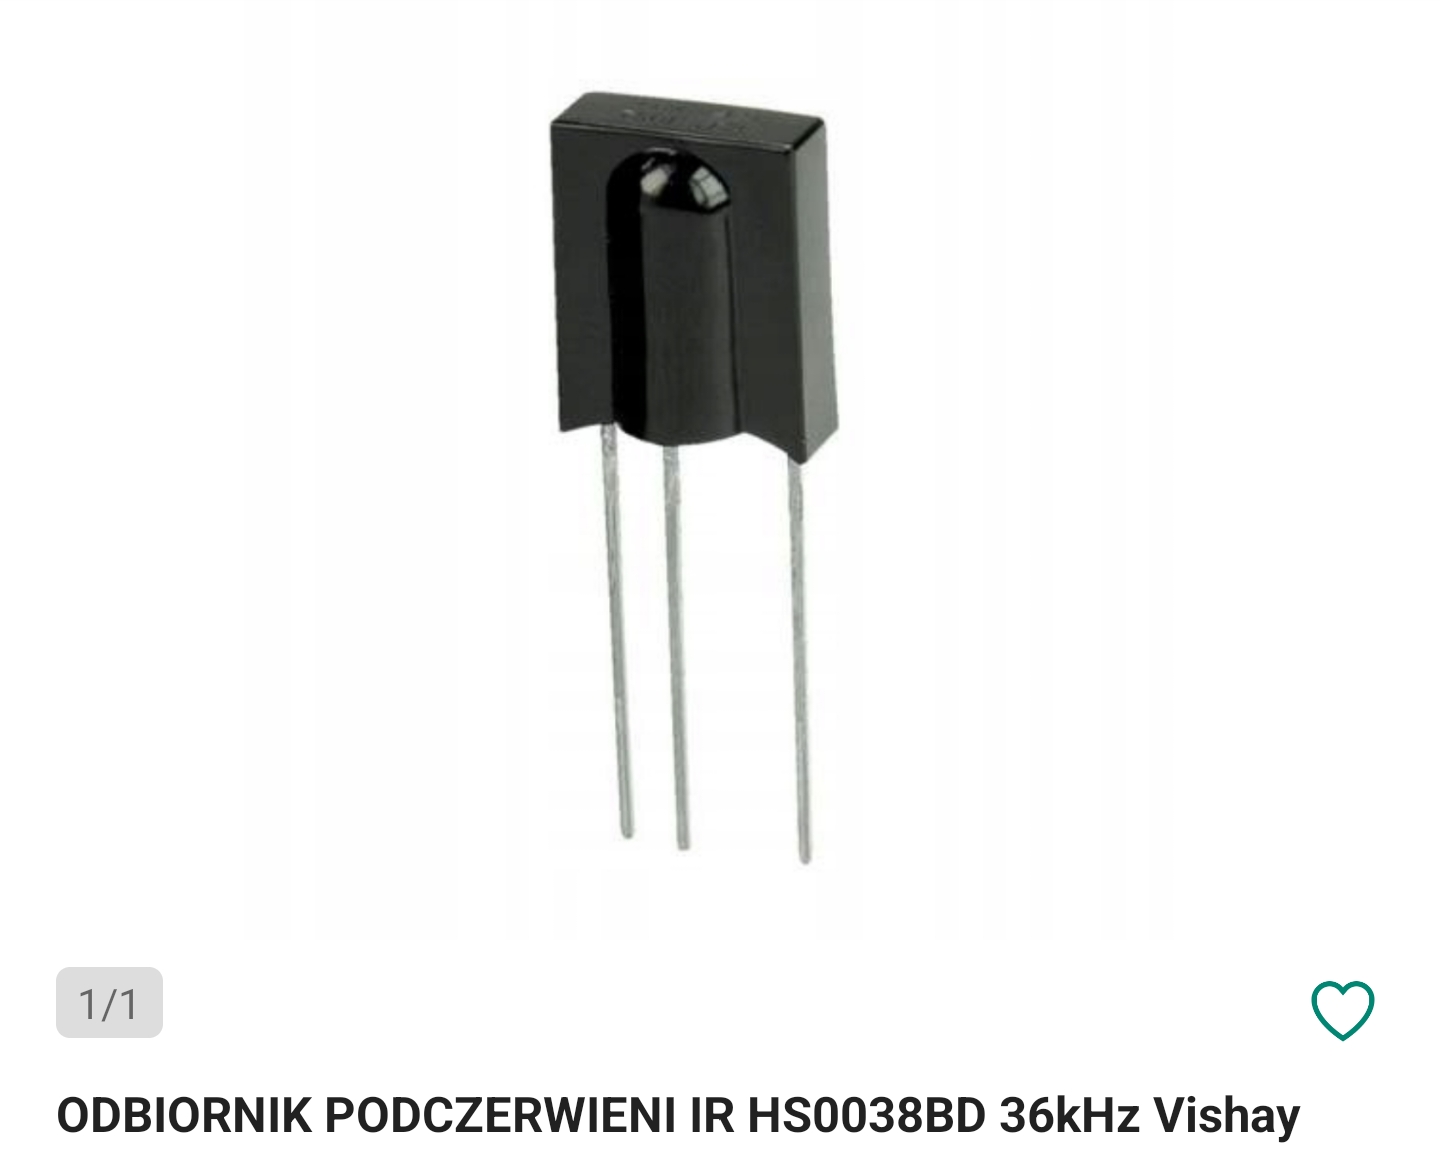
- IR Receiver (38kHz IR receiver)
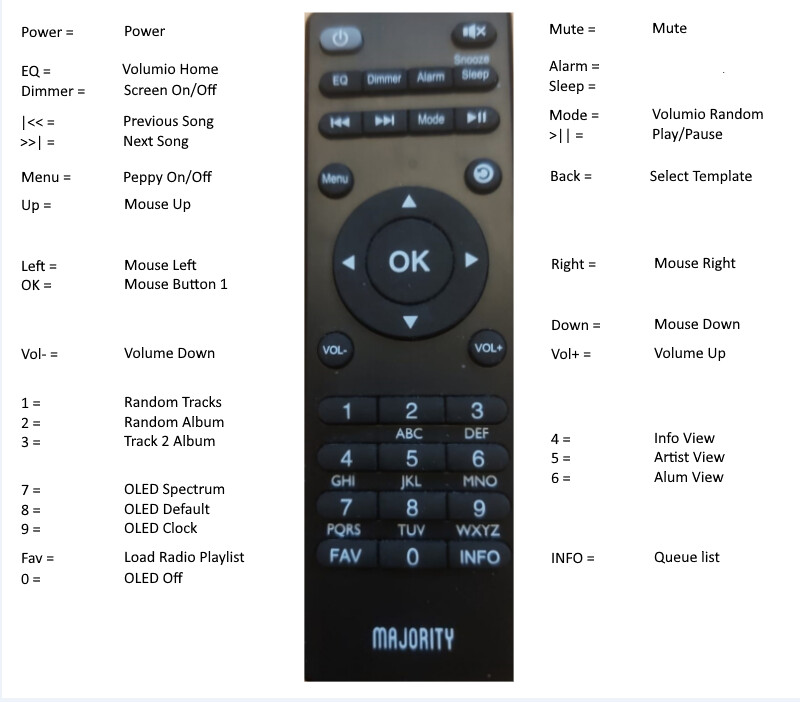
- Majority Remote. This unit was collecting dust and ideal for this. If you have another remote, you need to configure everything yourself.
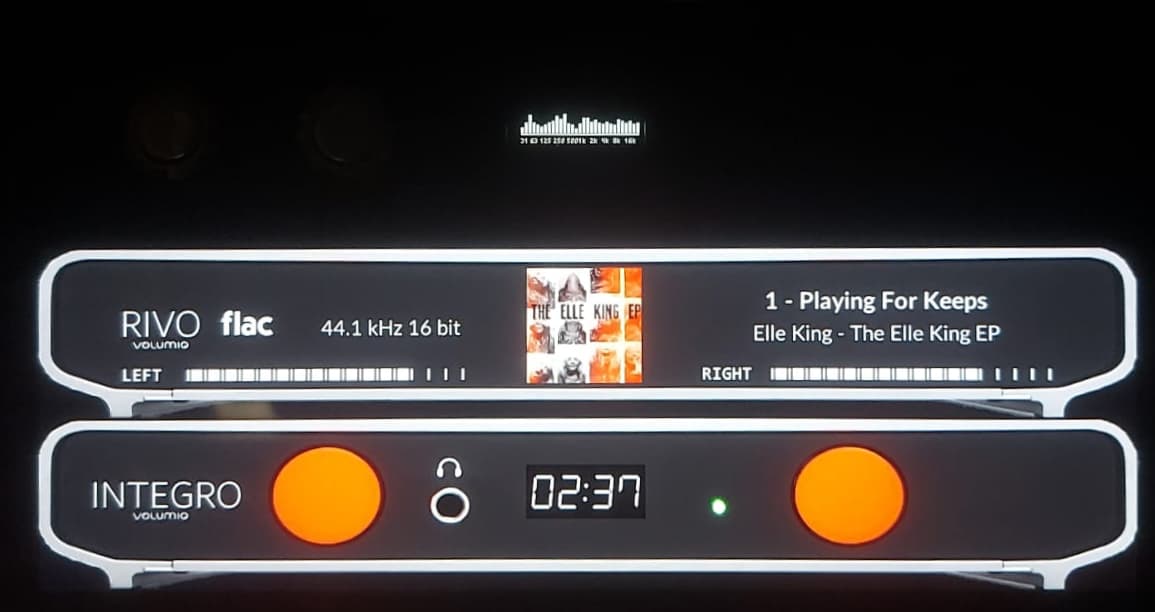
MPD_OLED:
Spectrum Only:
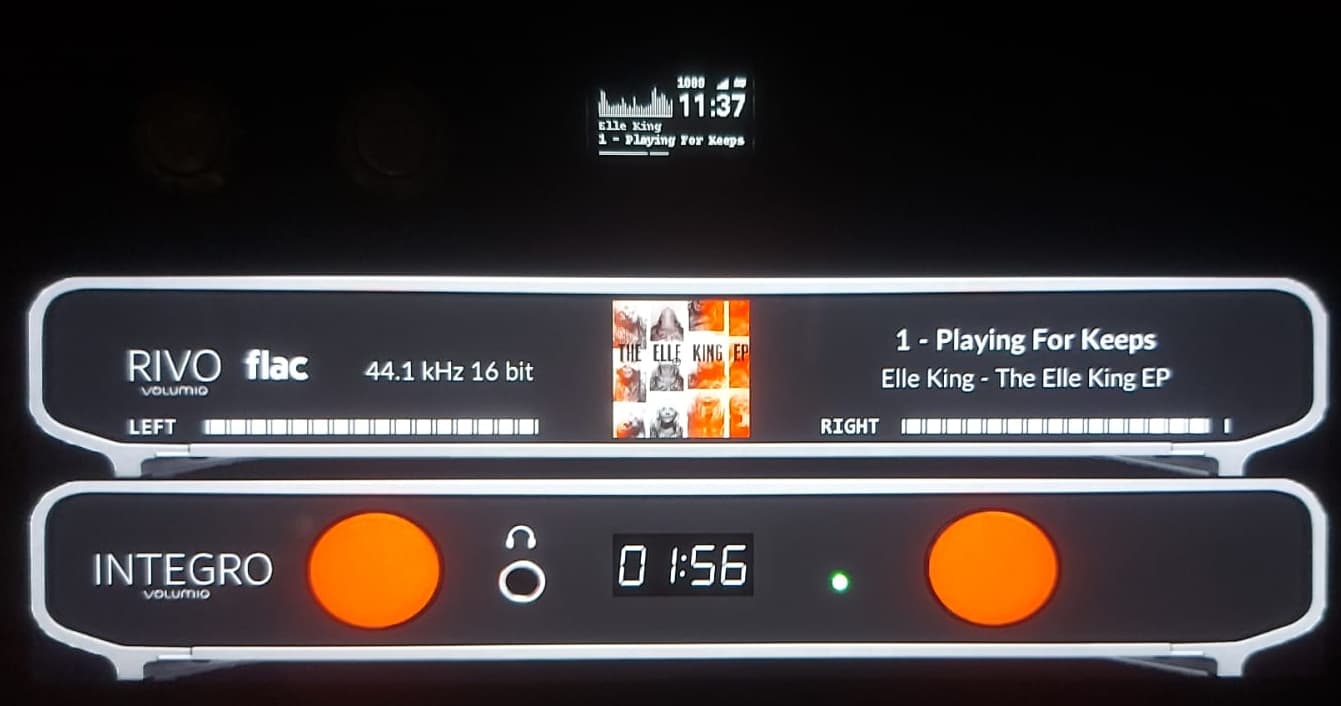
Default:
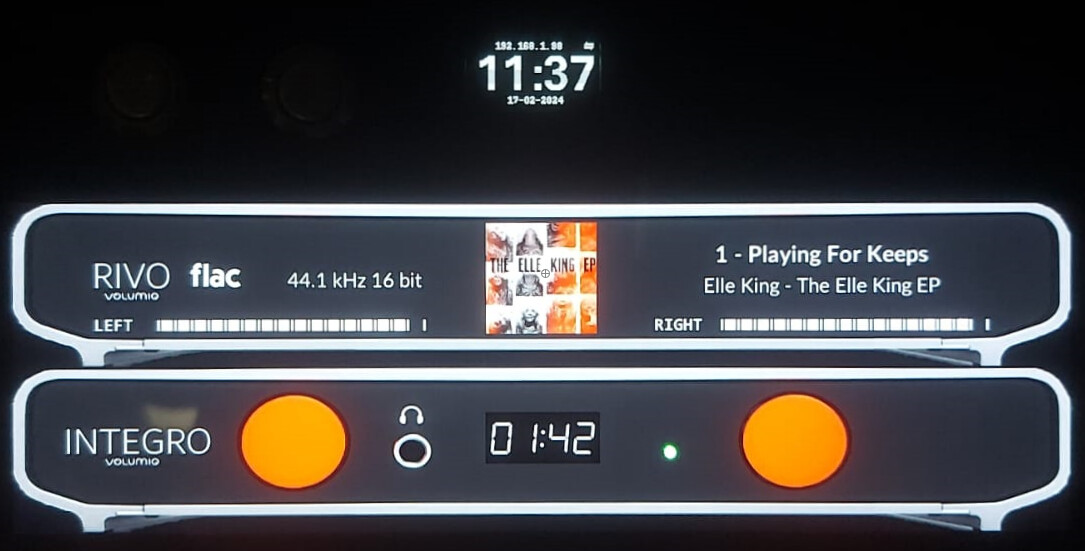
Clock:
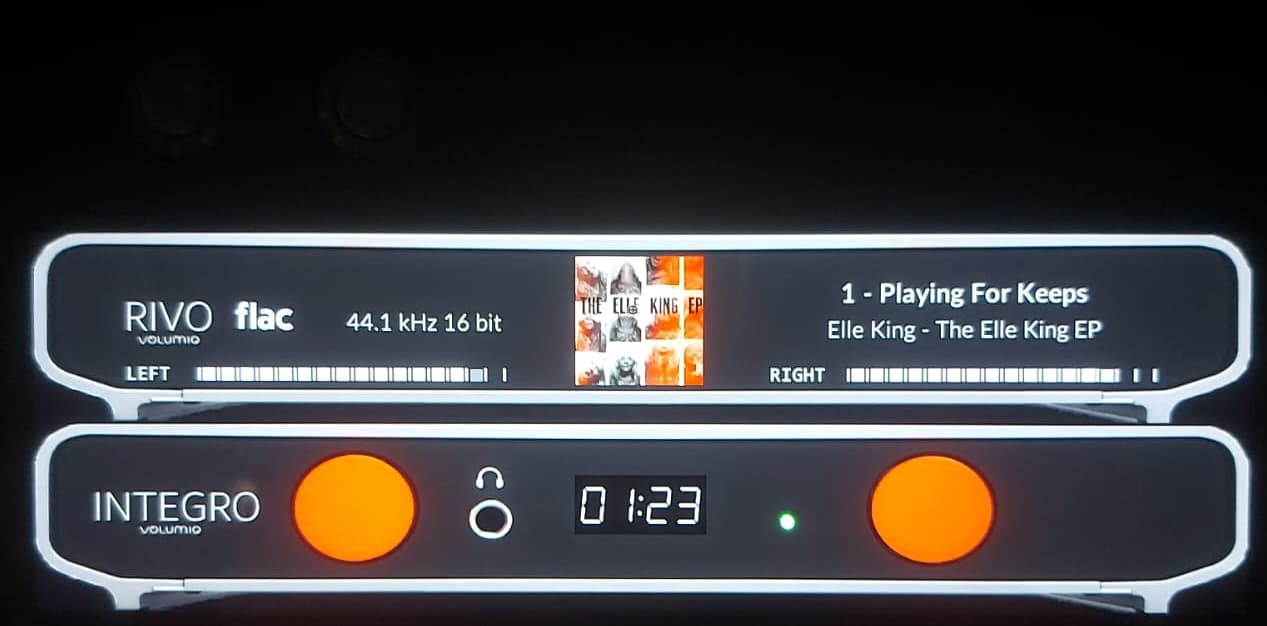
Off:
Connect it all:
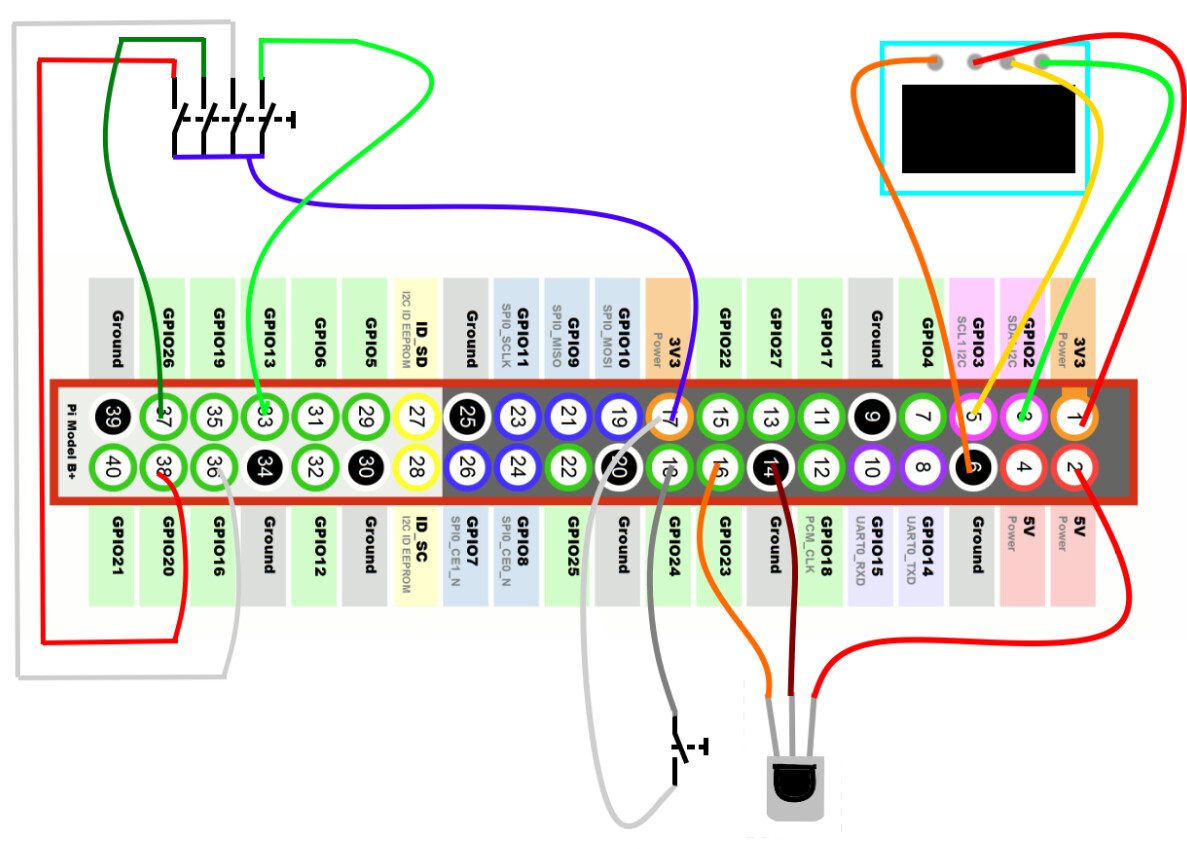
The power button is connected to the seeded pins on the board.
If there is unstable response on the buttons, you might need to add resistors to the switches (know as pull-up or pull-down resistors).
Configure Volumio first.
Software installation:
nano /boot/userconfig.txt
add:
max_framebuffer_height=1480
disable_fw_kms_setup=1
dtoverlay=vc4-kms-v3d-pi5
hdmi_group=2
hdmi_mode=87
hdmi_timings=400 0 100 10 140 1280 10 20 20 2 0 0 0 60 0 43000000 3

dtparam=i2c_arm_baudrate=100000
dtparam=spi=on
dtoverlay=gpio-ir,gpio_pin=23
sudo apt-get update
sudo apt-get install -yf xdotool git build-essential unclutter autoconf make libtool libfftw3-dev gpiod libiniparser-dev libmpdclient-dev libi2c-dev lm-sensors libasound2-dev autoconf-archive i2c-tools python3 python3-libgpiod python3-pip python3-pil python3-gpiozero
sudo reboot
Plugins:
- IR Remote Controller
- Touch display, enable mouse pointer, as we’re using the remote to control the mouse.
- Now Playing, with this configuration file, needed for the mouse locations. If not you need to determine the locations yourself. Unpack it to
/data/INTERNAL
NowPlayingPlugin.zip (2.2 KB) - Peppy_meter
After installation of peppy_meter (volumio plugin install), copy the following files to/data/plugins/user_interface/peppy_screensaver
peppymeter.zip (11.3 KB)
Set the time out in peppy_meter to 0, so Peppy won’t autostart, as we are going to use buttons or RC.
- Randomizer

Configure all plugins.
Set the screen rotation correct. rotate depends on your setup.
Unclutter is added to hide the mouse cursor after 1 second.
mkdir /home/volumio/.config/openbox
cat >> /home/volumio/.config/openbox/autostart <<EOL
xrandr --output HDMI-1 --rotate left
@unclutter -idle 1
EOL
sudo reboot
Install the DEV branch of MDP_oled (so no configuration via the plugin page). Unless you don’t want to have a selectable layout, you can install the plugin.
MPD_OLED:
sudo apt install build-essential autoconf make libtool libfftw3-dev libiniparser-dev libmpdclient-dev libi2c-dev lm-sensors libasound2-dev

git clone https://github.com/karlstav/cava
cd cava
./autogen.sh
./configure --disable-input-portaudio --disable-input-sndio --disable-output-ncurses --disable-input-pulse --program-prefix=mpd_oled_
make && sudo make install-strip
cd ..
This one s time consuming!!
git clone https://github.com/antiprism/libu8g2arm.git
cd libu8g2arm
./bootstrap
mkdir build && cd build
CPPFLAGS="-W -Wall -Wno-psabi" ../configure --prefix=/usr/local
make
cd ../..

git clone https://github.com/wheaten/mpd_oled_dev
cd mpd_oled_dev
Unzip and copy the following 2 files to: /home/volumio/mpd_oled_dev/src/
src.zip (9.4 KB)
./bootstrap
LIBU8G2_DIR=../libu8g2arm CPPFLAGS="-W -Wall -Wno-psabi" ./configure --prefix=/usr/local
make && sudo make install-strip
cd ..
sudo mpd_oled_volumio_mpd_conf_install
sudo mpd_oled_service_install
sudo mpd_oled_service_edit
and replace /usr/local/bin/mpd_oled -o 0 -b 21 -g 1 -f 15 with:
/usr/local/bin/mpd_oled -b 32 -g 1 -P s -L t -o SSD1306,128X64,I2C,rotation=0,bus_number=1
sudo systemctl start mpd_oled.service
sudo reboot
Now get the scripts in:
monitor_gpio.py
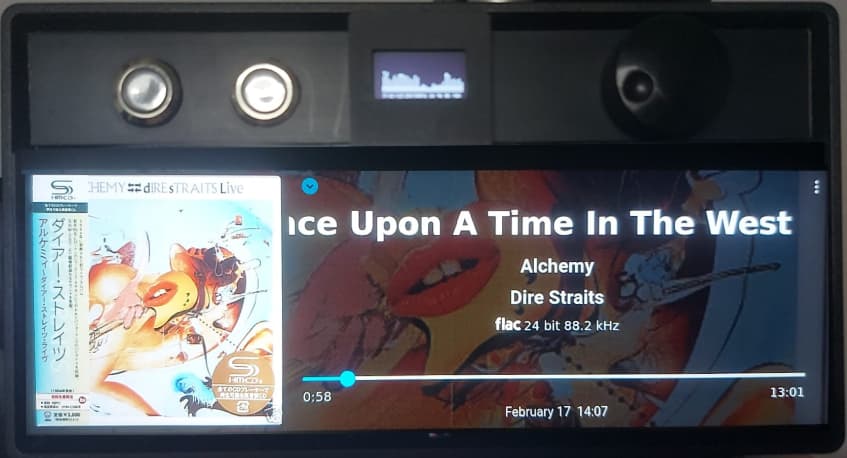
The rotary switch is being used to swap between different screens of the “Now Playing plugin”
it switch between:
- Coverview
- Info view
- Go to artist
- Go to album
Since volumio has no intercation with the GUI, besides the mouse, I am using xdotool to mimic a mouse.
This is also the reason I haven’t chossen for the Manifest UI, as controlling it via xdotool is problematic.
peppy.sh
This script is responsible to turn peppy on/off
radiobutton.sh
I use this script to load a radio playlist, on release it will play the first track of this playlist.
It’s programmed for a playlist with the name Radio. If you want a different list, you need to modify the code.
status.txt
Thsi is just a file to hold the setting for MPD_OLED, so the modified script knows how to toggle.
0 - Spectrum
1 - Default playing
2 - Clock only
3 - Off
template.sh
This script is responsible for scrolling through all templates from the folder you’ve selected in the plugin setup. It reads the selected folder from config.txt and available templates from the corresponding meters.txt. Don’t hit the button as a lunatic, but wait until Peppy is fully loaded. If not it might crash.
togglescreen.sh
This scripts gives you the opportunity to start peppy via RC or remote.
mkdir /home/volumio/scripts
unzip the scripts to above folder. scripts.zip (2.8 KB)
cd /home/volumio/scripts
chmod 755 *.sh
chmod 755 *.py
chmod 755 *.txt
Services:
monitor_gpio.service
sudo nano /lib/systemd/system/monitor_gpio.service
Copy/paste:
[Unit]
Description=GPIO monitor_gpio Plugin
After=network.target
Wants=volumio.service
After=volumio.service
[Service]
ExecStart=/usr/bin/python3 /home/volumio/scripts/monitor_gpio.py

[Install]
WantedBy=multi-user.target
sudo chmod 644 /lib/systemd/system/monitor_gpio.service && sudo systemctl daemon-reload && sudo systemctl enable monitor_gpio.service && sudo systemctl start monitor_gpio.service
radio_button
sudo nano /lib/systemd/system/radio_button.service
Copy/Paste:
[Unit]
Description=Radio_button Plugin
After=network.target
Wants=volumio.service
After=volumio.service
[Service]
ExecStart=/bin/bash /home/volumio/scripts/radiobutton.sh

[Install]
WantedBy=multi-user.target
sudo chmod 644 /lib/systemd/system/radio_button.service && sudo systemctl daemon-reload && sudo systemctl enable radio_button.service && sudo systemctl start radio_button.service
The remote or GPIO:
All the used commands are in this zip file (licrc). If you choose to operate via GPIO then you can add buttons and commands to monitor_gpio.py. (Yes I could have used more in functions but I am lazy ![]() )
)
Majority.zip (1.9 KB)
For those who want to use it with other screens, you need to get the mouse location if you want to control anything on the screen. The command for that is:
XAUTHORITY=~volumio/.Xauthority DISPLAY=:0 xdotool getmouselocation --shell
Guess this is it.