Step 1: Download OpenHABian onto your SD card via Raspberry Pi imager. Choose “Other specific-purpose OS,” then “Home Assistant and Home Automation,” then “OpenHAB,” and finally “OpenHABian Lite 32-bit” (if you have a Pi lower than Pi4).
Step 2: Insert the SD card into your Raspberry Pi and connect the Pi to your network via an Ethernet cable. You can connect to OpenHAB via Wi-Fi later. This setup is done headless, so you don’t need to connect your Pi to a screen. OpenHAB takes about 15 minutes to set up.
Step 3: Once OpenHABian is up and running on your Raspberry Pi, access its “frontend” on a laptop or computer. You can find the IP address of the Pi running OpenHABian by downloading Fing on your phone and searching the network. To access the OpenHAB frontend, enter the IP address of the Pi with port number 8080 (e.g., 192.168.0.345:8080). You can also use localhost:8080, but it’s better to use the actual IP number. For more information on this setup, see Getting Started - First Steps | openHAB.
FYI: For these instructions, I have created an ip address of your Pi at 192.168.0.345, this just an example and shouldn’t be used. All if the port numbers to access openhab and logs are correct and should be used.
OpenHAB is similar to Volumio in many ways. Instead of plugins, it has add-ons or bindings, and you can control hundreds of devices, including TV, lights, and heating. For instance, when Volumio receives the command “play,” you can turn on a lamp on your desk.
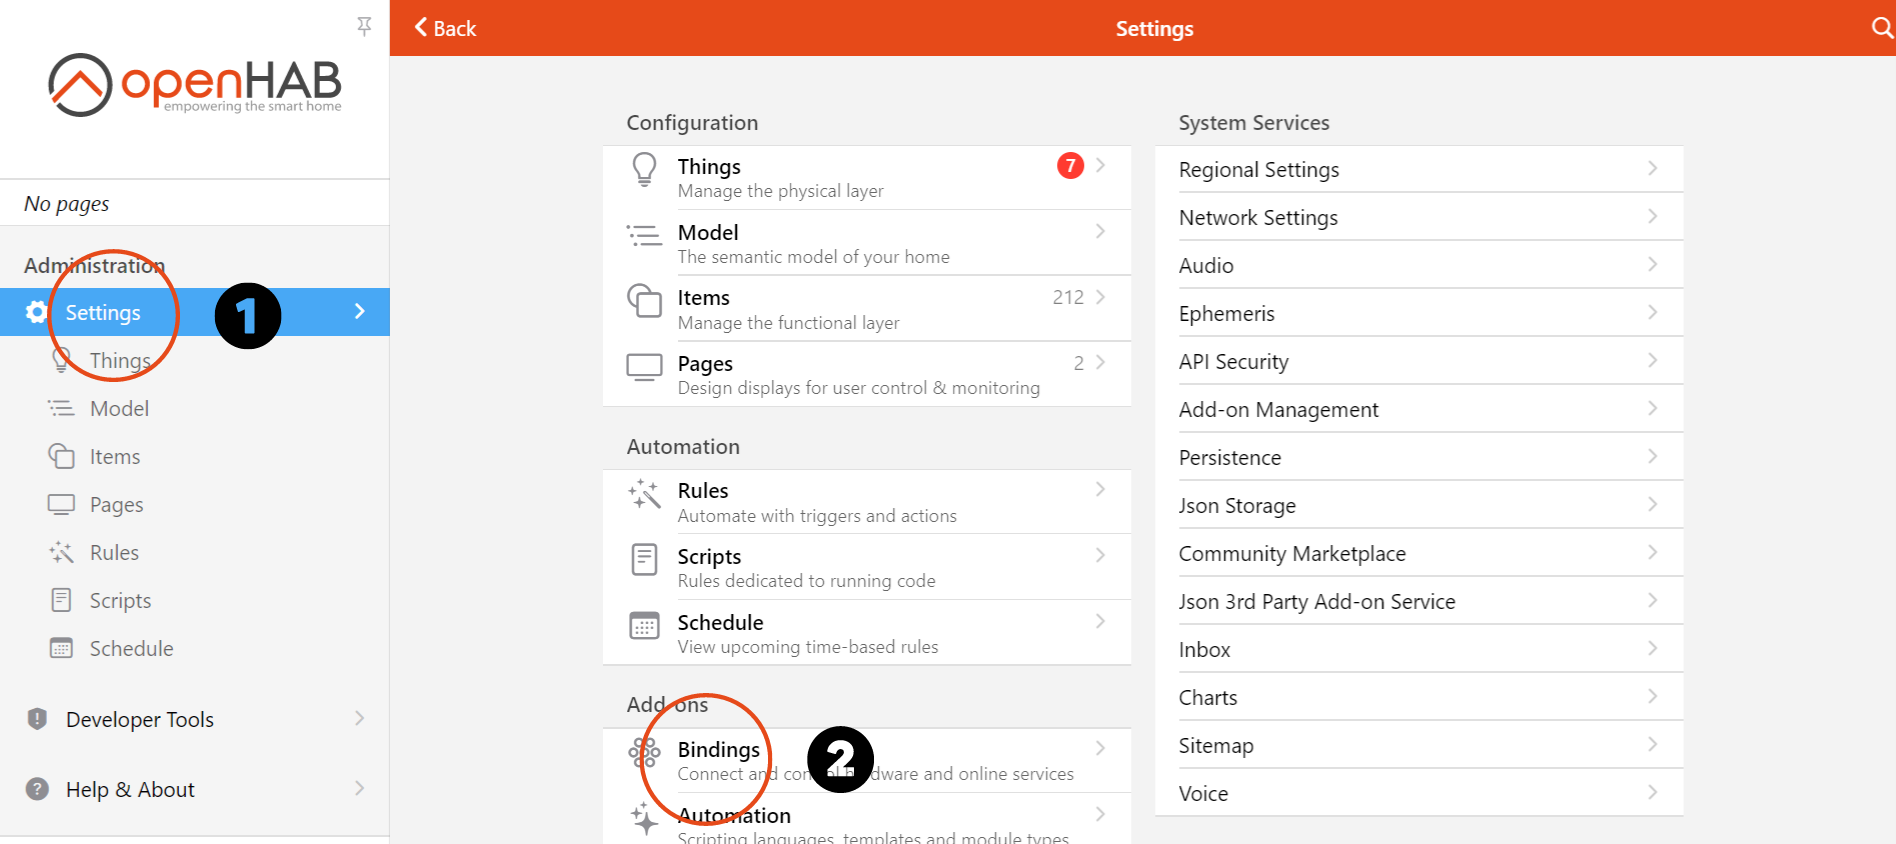
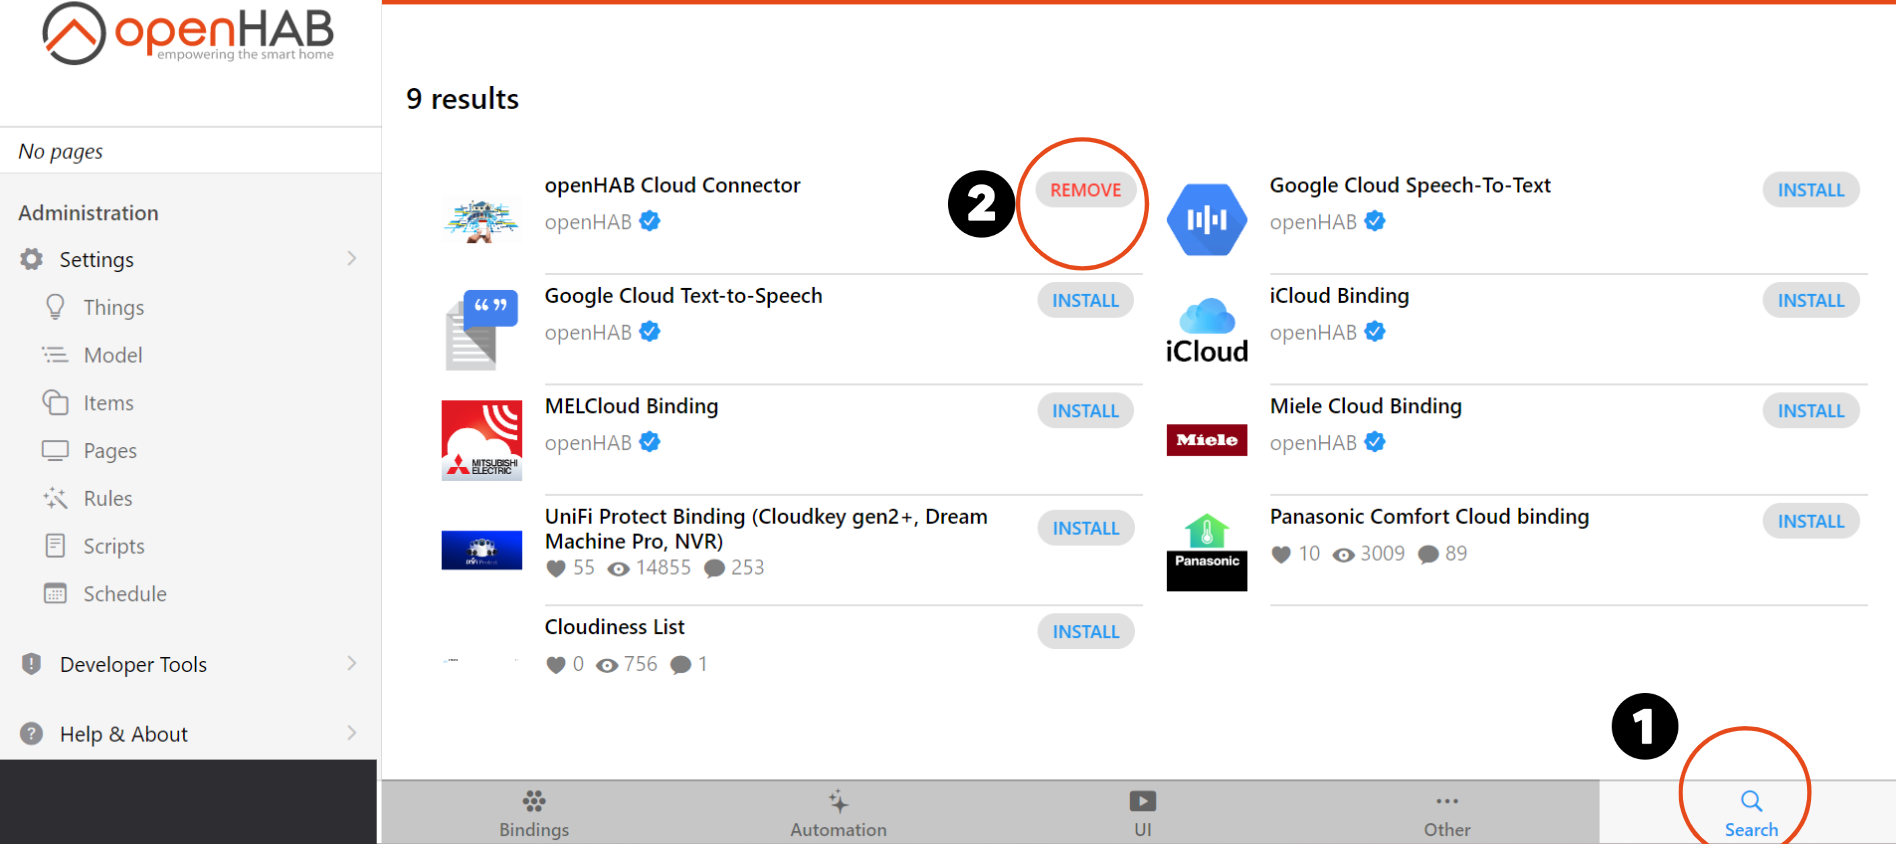
Install the cloud connector binding buy using the search button in the bottom corner
Note: Mine says remove as I already have it installed
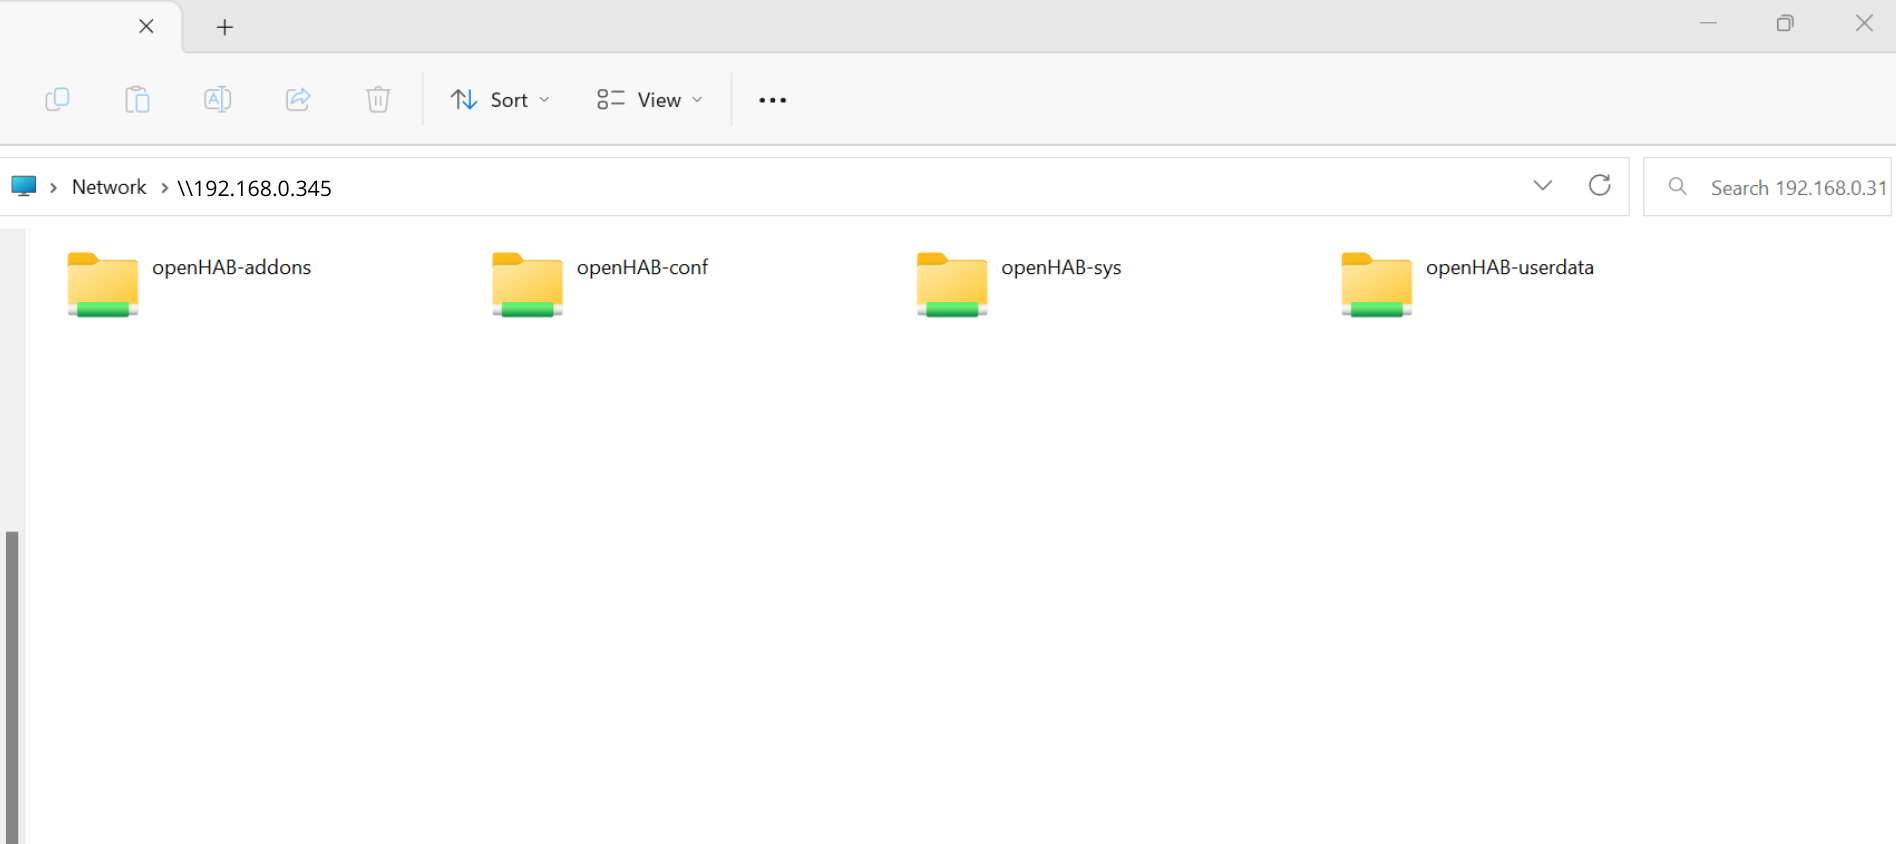
Step 4: Once OpenHAB is up and running and the cloud connector addon is installed, connect to myopenhab (openHAB Cloud - Log in). To log in, access the file system via your laptop by going into file explorer, then network, and entering the Pi’s IP address into the long search box at the top. Add \\ at the beginning of the IP address. It will ask for login details, enter openhabian as login, and password. Once you can access the file system, open the user data file to find your UUID (you may need to open it with Notepad). This is the UUID you need to connect to myopenhab. In the same folder, there’s another file called openhabcloud, where the secret is located. Keep this window open as we will need to put the Volumio binding download into the addons file here too.
Once you have logged into myopenhab check the logs via the :9001 port to see if you have successfully connected. You might need another reboot if not connected.
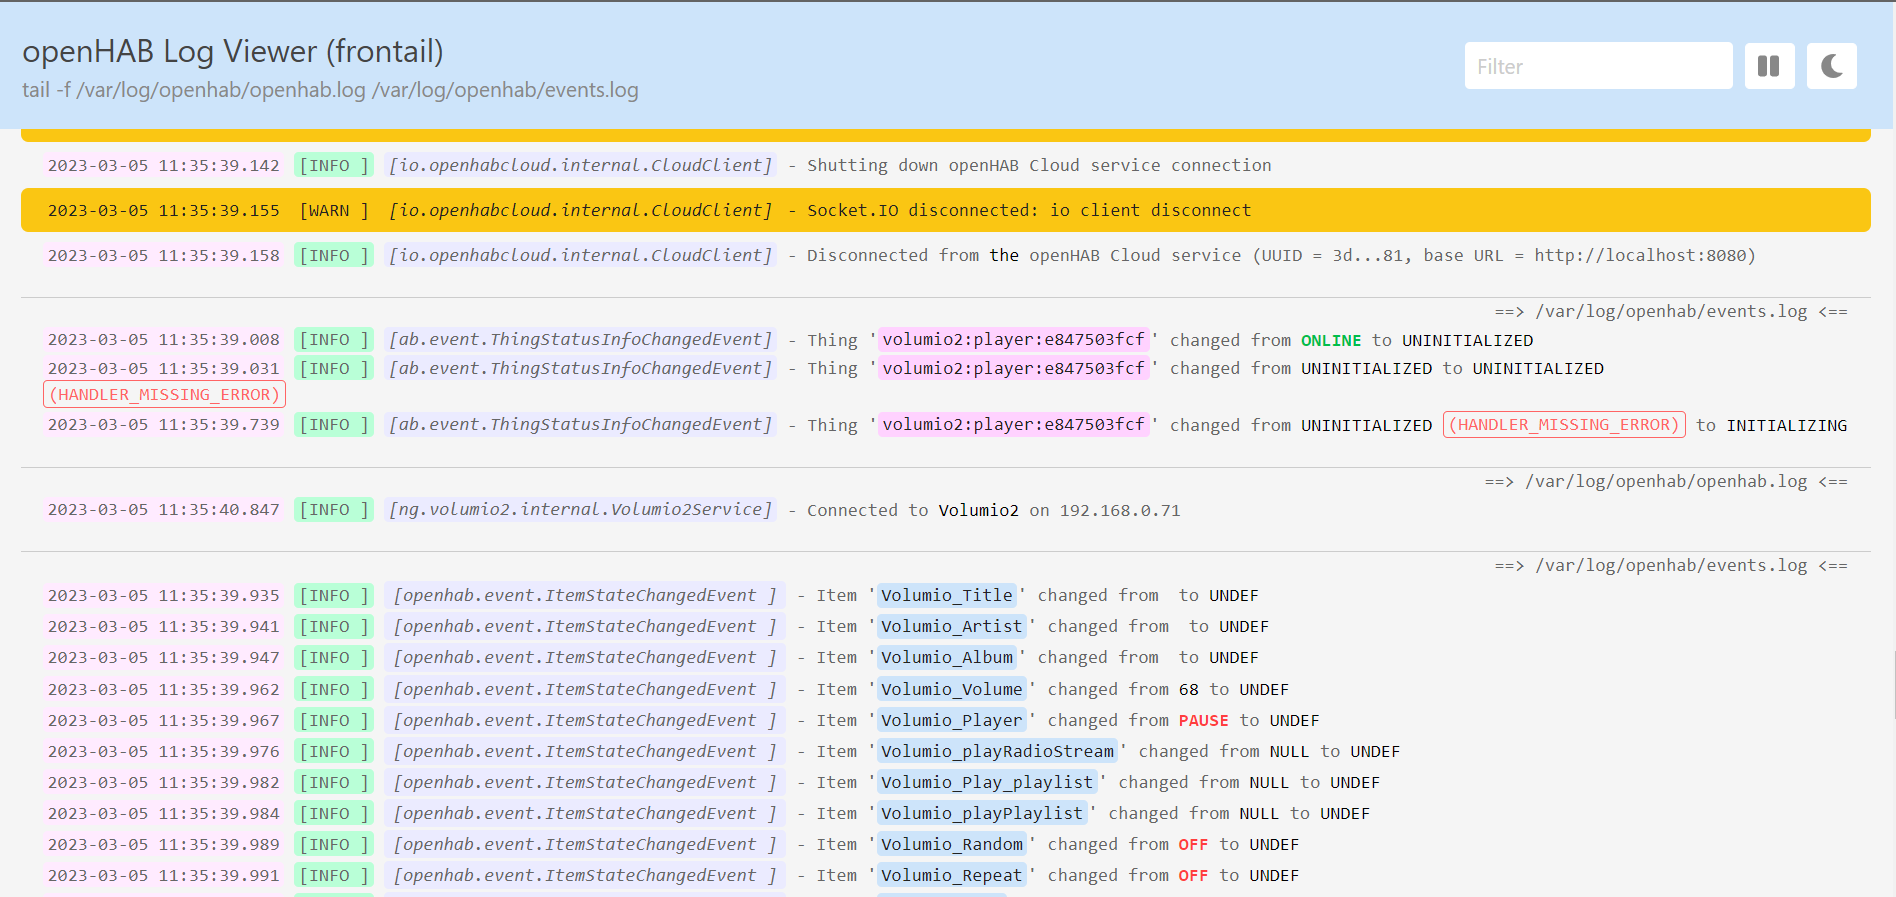
Example of logs, hopefully, yours will say connected, i disconnected mine as an example.
Step 5: Download the OpenHAB skill on your Alexa and use your login details from myopenhab.
Step 6: Download and install the Volumio binding manually, as there is no official OpenHAB binding. Download the binding snapshot and add it to the addons file in the backend file system you opened previously. Release V3.4.0 · stargazer74/org.openhab.binding.volumio2 · GitHub
Step 7: Now that you have set up everything and established a connection between Openhab and Alexa via the cloud binding, it’s time to add your Volumio player as a ‘thing’ in Openhab. To do this, access the Openhab front end by entering the IP address of your Raspberry Pi followed by port number 8080 in a web browser. Next, go to settings and click on ‘things’, where you should see a blue plus sign in the bottom right corner. Click on it and you should see your Volumio binding. If your device is not automatically discovered, hit the ‘scan’ button. Once your device is found, Openhab will ask you if you would like to add it as a thing and send you to your things list. If your thing is not automatically found via the scan you may have to manually add your Volumio device by entering its IP address as the hostname.
Now that your Volumio player is added as a ‘thing’, you need to add ‘items’ to it, such as play, pause, etc. To do this, open the ‘thing’ and click on ‘channels’ at the top. The first channel should be ‘current title’. Here, click on ‘add link to item’ and then ‘create new item’. At the bottom, click on the ‘link’ button, and your first item will be linked. Repeat the process for all of the channels. These items are what Alexa will control if everything has been set up correctly.
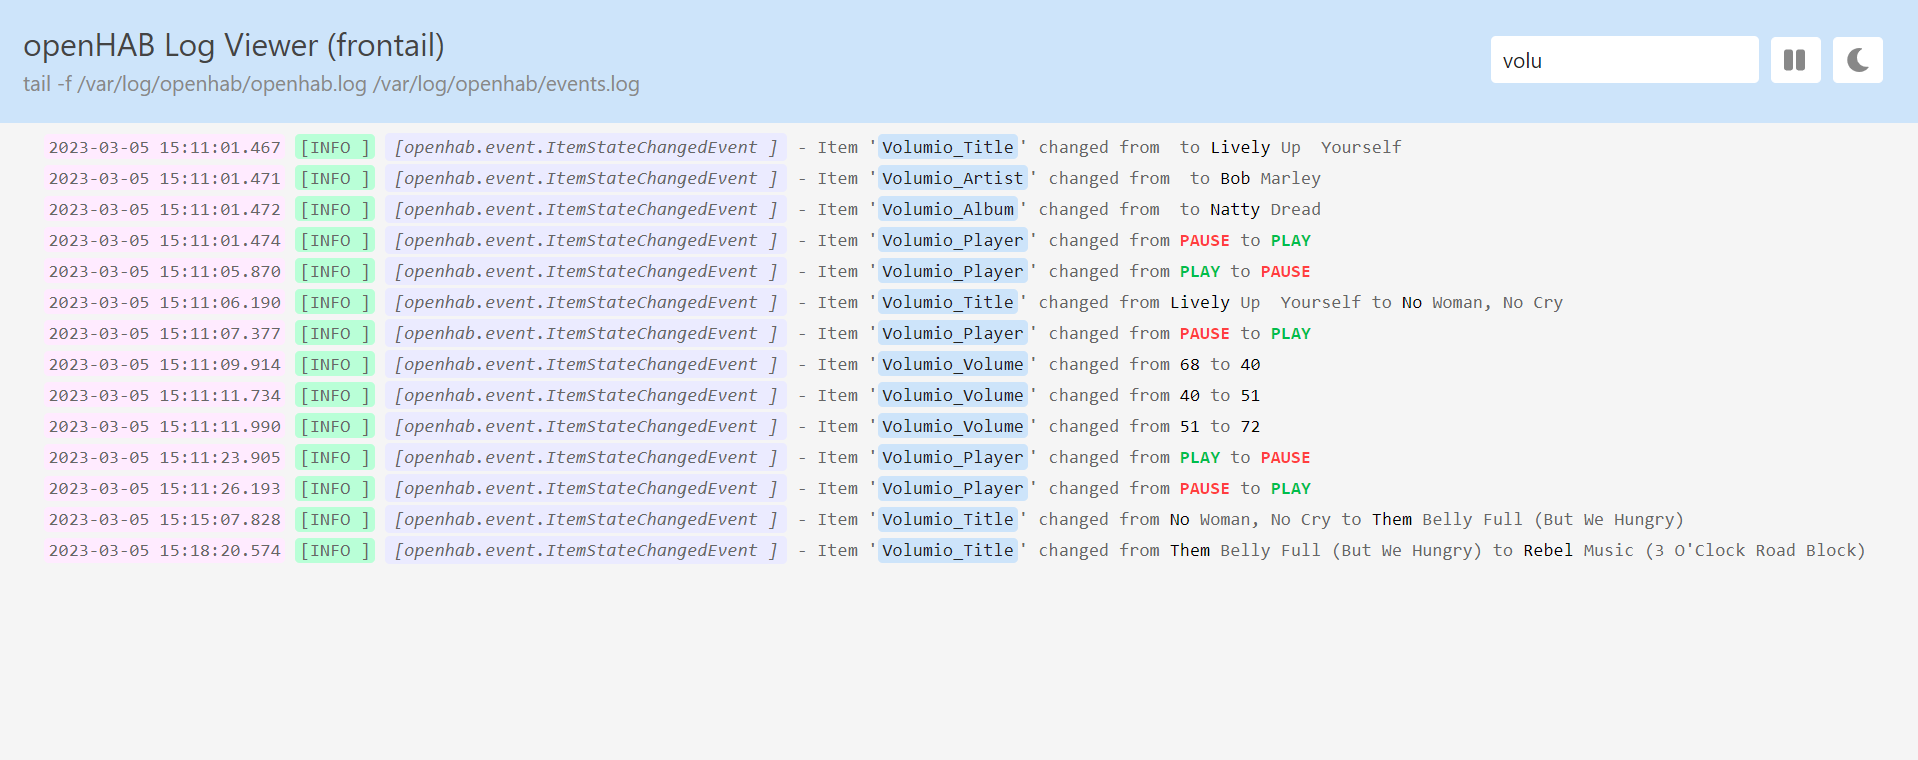
(Another example of your log viewer)
After setting up your Volumio player as a ‘thing’ and adding items to it, it’s recommended to give your Raspberry Pi a reboot. Once it has rebooted, check the logs by entering your Raspberry Pi’s IP address with port number 9001 to see if it has connected to the cloud service and if Volumio has connected properly and all is online. More importantly, make sure that Openhab is connected to your Volumio device and is detecting item changes, such as song changes and volume adjustments.
Step 8: To discover your Volumio device on Alexa, ask her to discover new devices. If everything has been set up correctly, she should discover your Volumio device. You will only see one device, and not all of the volume controls, as they are controlled through Openhab.
Once you are connected, you can ask Alexa to control your Volumio player. It’s important to use the correct name for your device to avoid confusion. You can use the following utterances:
- Alexa, play
<device name>.
- Alexa, resume
<device name>.
- Alexa, pause
<device name>.
- Alexa, next on
<device name>.
- Alexa, previous on
<device name>.
- Alexa, fast forward on
<device name>.
- Alexa, rewind on
<device name>.
- Alexa, volume up on
<device name>.
In summary, for Openhab to control your Volumio player, it needs to be connected via the binding and be able to detect item changes, such as song titles and volume levels. It also needs to be connected to myopenhab via the cloud binding, as Alexa cannot control Openhab without this connection. Once everything is set up, you can start experimenting with Openhab and creating routines such as dimming the lights and turning off the TV when you play a certain romantic playlist at night.