I thought I’d write up my Volumio mini streamer unit build, which has evolved over the years from Pi Zero W with LCD then OLED displays, through a pirate Audio line out display and now to its probable final state to the following:
- Raspberry Pi Zero 2 W: considerably faster boot and more responsive than the old Zero system
- Display Hat mini: 2 inch 320x240 LCD display - a good size to pretty much cover the Pi Zero footprint. Four push buttons for control of the system
- Audio DAC shim: a mini DAC that uses a PCM5100A DAC, works as a HiFiBerry DAC and slips between the Pi and the display. It can potentially run without being soldered, but I found the connection unreliable, so I’ve soldered mine in place (badly!)
- Volumio (of course)
- AxLED’s Pirate Audio plugin: to display the cover art and song information. The Audio DAC uses the same st7789 python library as the Pirate Audio Hats for which this plugin was intended.
- My BBC cover art service to work with AxLED’s plugin: I listen to a lot of BBC radio, for which Volumio doesn’t do cover art natively. I’ve created a service to monitor Volumio to see when a BBC station is being played, and fetch the station, show, track and cover art for display by Pirate Audio. I’ve also implemented a number of tweaks to Pirate Audio to integrate this
- A 3D printed enclosure of minimal size to encase this: Designed in Autodesk Fusion, printed on my Bambulabs A1 mini printer in PLA. Dimensions 72 x 44 x 22 mm (about the size of a larger than normal box of matches)
Overall is now does what I want it to do. It plays BBC radio during much of the working day, showing me what I’m listening to, as well as listening to my own FLAC rips and Spotify (even if I wish the Spotify plugin was a bit more reliable!).
Thanks to all the Volumio devs and AxLED for all their work. I’m sure I put more hours into this than necessary, but it was a fun piece of work!
Some pictures:
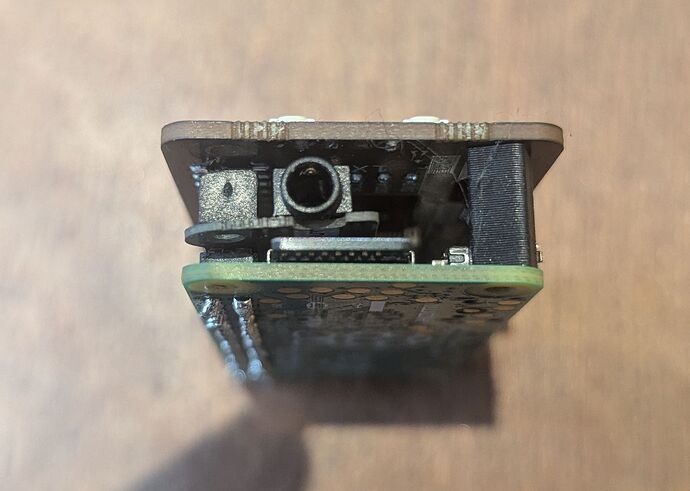
Side view of Pi, DAC shim, and Display hat mini, as well as 3D printed spacer to hold the non GPIO side of the display in place:
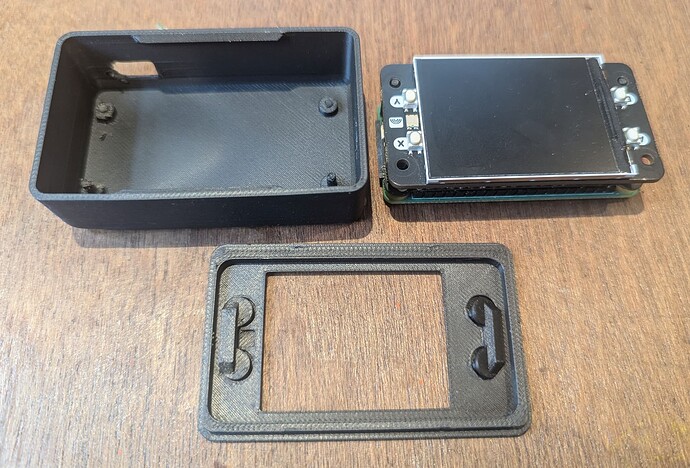
Enclosure components next to the electronics. Bottom and top of case snap together, pins in the bottom slot into Pi mounting holes, the two button bars are held in place over the A, B, X, Y buttons, and work nicely with a reasonably positive feel:
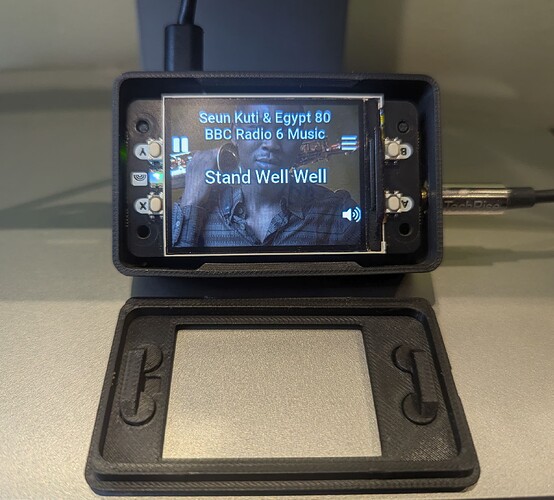
Half assembled and powered up. Non square display means I chopping the top and bottom of the cover off, but this looks better than having bars either side. Difficult to take a picture without reflections, but the display looks better IRL:
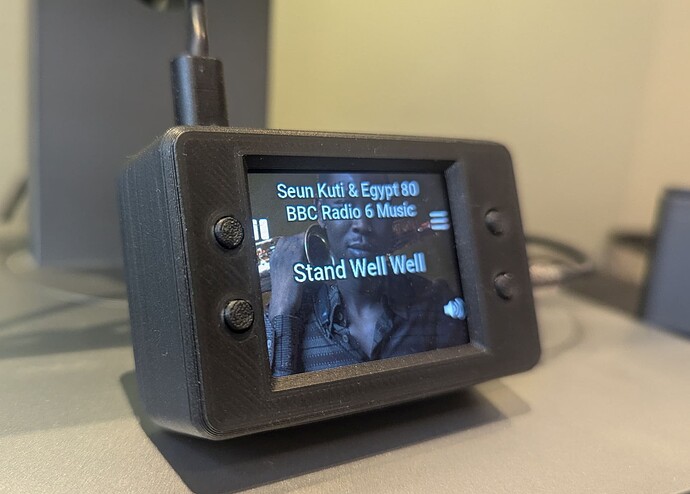
Fully assembled, from the side:
And from the front:


