Hi all.
The STL files are uploaded here:
The Display Frame may need some adjunsting afterwork to fit the screen properly. All is designed to be printed without supports. Only the windows of the main body need some support. The main body will need also afterwork to fit the countersunk screws from bellow and I tapped the holes to secure the cover using an M3 tap.
The Bill of materials for the base model only with the Rasberry Pi 4:
1x Screen Luckfox 7”
3x Screws M3x8mm Allen flat head or button head (To fix the screen frame to the main body).
3x Nuts M3. (To fix the screen frame to the main body).
4x M3x6mm allen button head screws (To fix the top deck with the main body).
4x Standoffs 6x2.5mm male to female threaded.
6x M2.5x6mm Allen countersunk screw.(To fix the standoff for the PI to the main body and the SD extension).
4x M2.5x4mm Allen Button head screws. (To fix the screen to the screen frame).
2x M2.5mm nuts. (To fix the micro SD extension).
1x TF micro SD male to TF micro SD FeMale (TF to TF)Flexible Memory Card Extension cable.
1x MicroHDMI to HDMI 90º flat flexible cable. Take care of the direction of the adapters.
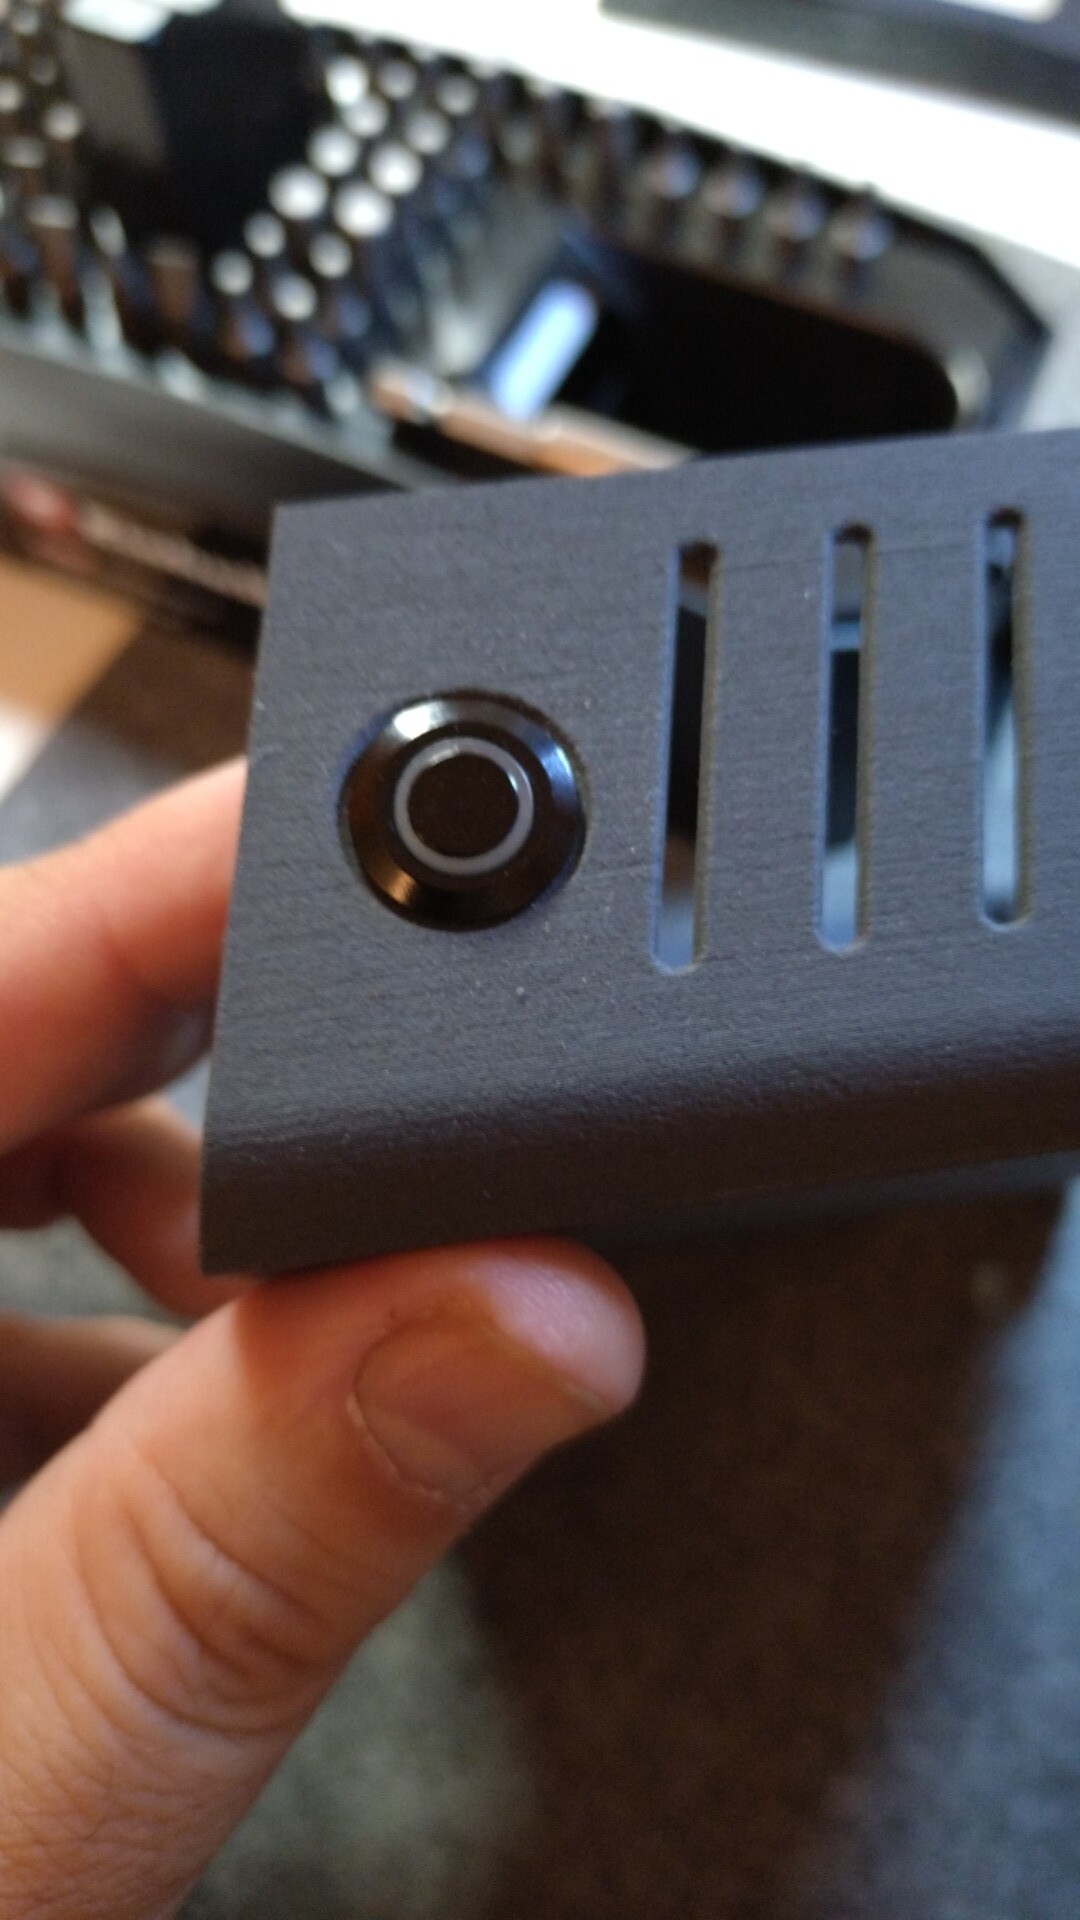
1x 12mm Monetary switch.
4x Dupont Line Cable 200mm. (For the switch).
1x U Shape 180 Degree Angled USB 3.1 Type C Gen 2 Male to C Female.
1x (Or 2x) 200mm Panel Mount Type-C USB-C Male To Female Extension Cable With Screw Hole Lock Connector Cable Spacing 18mm
1x Raspberry Pi 4 Aluminum Case (I use only the top part).
1x 5cm USB A male to female extension cable.(For the touchscreen cable to the back of the PI. Use the square window of the back to take it out.
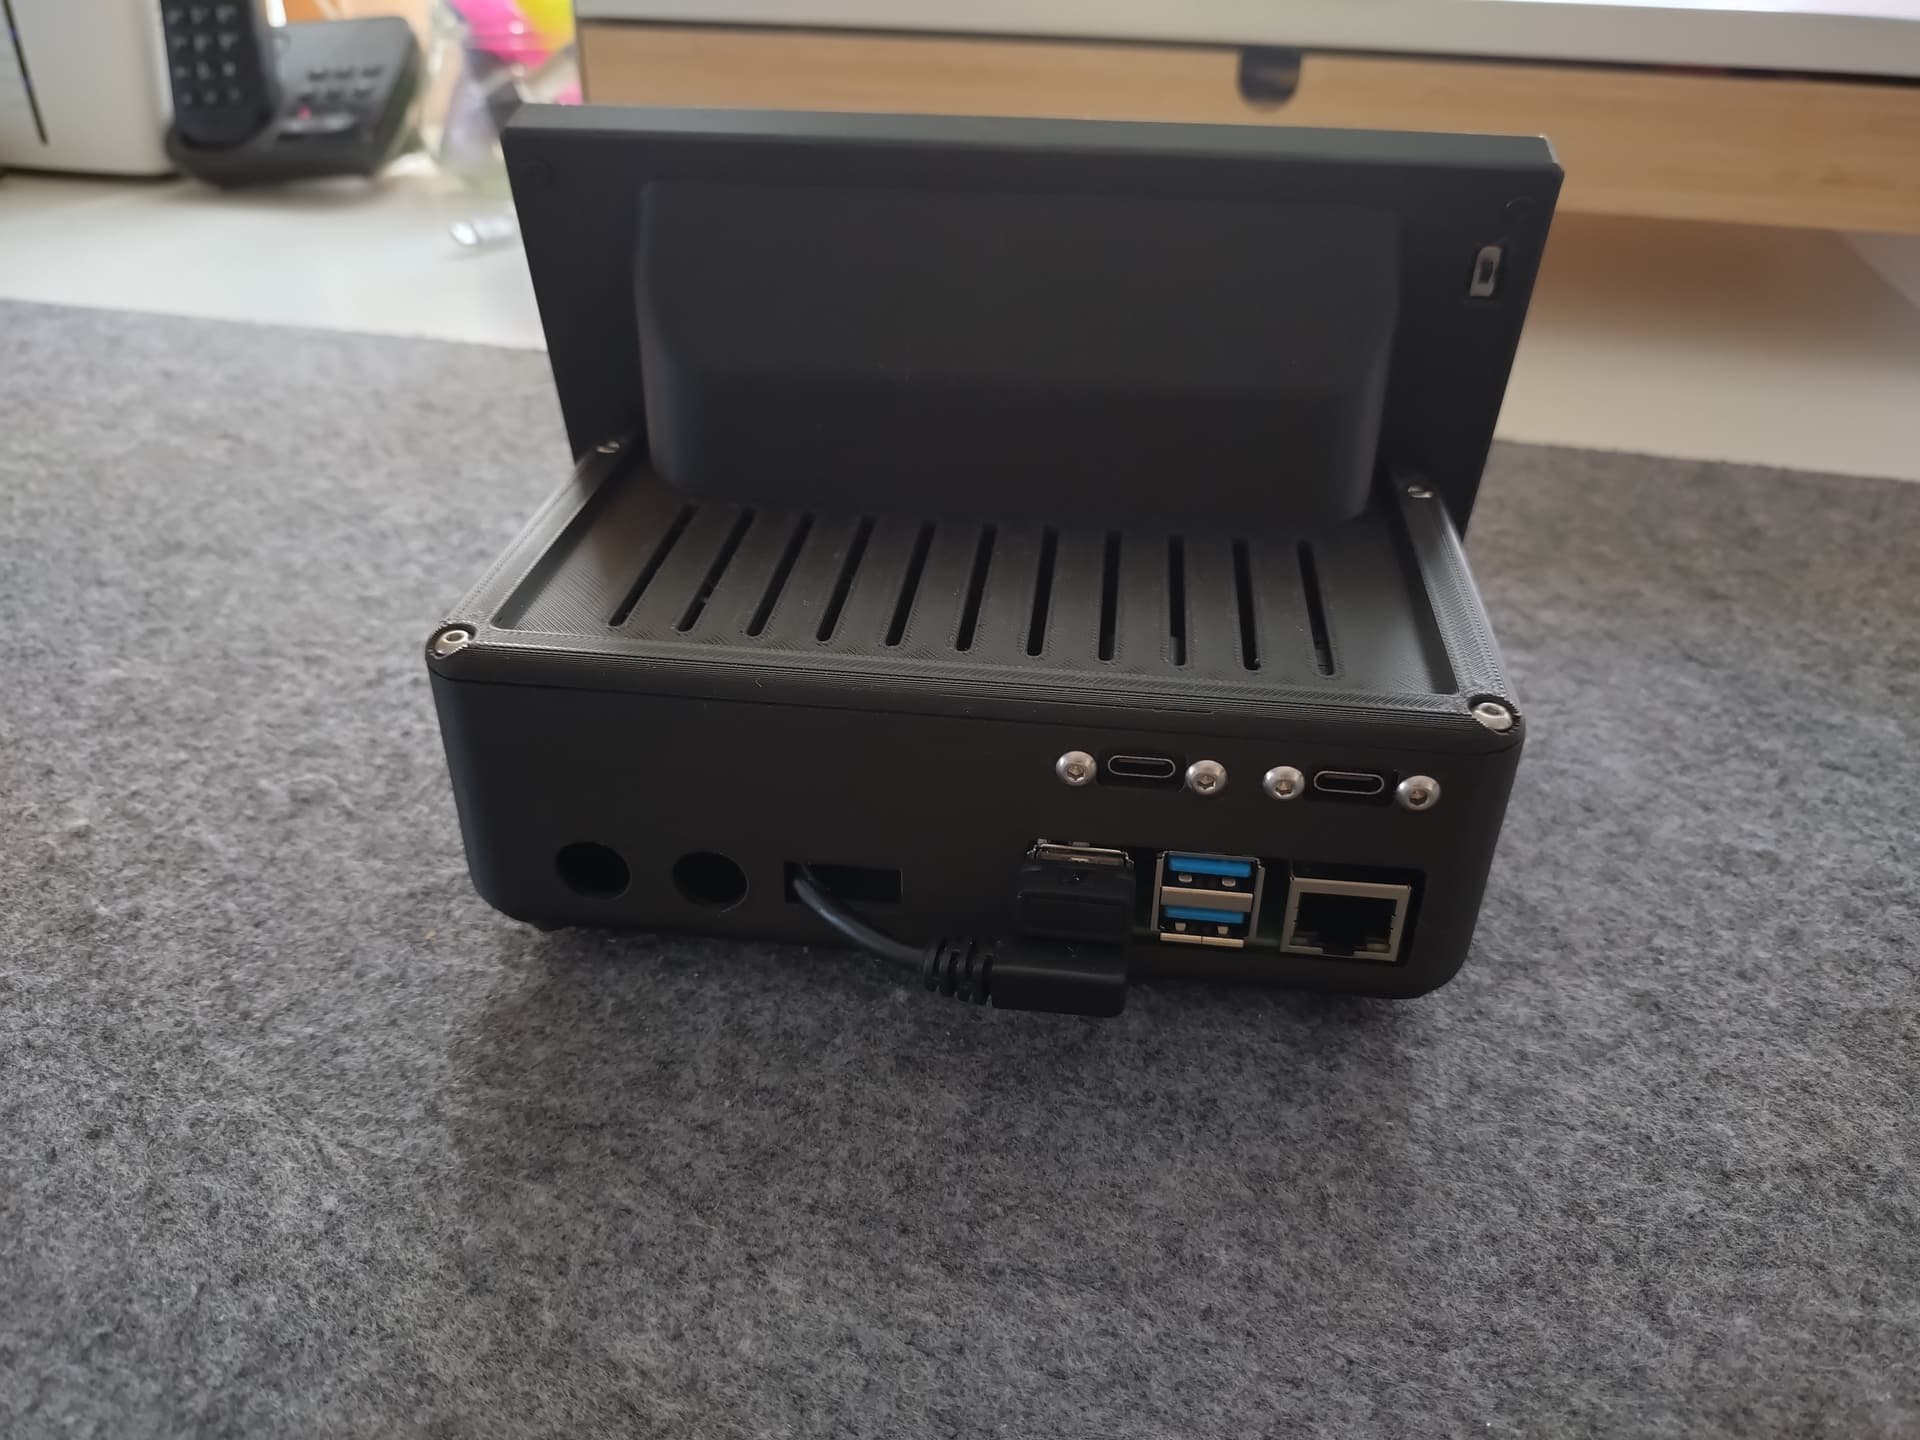
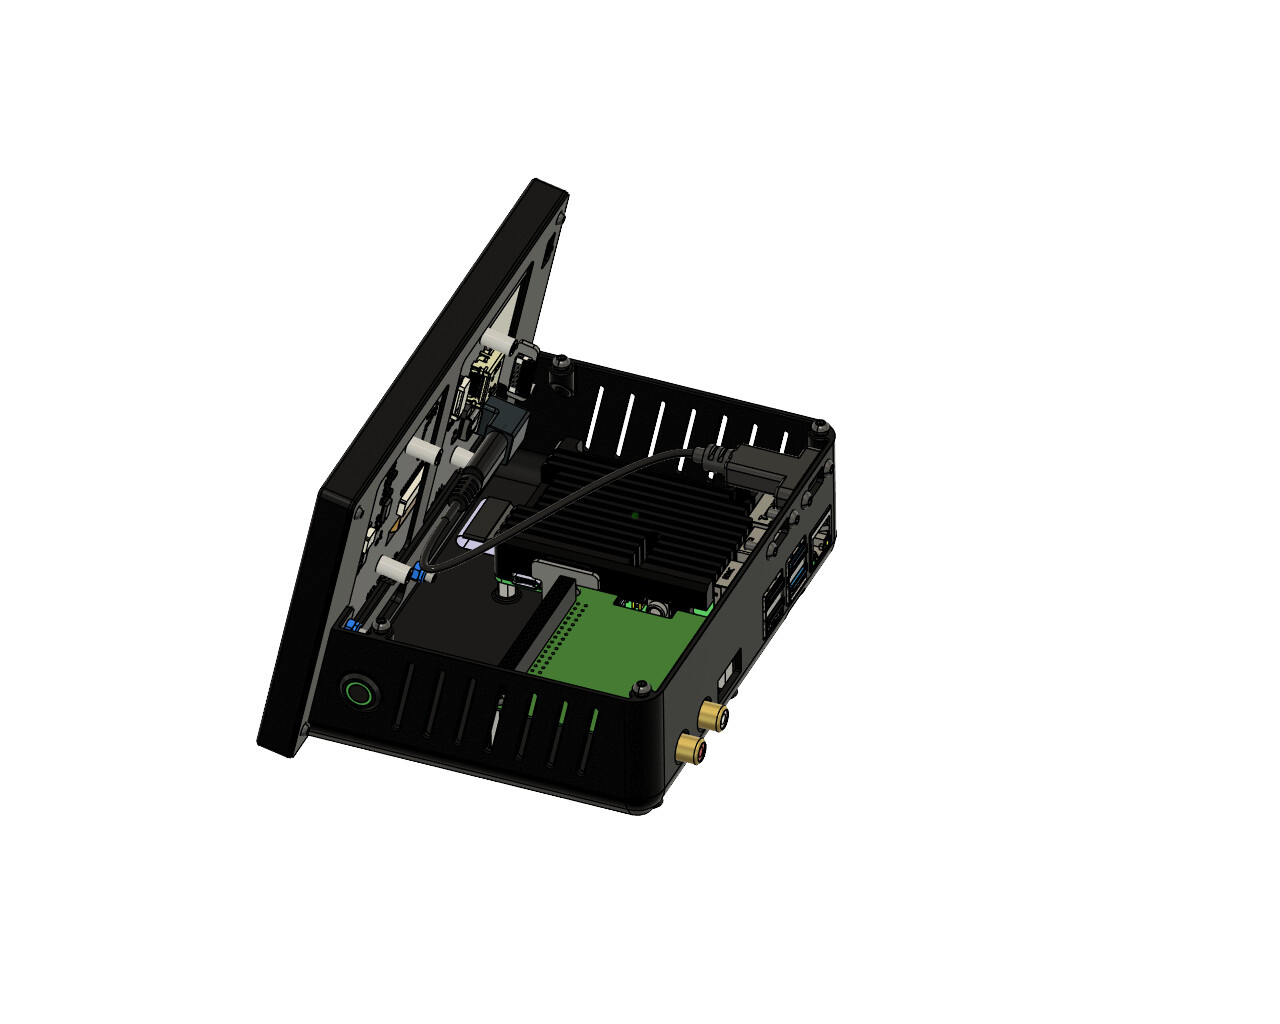
In this picture you can see the distribution of the elements inside the case. I will load more detailed pictures allong the week.
One last thing. In the parts list, I have specified only one USB panel cable, but the main body actually has windows for two. This is because I am powering the Raspberry Pi directly from the display. For this configuration, a power supply of at least 5A is required. You can power the Raspberry Pi and the display separately, but in that case, you will need two USB-C panel cables.
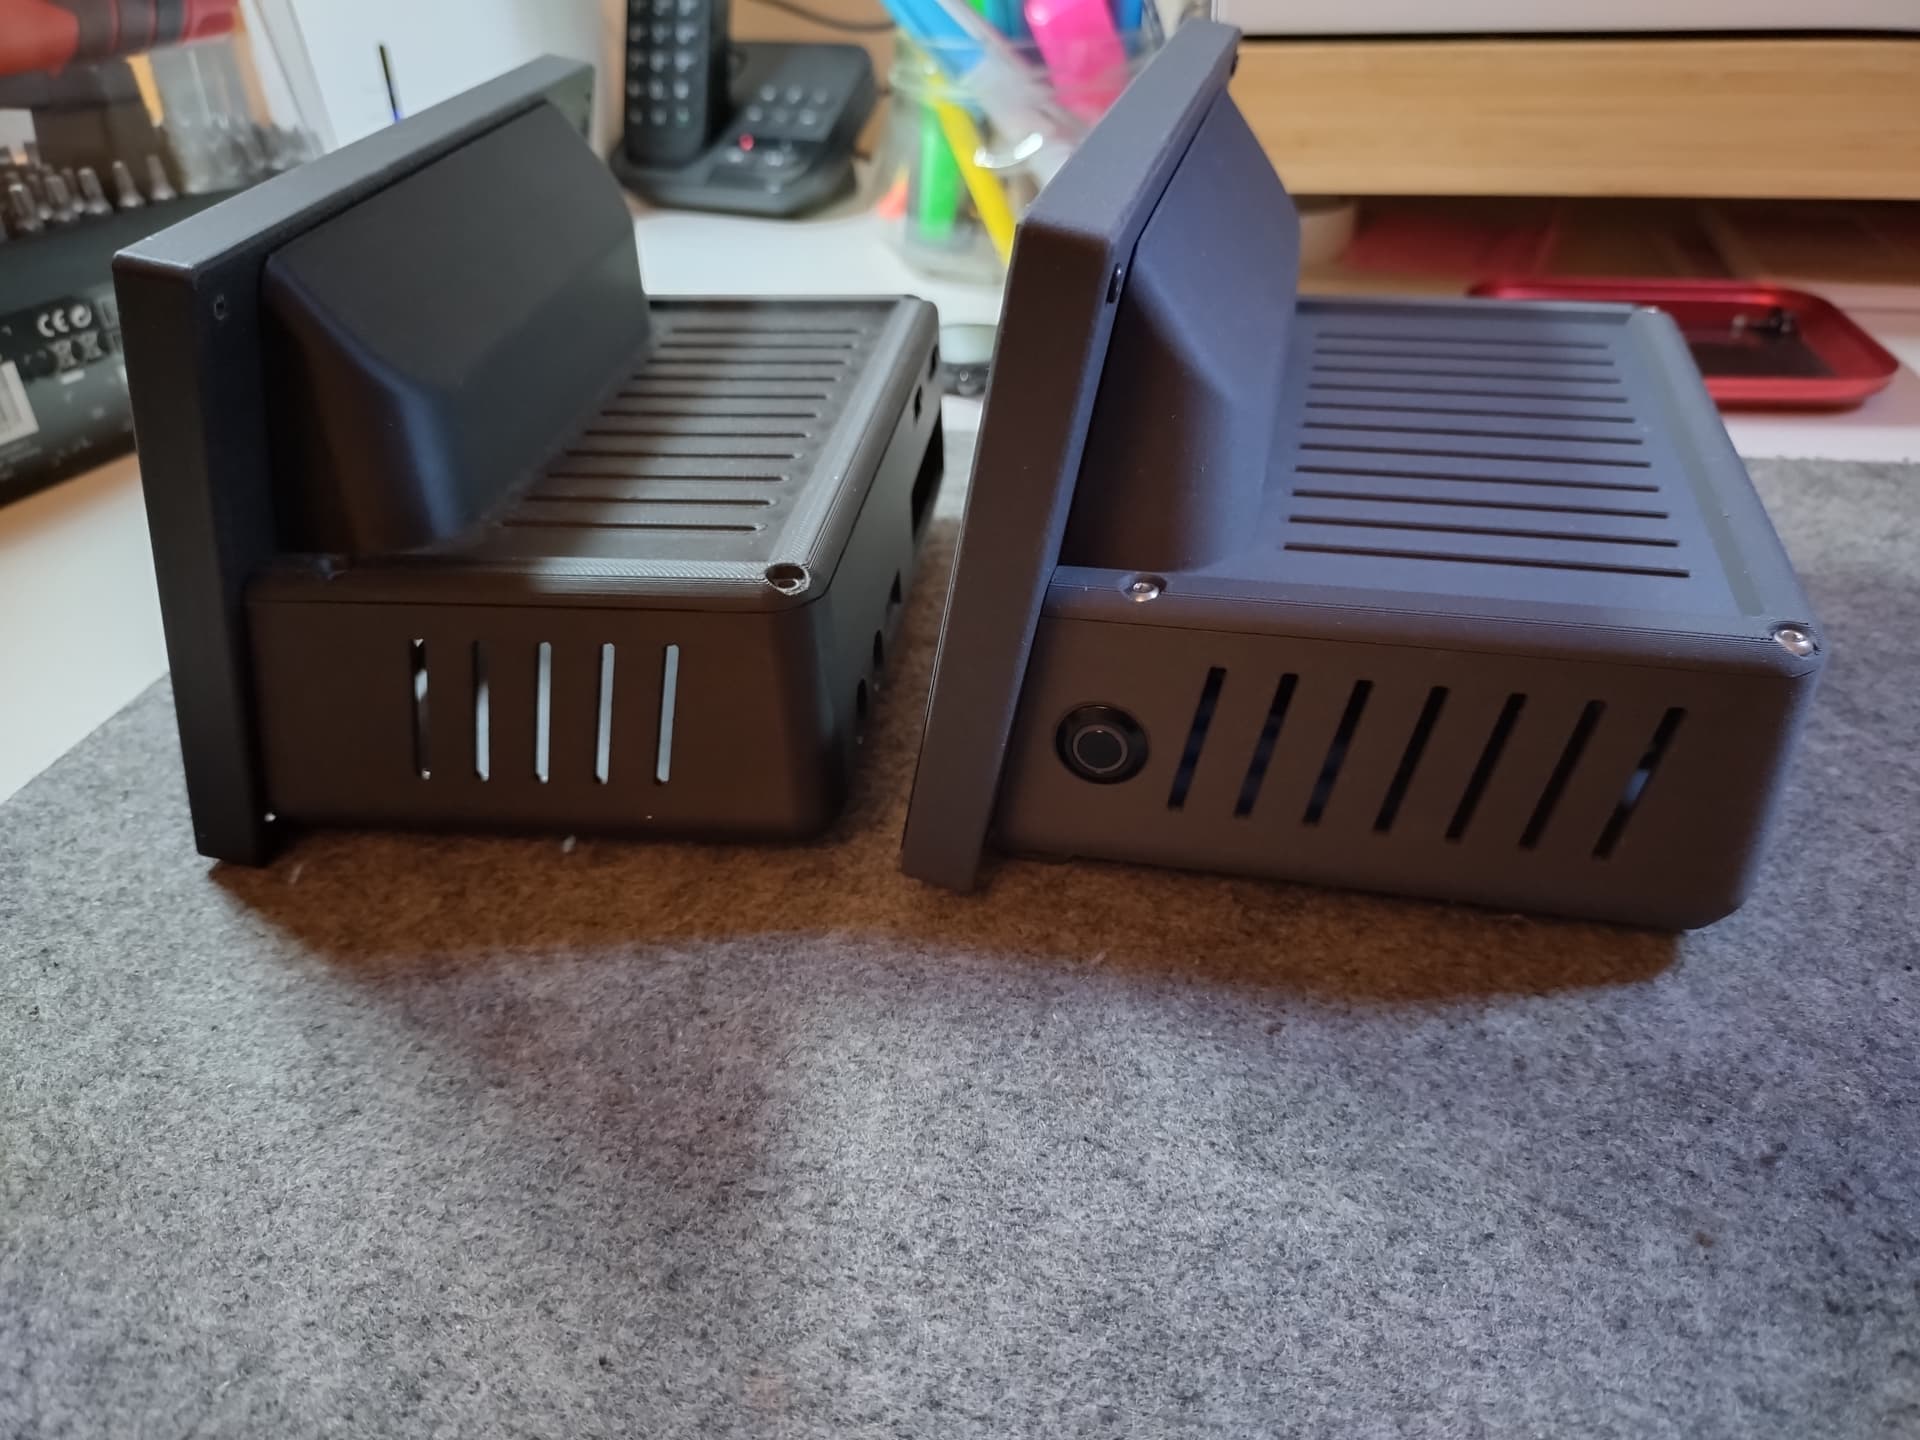
Enjoy it and post here pictures of your devices. Especially to see the color combinations.